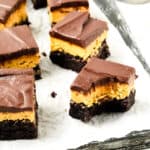
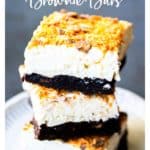


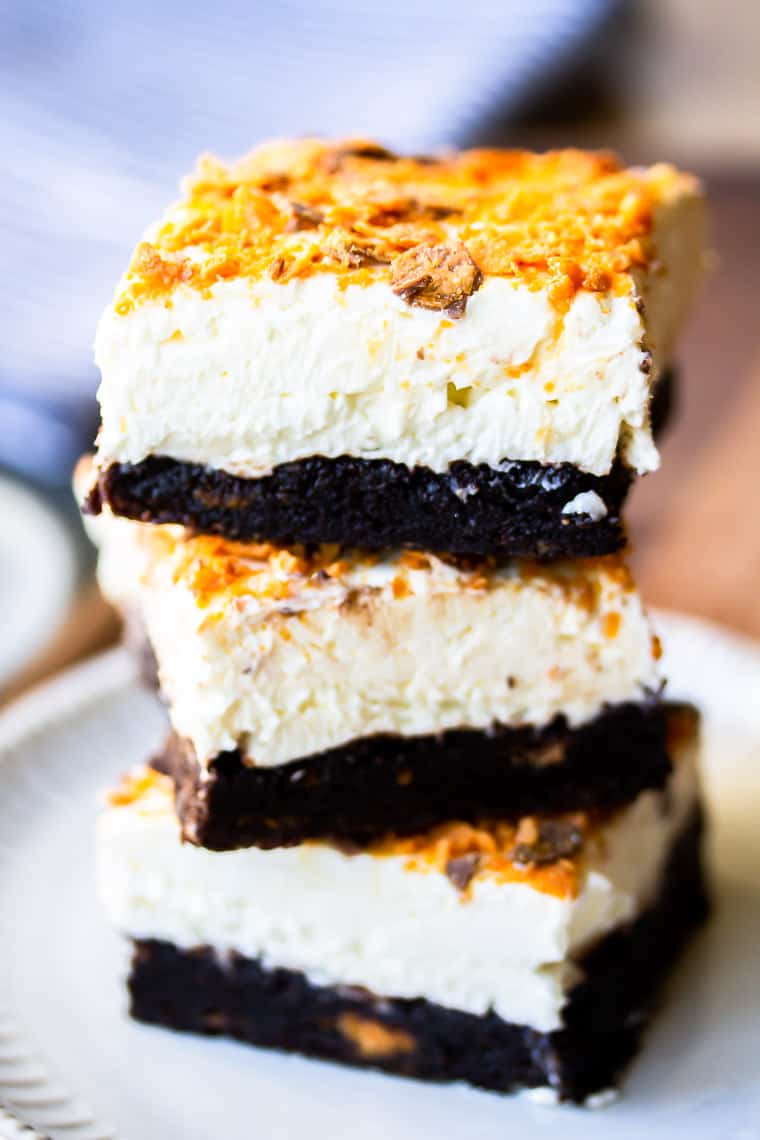
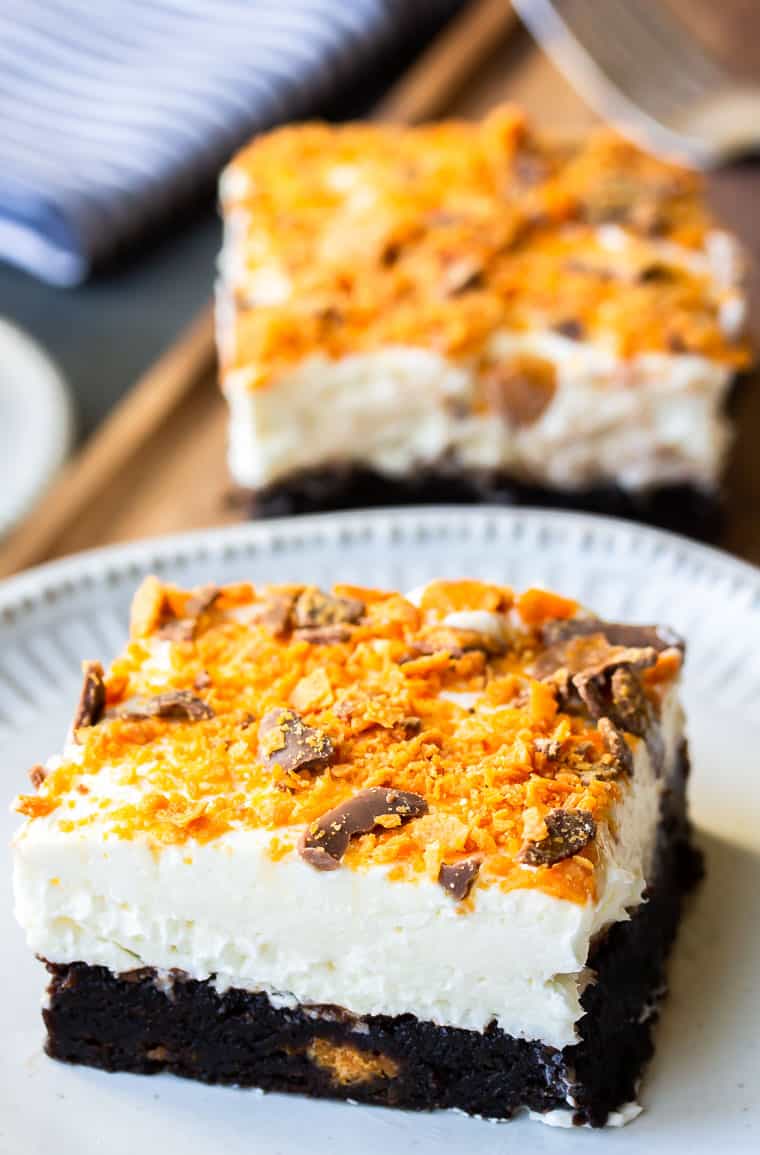
Three favorite treats all come together into one sweet, delicious dessert recipe. These Butterfinger Cheesecake Bars on Brownie Crust have a thick Butterfinger brownie crust, a creamy cheesecake center, and more candy on top for extra crunch.
This post contains affiliate links. See our Disclosure Statement for more information.
Butterfinger Cheesecake Bars on Brownie Crust are a decadent treat made from a combination of 3 classic desserts – brownies, cheesecake, and Butterfinger candy.
The base of this recipe is a classic chocolate brownie topped with a really simple no-bake cheesecake that is made with just 4 ingredients.
To ensure that the Butterfinger flavor comes through in every bite, there are crushed pieces of candy in both the brownie mix and on top of the cheesecake.
Why This Recipe Works
It’s a surprisingly simple recipe to make. You can even use a boxed brownie mix, if you prefer.
This is a great make-ahead recipe as it does have to be refrigerated for a few hours before serving.
It’s great for parties and celebrations. Both kids and adults love it!
How to Make Butterfinger Cheesecake Bars
Prep!
Set the cream cheese out about an hour before you begin to allow it to come to room temperature.
Line a 9×13-inch baking pan with aluminum foil so that the edges extend over the side of the pan. You will be using these edges to remove the bars later so you need to leave enough to grab on to.
Create!
Place the Butterfinger bars in a zip top plastic bag and seal.
Using a rolling pin, roll over the bag of candy, and/or lightly tap it with the rolling pin, until its broken up into small pieces. You should have about 1 cup of crushed candy.
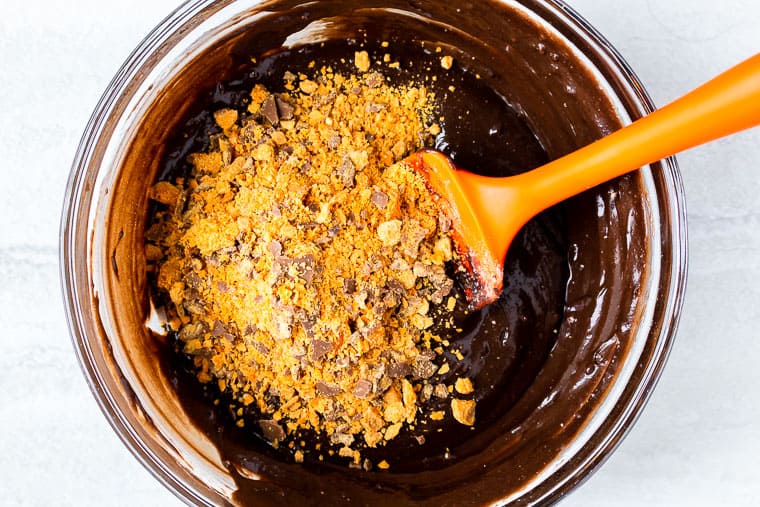
Prepare the brownie mix according to the recipe or directions on the box. Mix in 1/2 cup of the crushed Butterfinger.
Spread the brownie mix evenly into the prepared pan.
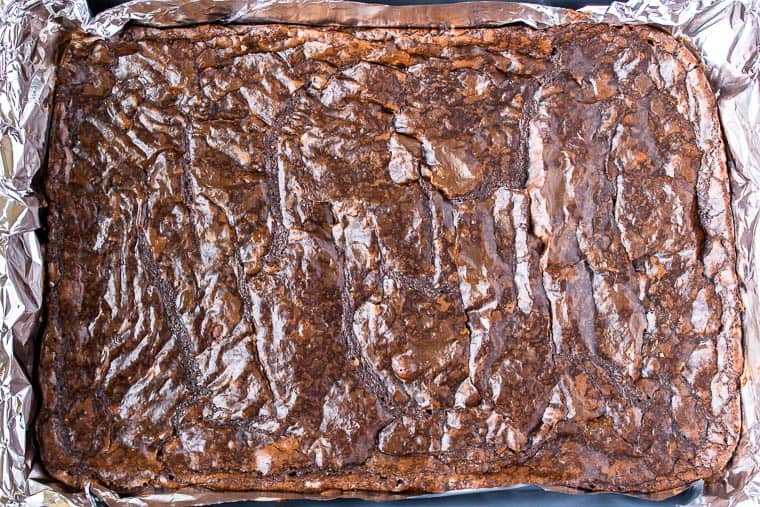
Bake for 20-25 minutes, depending on the brownie mix you use, or until the brownies are fully cooked through and set.
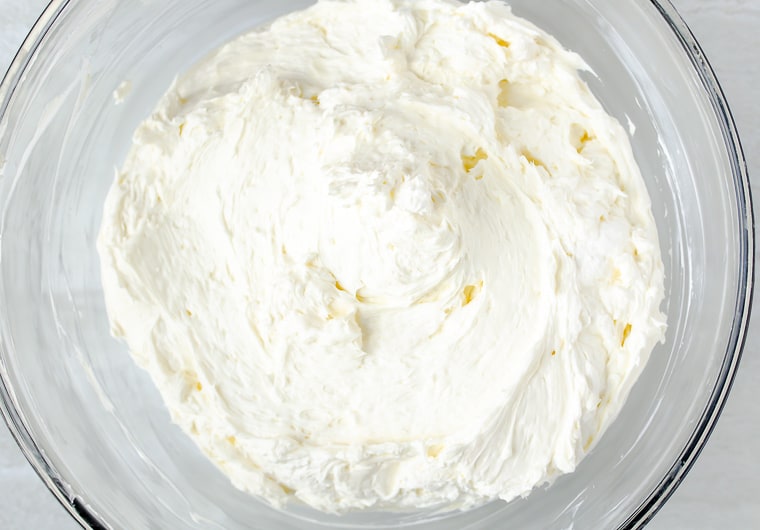
In an electric mixer bowl, beat the cream cheese, sugar, and vanilla extract until well blended. Stir in the whipped topping. The batter will be thick.
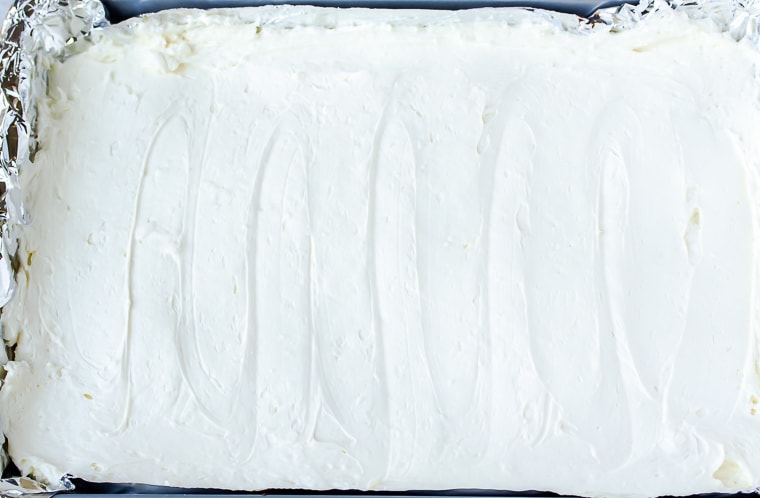
Divide the cheesecake mixture evenly over the brownies and smooth the top.
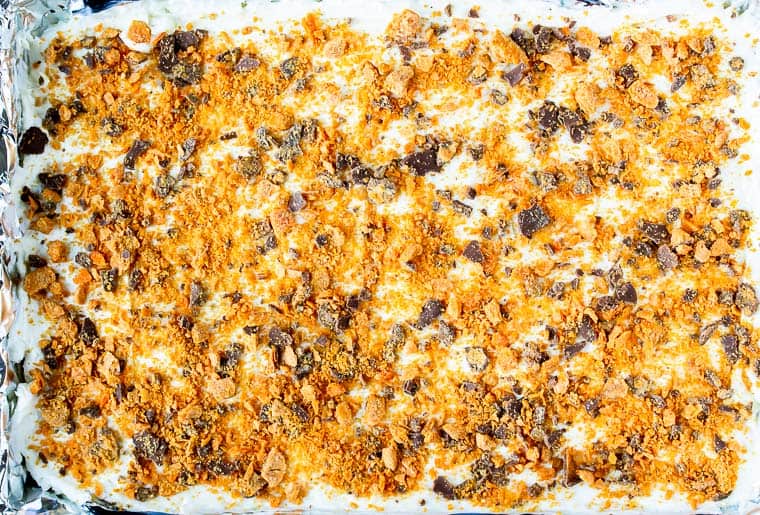
Sprinkle on the remaining 1/2 cup of crushed Butterfinger and gently press into the cheesecake.
Refrigerator for about 3 hours, or until the cheesecake is set and somewhat firm.
Present!
To serve, remove the bars from the pan by lifting up the sides of the parchment paper or foil.
Place on a cutting board and cut into 12 bars.
Tips and Techniques for the Best Butterfinger Cheesecake Brownie Bars
- Line your baking pan with parchment paper or aluminum foil so that the edges extend over the side of the pan. This will make it so much easier for you to remove the bars from the pan before cutting them.
- Set the cream cheese out about an hour before you begin to allow it to come to room temperature.
- Store leftovers, tightly covered in the refrigerator. Use within 5-7 days.
FAQ’s
- Can you freeze cheesecake bars? Yes. Cut the bars, then place on a baking sheet in the freezer. Once frozen, wrap each one tightly in foil or plastic wrap. Use within 3 months for the best results.
More No-Bake Cheesecake Dessert Recipes to Try
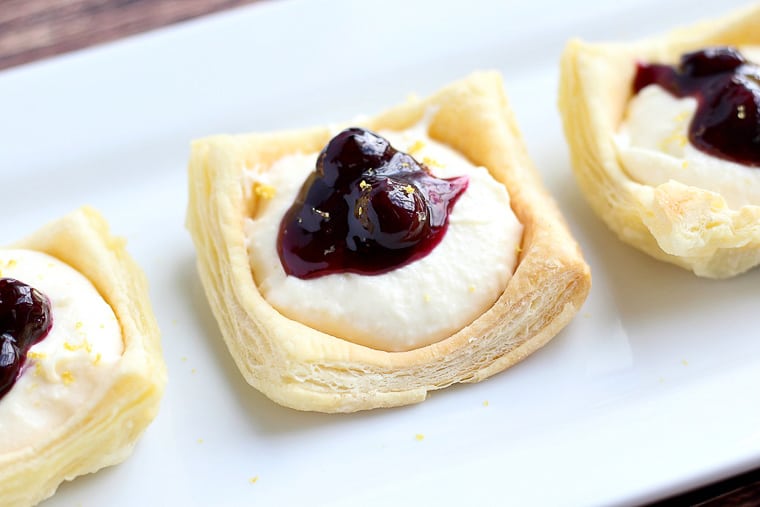
No-bake cheesecake is the perfect dessert all year long. In this recipe for No-Bake Lemon Cheesecake Cups, puff pastry cups are filled with a no-bake lemon cheesecake and topped with blueberry sauce.
You may also like this recipe for No-Bake Raspberry Cheesecake or these Keto Cheesecake Bites.
Love this Butterfinger Cheesecake Bars on Browne Crust recipe? Follow me on Pinterest, Instagram, and Facebook for more!
Butterfinger Cheesecake Bars on Brownie Crust
Ingredients
Brownies
- 1 package brownie mix * I used Duncan Hines Dark Chocolate Fudge 18.2 ounce package
- 1 large egg * may vary depending on brownie mix you use
- 1/3 cup vegetable oil * may vary depending on brownie mix you use
- 1/3 cup water * may vary depending on brownie mix you use
- 8 fun size Butterfinger Bars * crushed, divided
No Bake Cheesecake
- 4 8oz packages cream cheese * at room temperature
- 1/2 cup granulated sugar
- 1 teaspoon vanilla extract
- 8 ounces whipped topping
Instructions
Brownies
- Preheat oven to 325°F.
- Prepare brownie batter as directed on package (note: the ingredients needed to prepare the brownies may vary from those listed in the ingredients depending on the brand or recipe that you use).
- Mix in 1/2 cup of the crushed Butterfinger bars.
- Spread the batter into an aluminum foil lined 9x13-inch baking pan.
- Bake 20-25 minutes or until the brownies are set and cooked through.
No Bake Cheesecake
- In an electric mixer bowl, beat the cream cheese, sugar, and vanilla extract until well blended. Stir in whipped topping. The batter will be thick.
- Divide the cheesecake batter evenly over the brownies and smooth the top with a spatula.
- Sprinkle on the remaining 1/2 cup of crushed Butterfinger candy and gently press the pieces into the cheesecake layer.
- Refrigerate for 3 hours, or until firm.
- Once set, remove from the pan by lifting up the foil and placing it on a cutting board. Cut into 12 bars.
Notes
Tips and Techniques for the Best Butterfinger Cheesecake Brownie Bars
- Line your baking pan with parchment paper or aluminum foil so that the edges extend over the side of the pan. This will make it so much easier for you to remove the bars from the pan before cutting them.
- Set the cream cheese out about an hour before you begin to allow it to come to room temperature.
- Store leftovers, tightly covered in the refrigerator. Use within 5-7 days.
Nutrition
This recipe was originally published on September 8, 2016. It was updated with new images, an updated recipe with more thorough instructions, tips, techniques, and FAQ’s in January 2020.