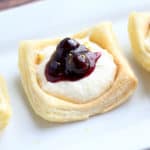
No-Bake Lemon Cheesecake Cups with Blueberry Sauce are the perfect little treat for the summer season! These delicious little bites are easy to make, yet a very impressive dessert for all occasions. You can use pre-made puff pastry shells, or make your own.
This post contains affiliate links. See our Disclosure Statement for more information.
Blueberries and lemons are two of my favorite summer fruits! It also just so happens that they taste really good together. If you’re a fan of this flavor combination as well, be sure to check out my Rustic Lemon Blueberry Hand Pies too!
The “cups” in this recipe are actually puff pastry. They can be bought pre-made or you can make them yourself. This recipe has a few steps, and requires some passive time to allow the cheesecake to set, but it’s really easy and the end result is so worth it!
Why This Recipe Works
- The No-Bake Lemon Cheesecake is creamy with a subtle, fresh lemon flavor that pairs wonderfully with the mildly sweet blueberry sauce.
- These are great little desserts to set out when entertaining this summer. No forks required!
- This recipe is easy enough to make as an everyday treat, and pretty enough for the fanciest of occasions.
How to Make No-Bake Lemon Cheesecake Cups
Prep!
If you are following my tutorial for How to Make Puff Pastry Cups or using pre-made frozen puff pastry cups, you will need to bake the cups before you begin making the filling so that they have time to cool.
Also, set out the cream cheese to come to room temperature at the same time.
Create!

After the puff pastry cups are done baking, you can begin making the No-bake Lemon Cheesecake filling.
Making the No-bake Lemon Cheesecake it fairly straightforward. All you need to do is beat the cream cheese in an electric mixer and slowly add the condensed milk, lemon juice, vanilla extract, lemon zest, and non-flavored gelatin until everything is well combined and smooth.
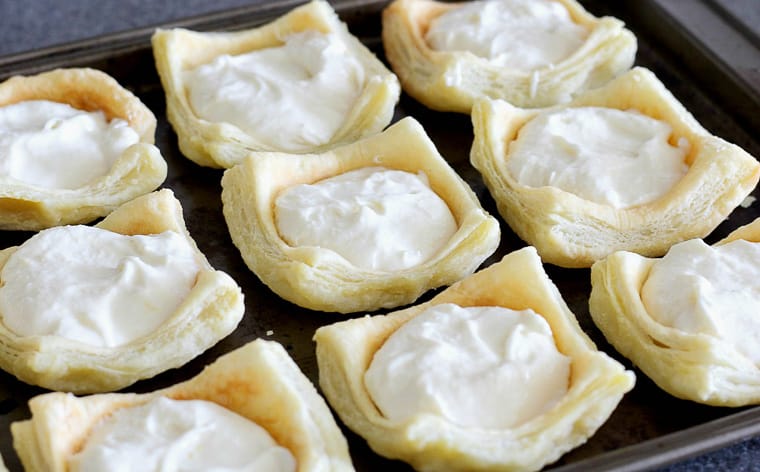
Fill the cooled puff pastry cups with the Lemon No-bake Lemon Cheesecake.
Place the cups on a baking sheet and let them chill in the refrigerator until set, about 2-3 hours.
When the cheesecake is just about set, made the blueberry sauce.
Tip: you can also make the sauce while the cheesecake is setting, and place it in the refrigerator until it’s needed.
I use my own easy recipe, Perfect Blueberry Sauce, for the topping.
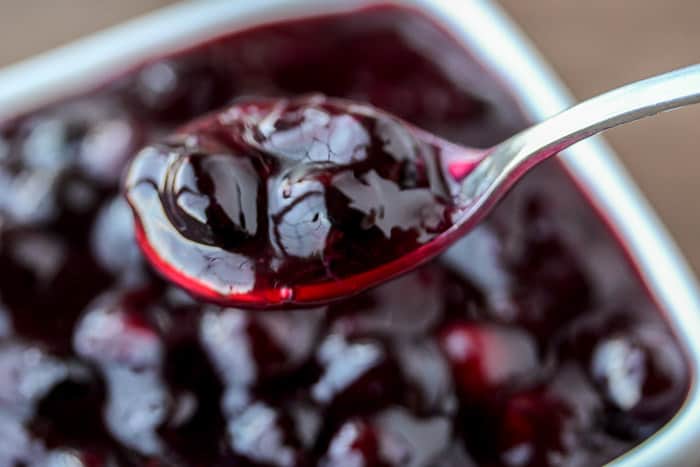
Making this blueberry sauce takes only minutes! Just add all of the ingredients to a saucepan and bring to a boil. Lower the heat and simmer, stirring frequently, until thickened.
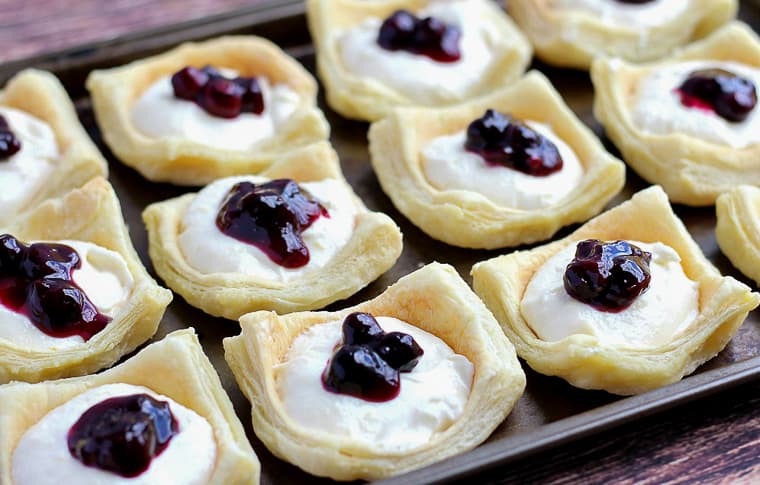
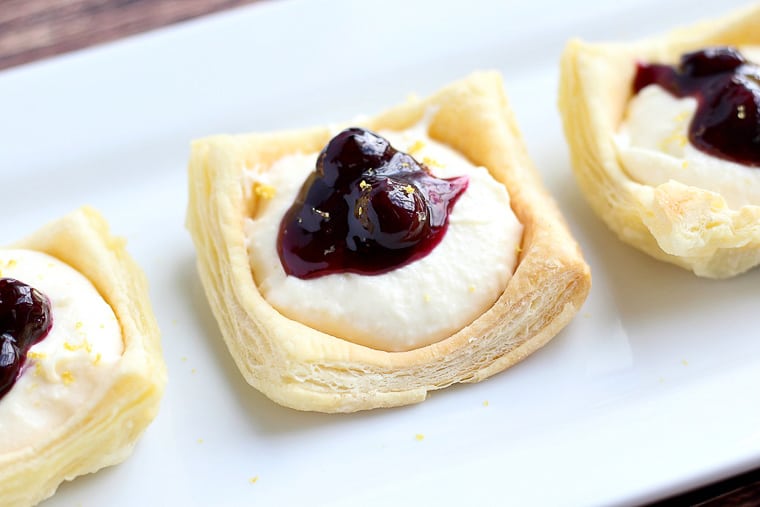
Once the cheesecake is set, top each one with a spoonful of the blueberry sauce!
Present!
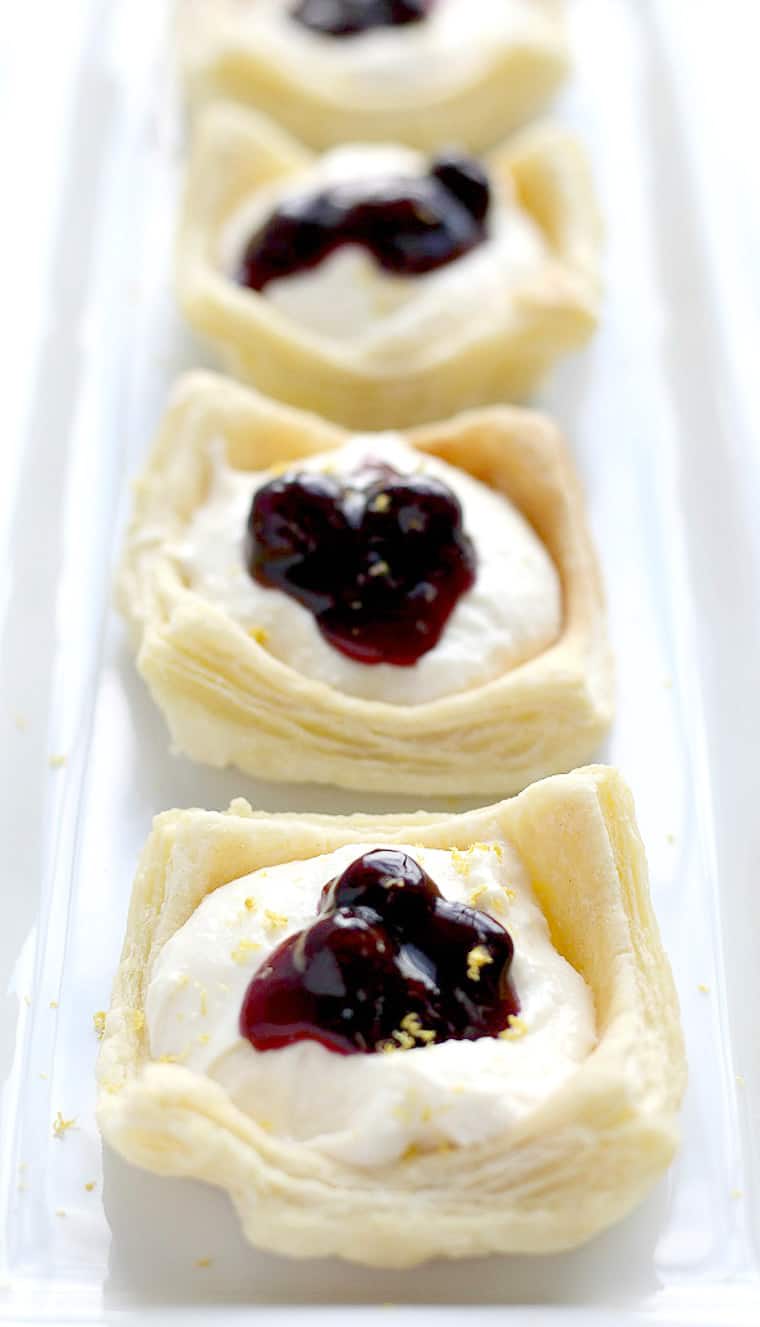
These No-Bake Lemon Cheesecakes Cups look really pretty when sitting out on a beautiful serving tray. Top them with extra lemon zest and sprinkle some around the tray for an added pop of color!
Tips and Techniques for the Best No-bake Lemon Cheesecake Cups
- You can make your own puff pastry cups or buy pre-made.
- Bake your puff pastry cups before you begin making the cheesecake so that they can cool before they are filled.
- You can also make the sauce while the cheesecake is setting, and place it in the refrigerator until it’s needed.
FAQ’s
- Can you put no-bake cheesecake in the freezer to set? It’s not recommended. You want to allow the filling itself time to set up. It may also make the puff pastry cups harder and crumble more easily.
- How long can you store no-bake cheesecake in the refrigerator? You can store no-bake cheesecake filling tightly covered in the refrigerator for up to 5 days. The puff pastry portion of this recipe is best the day of.
- How long can you keep no-bake cheesecake out at room temperature? After 2 hours, it’s best to put the cheesecake in the refrigerator or discard it.
Other Recipes to Try
- No-Bake Raspberry Cheesecake with Blueberry Sauce
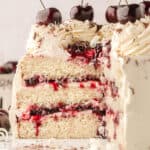
- No-Bake NILLA Wafer Cake + Video
- Mini Lemon Cupcakes with Lemon Buttercream Icing
Love this No-Bake Lemon Cheesecake Cups recipe? Follow me on Pinterest, Instagram, and Facebook for more!
No-Bake Lemon Cheesecake Cups with Blueberry Sauce
Ingredients
Puff Pastry Cups
- 24 puff pastry cups * pre-made or make your own (see notes below)
No-Bake Lemon Cheesecake
- 2 8 oz packages cream cheese * full fat
- 1 14 oz can sweetened condensed milk * full fat
- 1/4 cup lemon juice * freshly squeezed
- 1 teaspoon lemon zest
- 1 teaspoon vanilla extract
- 1 packet unflavored gelatin
Perfect Blueberry Sauce
- 1 cup blueberries
- 1/2 cup water
- 1/4 cup granulated sugar
- 1 tablespoon cornstarch mixed with 1 Tablespoon water
- 1/4 teaspoon vanilla extract
- 1 teaspoon lemon juice
Instructions
Puff Pastry Cups
- Bake the puff pastry cups ahead of time so that they can cool. Also, set out the cream cheese at this time so it can come to room temperature for about an hour before you begin.
No-Bake Lemon Cheesecake Filling
- Beat the cream cheese on low speed in an electric mixer.
- Slowly add the condensed milk, lemon juice, lemon zest, vanilla extract, and non-flavored gelatin until well combined.
- Spoon the mixture into the puff pastry cups and place in the refrigerator to set for 2-3 hours.
Perfect Blueberry Sauce
- For the blueberry sauce, combine blueberries, water, sugar, cornstarch, vanilla extract, and lemon juice in a saucepan and bring to a boil.
- Reduce heat to simmer, stirring frequently, until the sauce thickens, about 3-5 minutes.
- Top each cheesecake cup with a spoonful of sauce.
Notes
Tips and Techniques for the Best No-bake Lemon Cheesecake Cups
- You can make your own puff pastry cups following my How to Make Puff Pastry Cups tutorial or buy pre-made.
- Bake your puff pastry cups before you begin making the cheesecake so that they can cool before they are filled.
- You can also make the sauce while the cheesecake is setting, and place it in the refrigerator until it’s needed.
Nutrition
This recipe was originally published on May 11, 2017. It was updated with more thorough instructions, tips, techniques, and FAQ’s in July 2019.


camila says
Wow these cheesecake cups look wonderful!!!! Absolutely love it!!!!!! Great job!!!
Carissa says
Yum! I love no bake cheesecake filling and I can see how perfect it is in a puff pasty shell.
Tisha says
You had me at cheesecake!! Such a great easy recipe, can’t wait to try it 🙂
Sondria says
These are absolutely adorable! I can not wait to try them.
Cindy @ The Sweet Nerd says
I love blueberries and lemon – it’s a special combination. And of course I love no bake. Yum!
Joanne | No Plate Like Home says
These look great! I’m sure they’re tasty.
Lauren says
Thanks Joanne! I’m all about anything Puff Pastry and cheesecake!
Cheryl Anderson says
This looks so good! I love and easy and tasty recipe. I pinned and I’m going to make them on our camping trip this weekend. Thanks for sharing this and for the inspiration.
Lauren says
Thank you so much! I hope you enjoy them as much as we did!