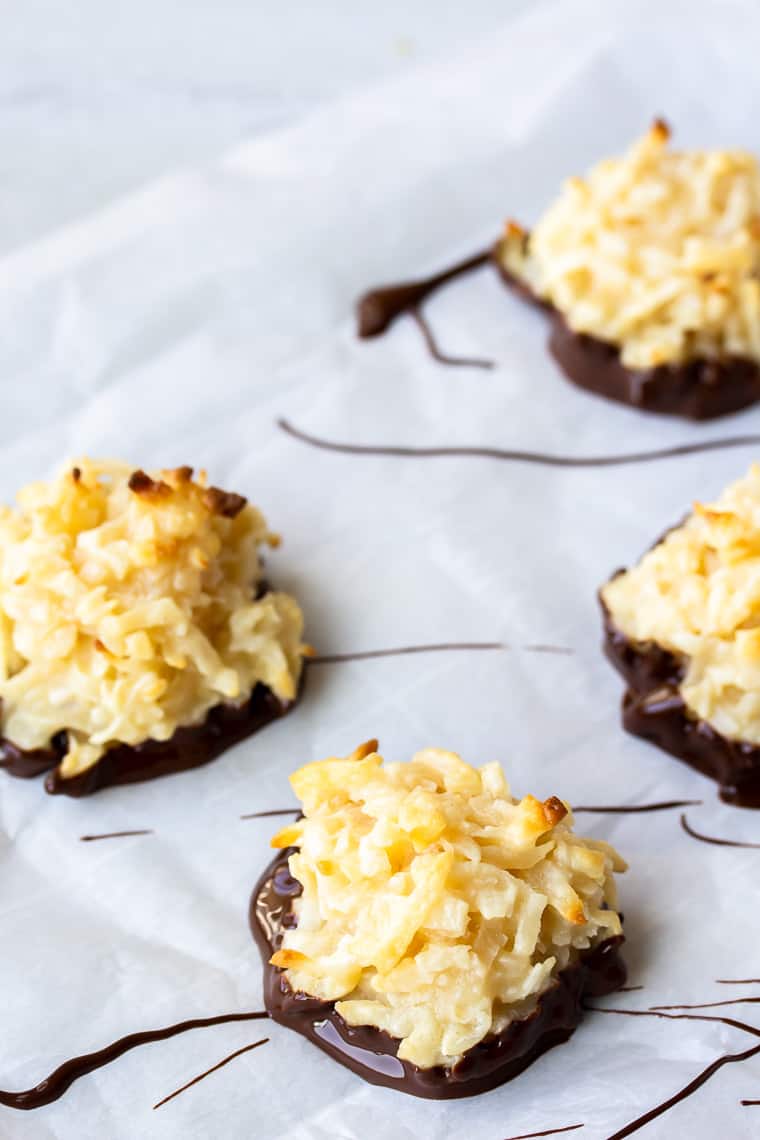
This quick and easy recipe gives you delicious bakery-style Coconut Macaroons. Make them even more indulgent by dipping each one into melted, rich chocolate.
This post contains affiliate links. See our Disclosure Statement for more information.
My love for all things coconut started with coconut shrimp, and then coconut rice. It’s since grown from there, including sweeter coconut recipes like these Chocolate Dipped Coconut Macaroons.
There is the cutest little restaurant near where I used to work that has the best desserts. It was hard not to grab a cookie after lunch. Their Coconut Macaroons where my favorite. They were moist and so coconut-y. They also dipped the bottoms in chocolate which just made for the best combination of flavors.
After moving over an hour away, I had to figure out how to make my own bakery-style Coconut Macaroons. As it turns out, it’s actually a really simple recipe!
Love coconut cookies? Check out this round up of 12 Insanely Delicious Coconut Cookie Recipes.
Why This Recipe Works
- This is a very easy recipe to make. It takes only 5 ingredients and about 25 minutes to make them. The hardest part is how sticky the batter is. It can be a bit messy to work with, but washes off easily.
- This particular recipe is egg free and great for those with egg allergies. It can be hard to find cookie recipes that don’t use eggs in them.
- You can enjoy these Coconut Macaroons with or without the chocolate. I prefer them with dark chocolate, but you can also use milk or white chocolate, if you prefer.
How to Make Chocolate Dipped Coconut Macaroons
Prep!
Preheat your oven to 350°F. Line a baking sheet with a Silpat Baking Mat, if you have one. Otherwise, use an ungreased baking sheet.
Create!
Add the sweetened coconut shreds and flour to the mixing bowl and stir to combine.
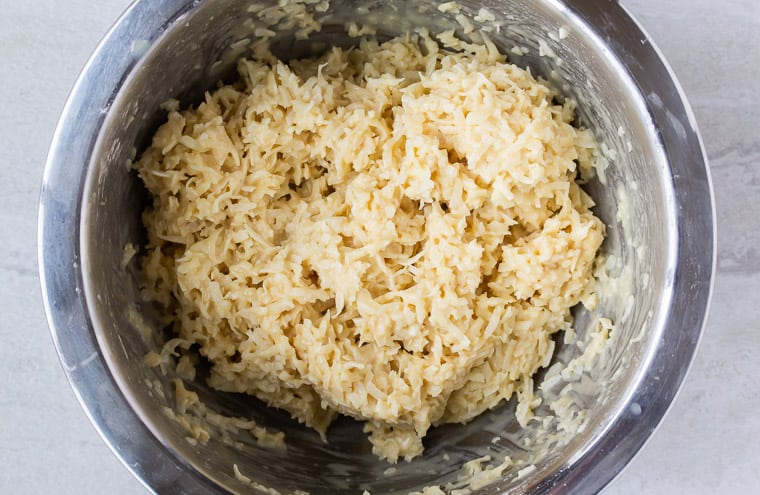
Then, slowly mix in the sweetened condensed milk and vanilla extract. The batter is going to be thick and sticky.
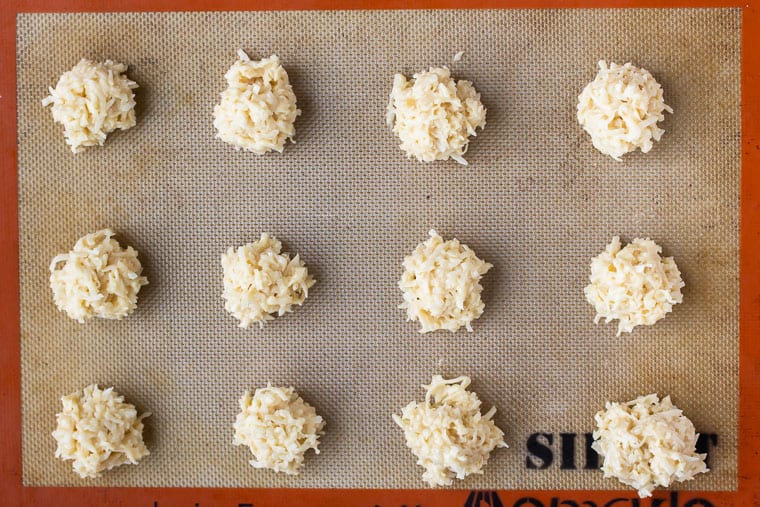
Using a spoon or your hands (my favorite method), scoop out and make 1-inch round, loosely packed balls. This does get a little messy, but I promise you – it washes off easily.
Tip: if the batter is sticking too much, try wetting your hands just a little before rolling the batter out.
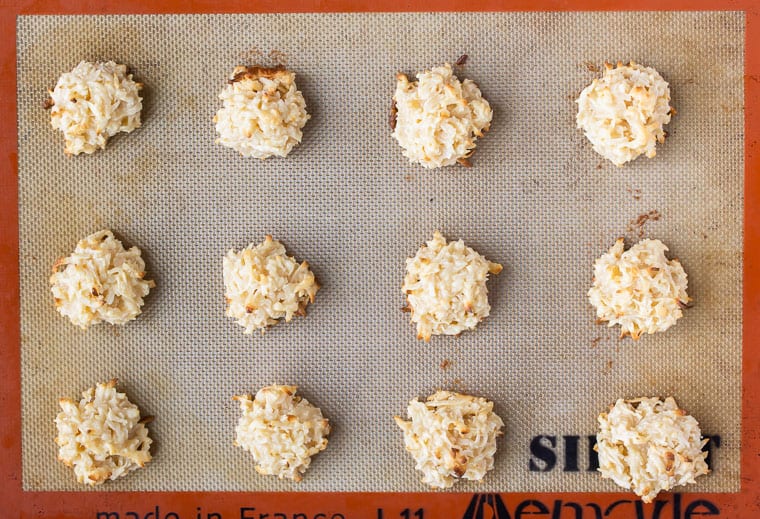
Bake for 12-15 minutes, or until the tops start to turn light brown. This will result in a coconut macaroon that has just a little crunch on the outside and is still soft and chewy in the middle.
While these Coconut Macaroons are delicious right out of the oven, I think they are even better after a little dip in melted chocolate. I like to use 60% cacao bittersweet chocolate chips, but you can use any kind of chocolate you like.
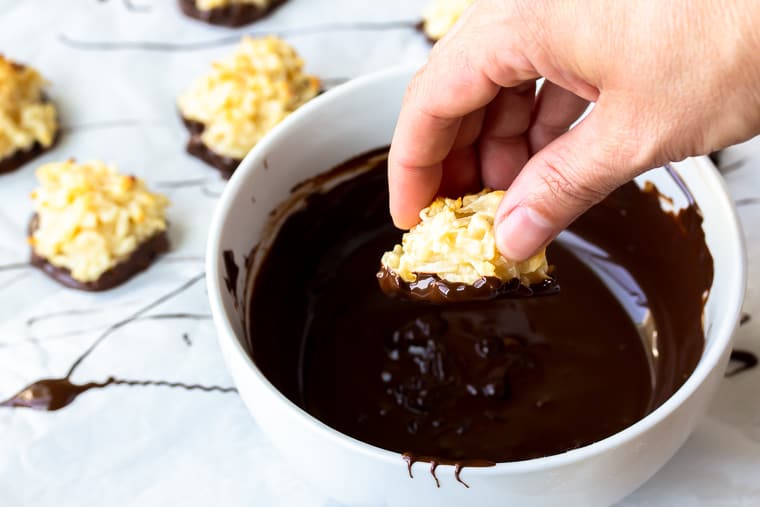
After the macaroons cool, melt the chocolate chips in the microwave for 30-second intervals at 50% power until completely melted, stirring between intervals.
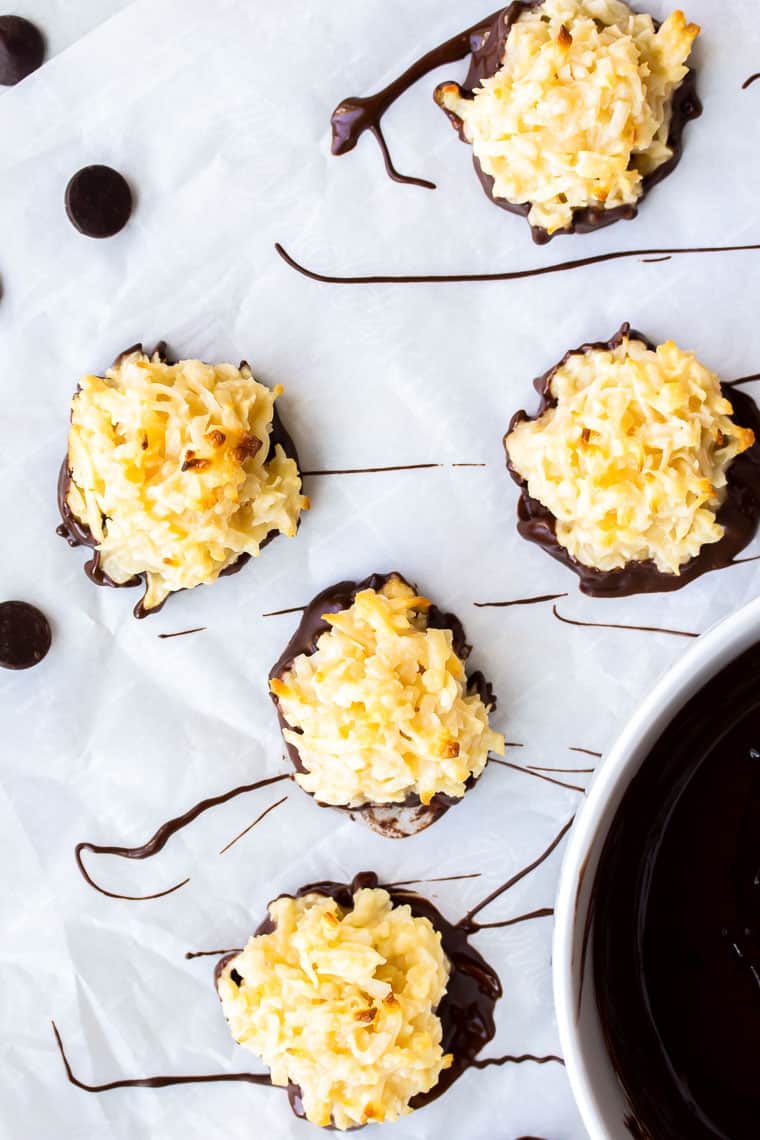
Dip the bottoms of each coconut macaroon into the melted chocolate and return to the cooled baking sheet with the Silpat Mat or place them on a piece of parchment or wax paper to set.
Present!
Allow the chocolate to fully set before enjoying or transferring to a serving tray or storage container.
Tips and Techniques for the Best Chocolate Dipped Coconut Macaroons
- Using a Silpat Mat prevents the Coconut Macaroons from sticking to the baking sheet. If you don’t have one, use an ungreased baking sheet, then allow them to cool some before removing with a spatula.
- You can wet your hands some to prevent the batter from sticking as much as you are rolling out the macaroons.
- If you don’t like dark chocolate, you can use milk or white chocolate instead.
FAQ’s
- How do you store Coconut Macaroons? Store Coconut Macaroons in an air-tight container at room temperature. Enjoy within 5-7 days.
- Can you freeze Coconut Macaroons? Yes. Place Coconut Macaroons in an air-tight container or freezer bag. Store in the freezer for up to 3 months for the best results.
- What is the difference between a macaroon and a macaron? Macaroons are coconut based cookies, whereas macarons are merinque based and usually resemble sandwich cookies. Macarons can also be made in a large range of colors and flavors.
More Coconut Dessert Recipes to Try
- Toasted Coconut Palm Sugar Cookies
- Chocolate Chip Coconut Cookies
- Coconut Cheesecake Bars with Chocolate & Salted Caramel
- Simple Coconut Cheesecake
- Layered Coconut Chocolate Cheesecake with Almond Crust
Love this Chocolate Dipped Coconut Macaroons recipe? Follow me on Pinterest, Instagram, and Facebook for more!
Chocolate Dipped Coconut Macaroons
Ingredients
- 1 14 oz bag sweetened coconut shreds
- 3/4 cups all purpose flour
- 1 14 oz can sweetened condensed milk
- 2 teaspoons vanilla extract
- 1/2 cup chocolate chips *I use 60% cacao bittersweet chocolate chips, but you can use milk or white chocolate, if preferred.
Instructions
- Prep: preheat oven to 350°F. Line a baking sheet with a Silpat Mat, if you have one.
- Combine the coconut shreds and flour in a medium sized bowl and stir to combine.
- Slowly add the condensed milk and vanilla extract and stir well. The batter will be thick and sticky.
- Using a spoon or your hands, scoop out and make 1-inch round lightly packed balls.
- Bake for 12-15 minutes until just lightly browned on top.
- Allow the macaroons cool, then melt the chocolate chips in the microwave in 30-second intervals at 50% power until it's completely melted, stirring between intervals.
- Dip the bottoms of each coconut macaroon into the melted chocolate and return to the cooled baking sheet with a Silpat mat or to a piece of parchment or wax paper to set.
Notes
Tips and Techniques for the Best Coconut Macaroons
- Using a Silpat Mat prevents the Coconut Macaroons from sticking to the baking sheet. If you don’t have one, use an ungreased baking sheet, then allow them to cool some before removing with a spatula.
- You can wet your hands some to prevent the batter from sticking as much as you are rolling out the macaroons.
- Store Coconut Macaroons in an air-tight container at room temperature. Enjoy within 5-7 days.
- Coconut Macaroons can be frozen in an air-tight container or freezer bag. Store in the freezer for up to 3 months for the best results.
Nutrition
This recipe was originally published on May 24, 2017. It was updated with new images, more thorough instructions, tips, techniques, and FAQ’s in December 2019.
