


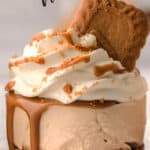

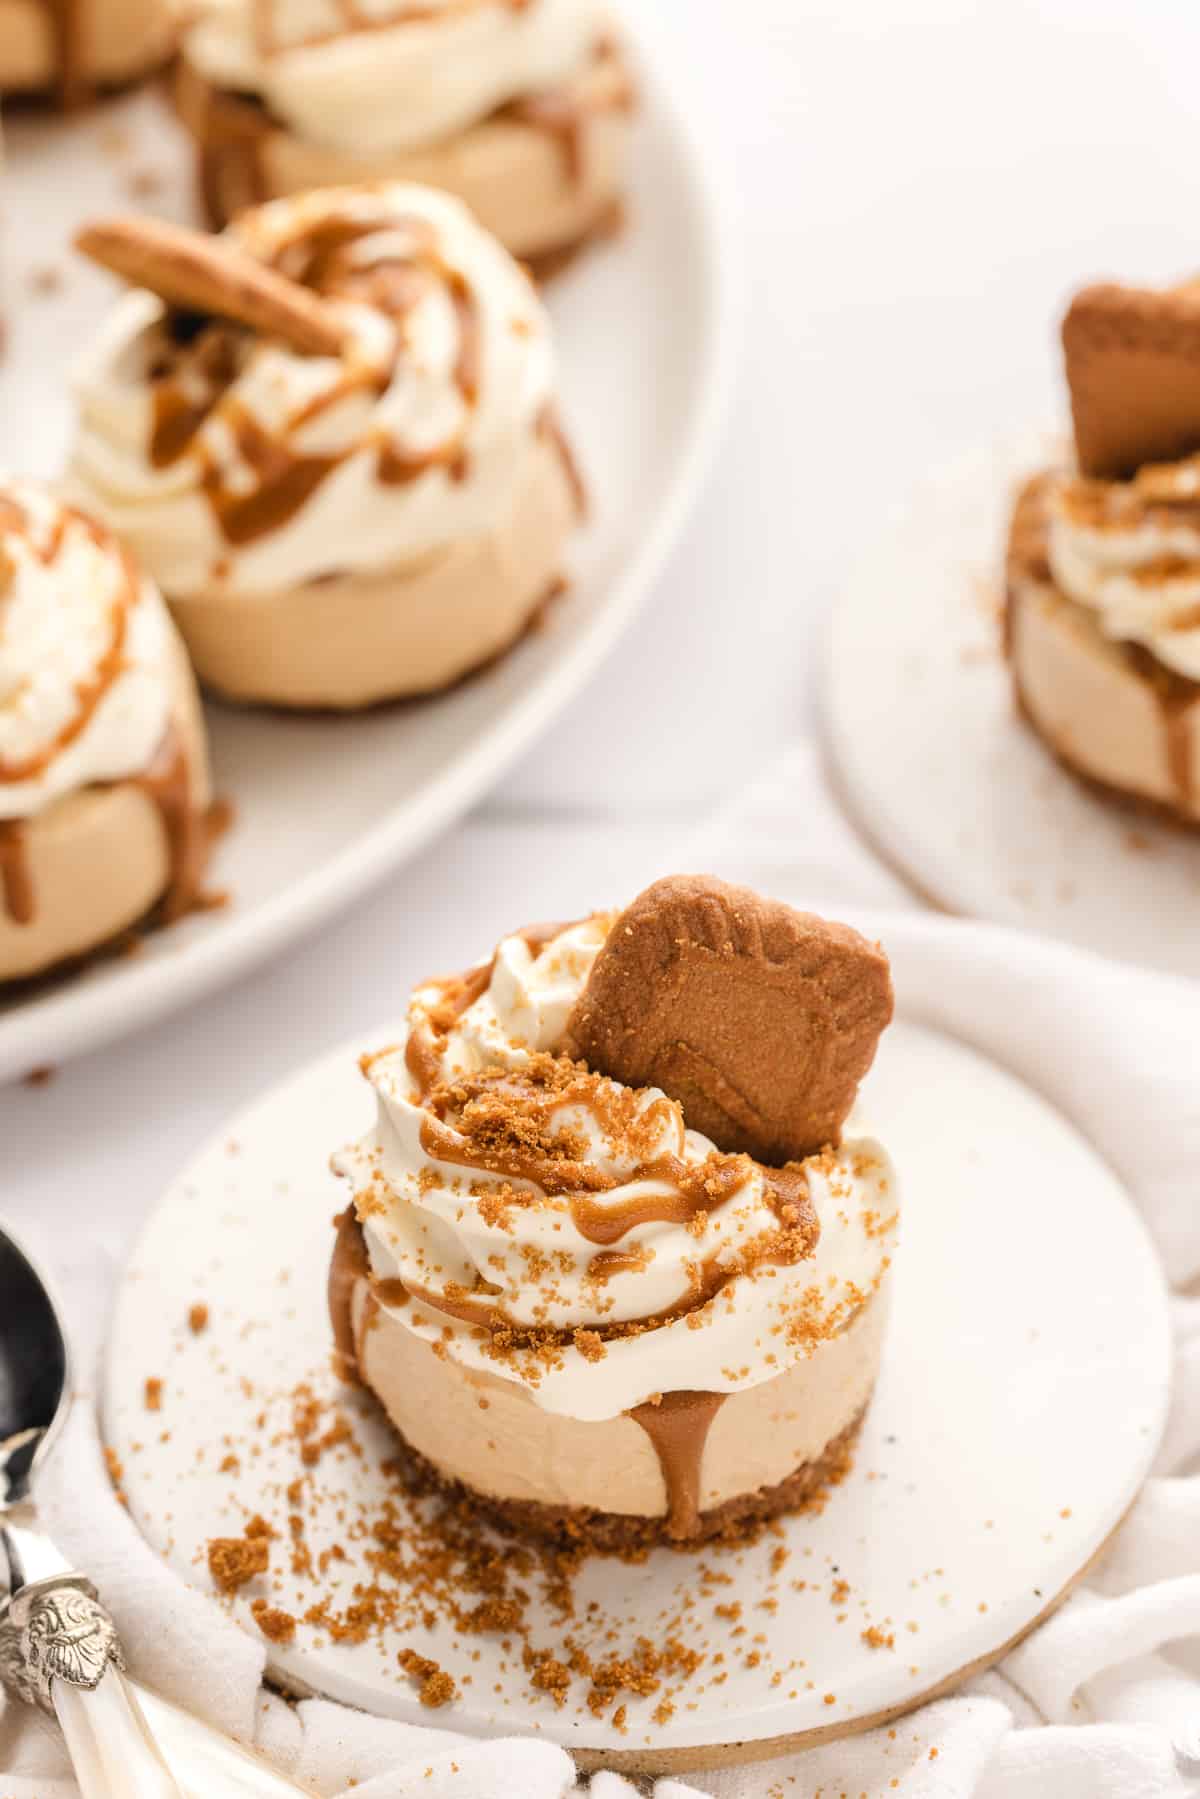
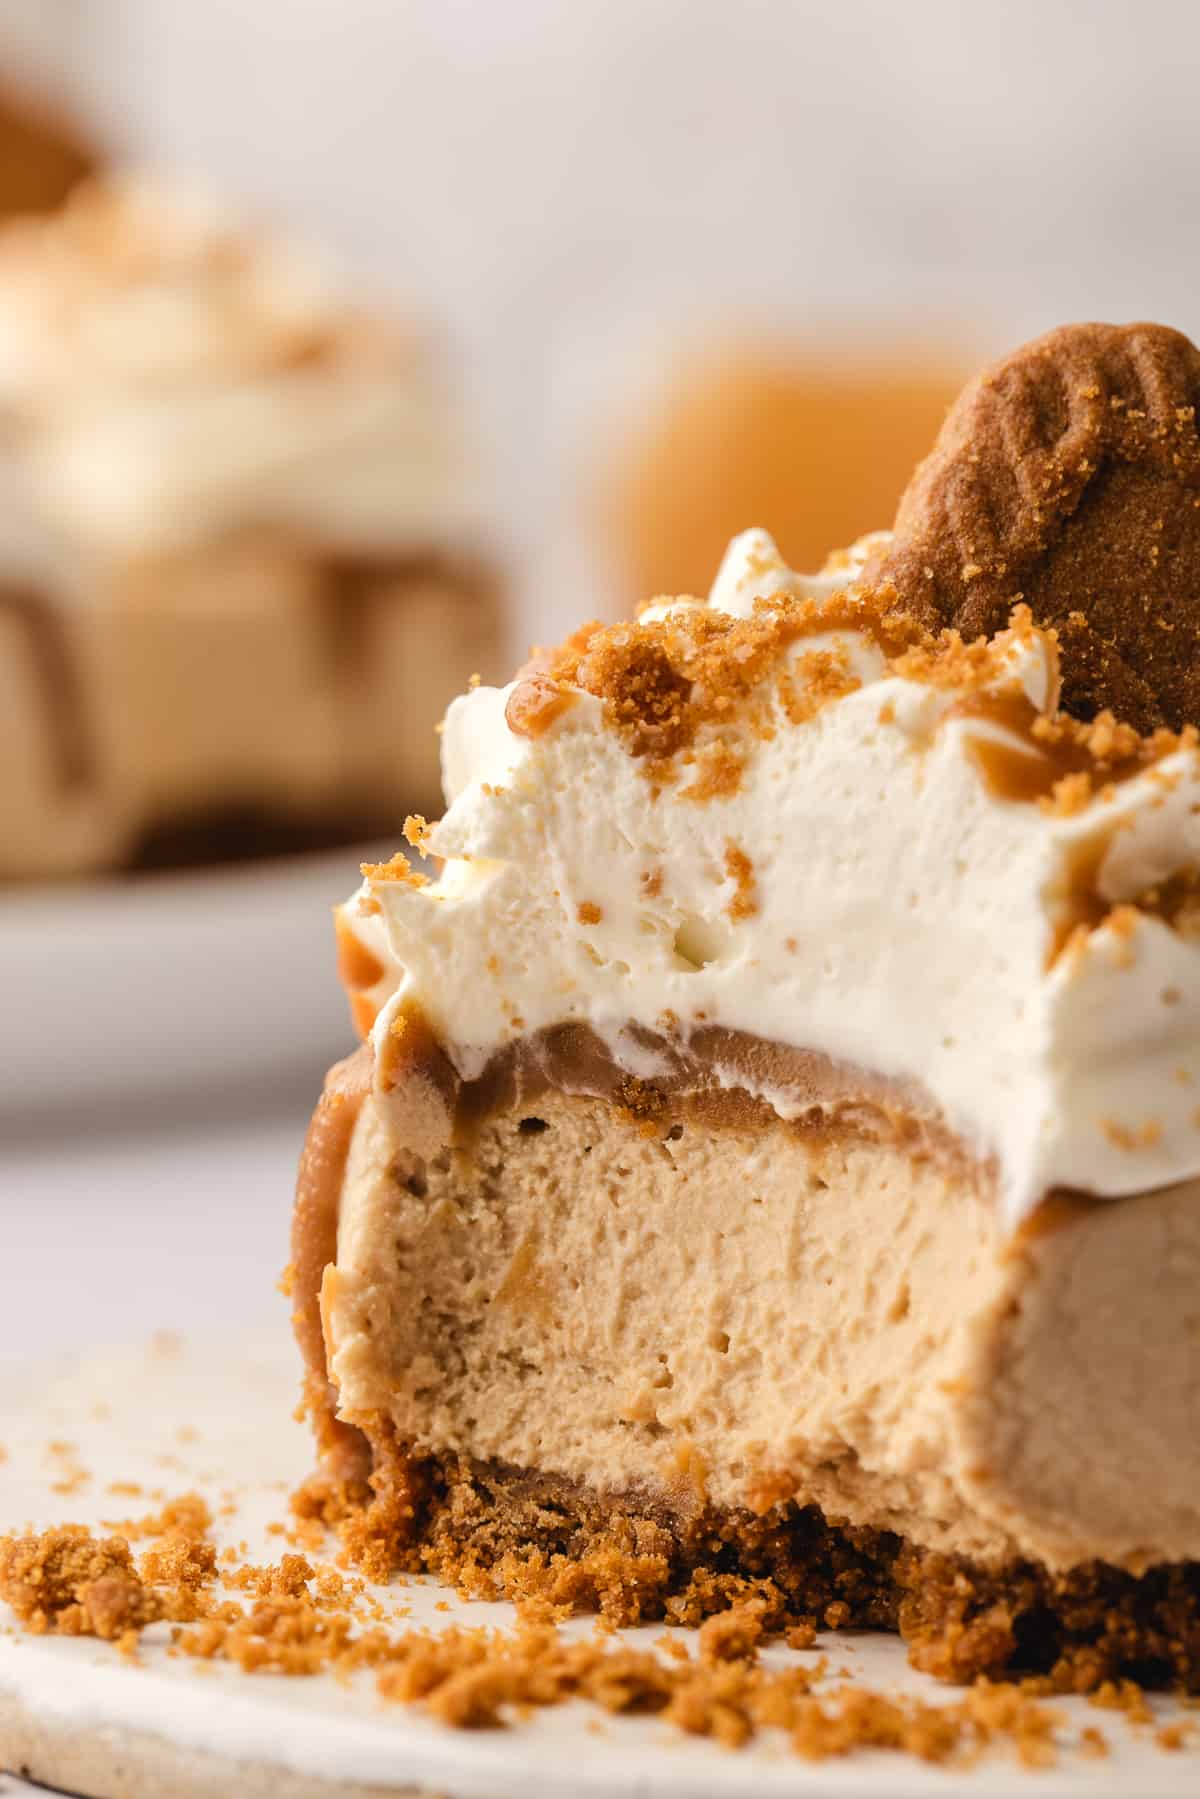
Mini Biscoff Cheesecake are single-serving size no-bake cheesecake desserts. Each little cheesecake is made with a Biscoff cookie crust and topped with whipped cream and Biscoff spread. They are absolutely perfect for the holidays and other special occasions.
This post contains affiliate links. See our Disclosure Statement for more information.
I was first introduced to the actual flavor of Biscoff by my pastry instructor while in Culinary Arts school. She was obsessed with it and I quickly found out why.
She would always set it out whenever we were making desserts where we could choose the flavors. It works so well with just about any type of dessert you can make, especially because it comes as both a spread and in cookie form.
My favorite type of dessert is cheesecake. I tend to make a lot of no-bake cheesecakes since they are super easy, and egg-free due to an allergy in one of my children.
No-bake cheesecakes have a different texture than baked cheesecakes. They tend to be lighter and airier, with a mousse-like consistency. They don’t rely on eggs and heat to set the filling. Instead, whipped cream is used to achieve their structure.
These Mini Biscoff Cheesecakes use Biscoff cookies in the crust and the topping, and Biscoff spread in the cheesecake filling and topping.
If you enjoy the flavor of Biscoff as much as we do, be sure to also give these Biscoff Blondies a try too!
Why This Recipe Works
They are very easy to make at home with only seven, easy to find ingredients.
No-Bake Mini Biscoff Cheesecakes are a delightful, delicious treat that combines the rich flavor and creamy texture of cheesecake with the warm spices and caramelized notes of Biscoff cookies.
Once decorated, they are quite the showstopper. This makes them a beautiful option for holidays like Thanksgiving, Christmas, and other special celebrations.
Step-By-Step Instructions
Ingredients
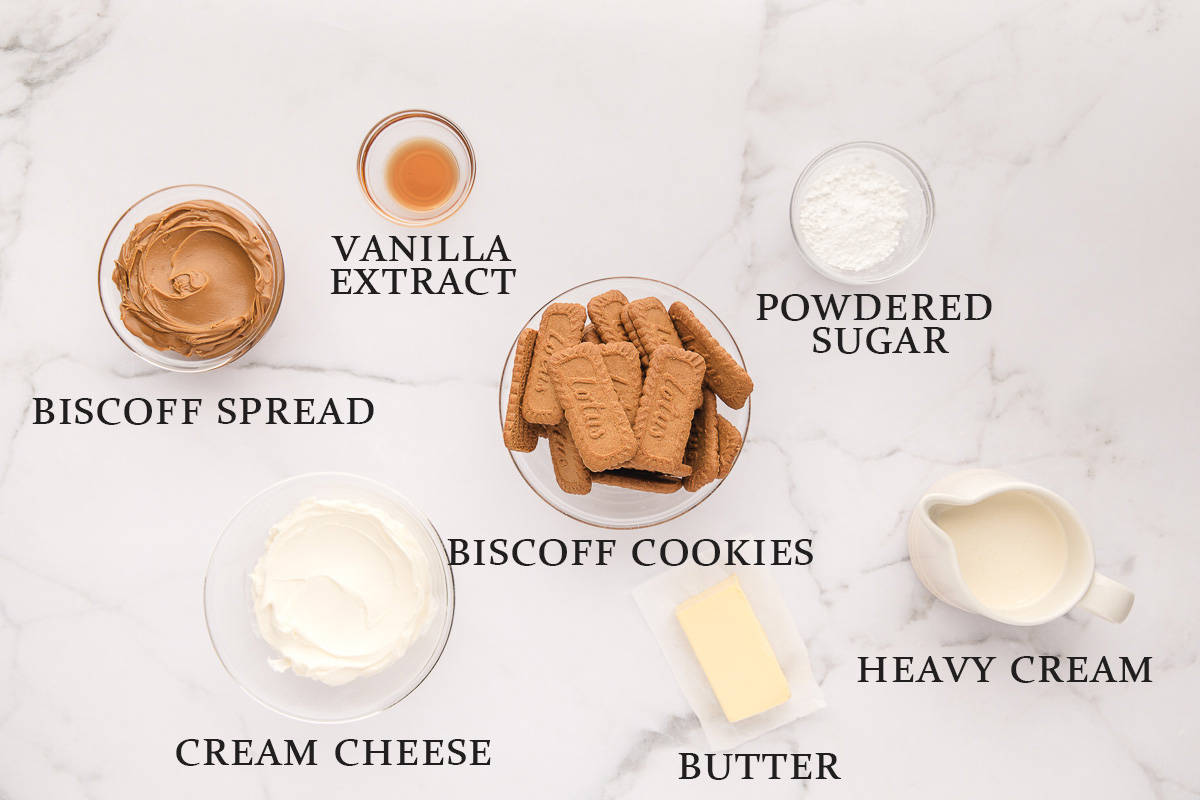
Biscoff Crust
- 22 Biscoff cookies
- 1/4 cup unsalted butter (melted)
No-Bake Biscoff Cheesecake
- 12 ounces full fat cream cheese (at room temperature): using full-fat cream cheese is crucial for the proper set of a no-bake cheesecake. The higher fat content provides a richer texture and helps the cheesecake solidify properly. If you use reduced-fat cream cheese, the cheesecake may not set as firmly and could become runny or grainy.
- 1 cup Biscoff spread
- 1 teaspoon vanilla extract
- 1 1/2 cups heavy whipping cream: using heavy whipping cream with a high fat content is essential for achieving the desired texture in a no-bake cheesecake. Heavy cream, with its higher fat content, contributes to a richer, creamier texture and helps the cheesecakes to set more firmly.
Topping
- 1 cup heavy whipping cream
- 2 tablespoons powdered sugar
- 3/4 cup Biscoff spread
- 4 Biscoff cookies (crushed)
- 6 Biscoff cookies (broken in half)
Equipment Needed
- 12-hole removable pan or 12 cupcake liners and a muffin pan
- Piping bag
- Open star piping tip (Wilton 1M or similar)
The entire recipe and instructions can also be found in the recipe card at the bottom of this post. You can also print the recipe from the card, if needed.
Prep!
There is no significant prep work for this recipe.
Create!
Biscoff Crust
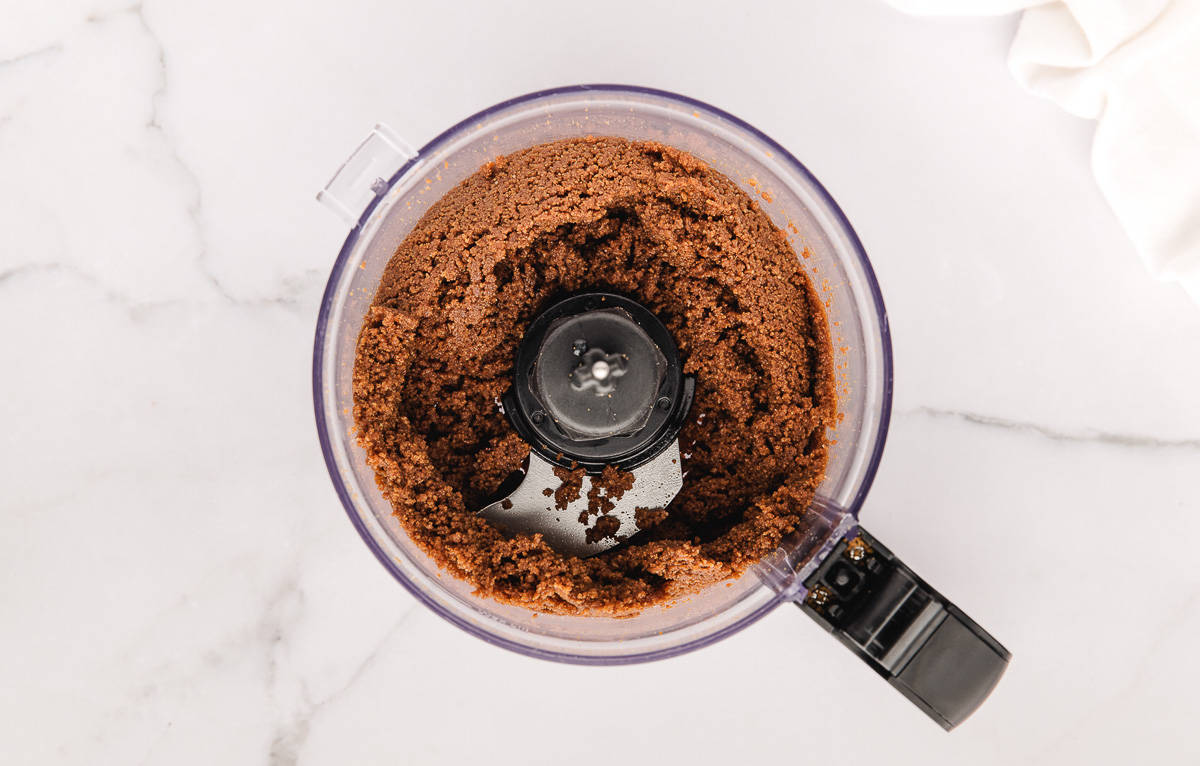
Pulse the 22 Biscoff cookies for the crust in a food processor until they resemble fine crumbs. Add the melted butter and pulse again until combined.
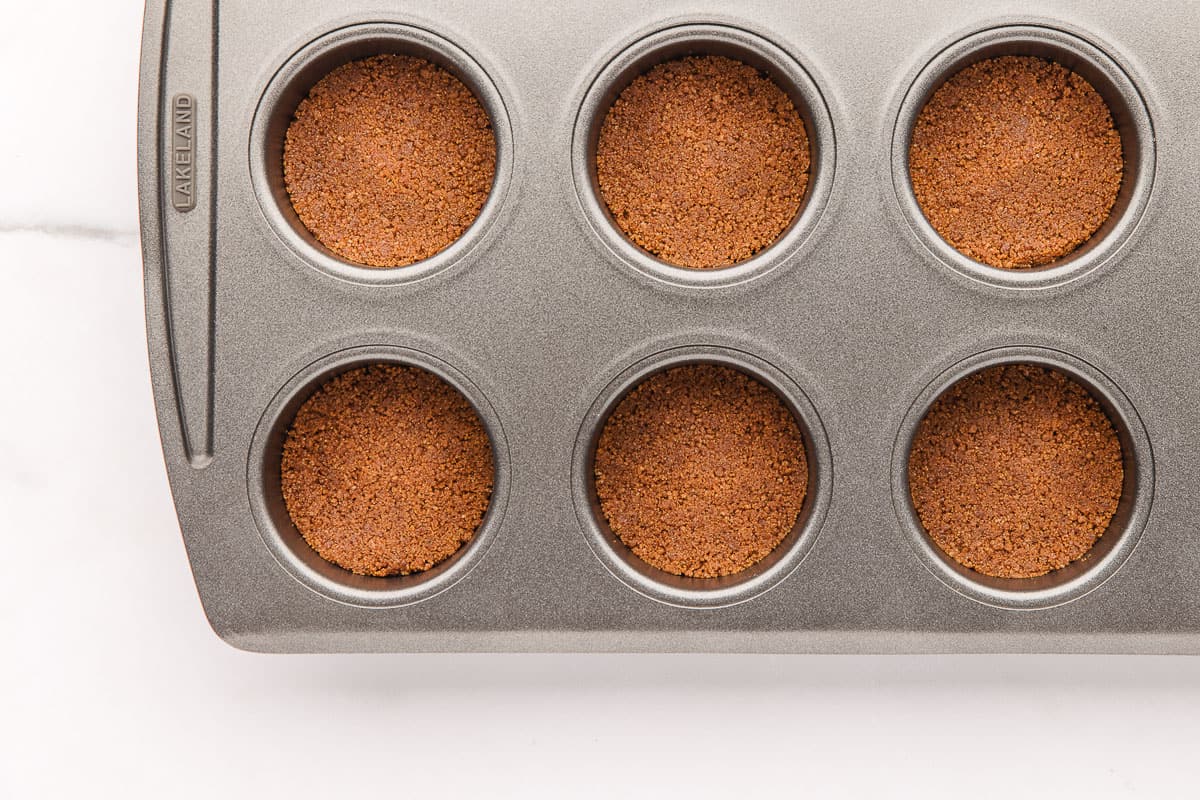
Divide the Biscoff crumb mixture between the 12 holes in the pan (or into cupcake liners if you don’t have a pan). Use the back of a spoon to press down into an even layer and set aside in the fridge while you make the filling.
No-Bake Biscoff Cheesecake
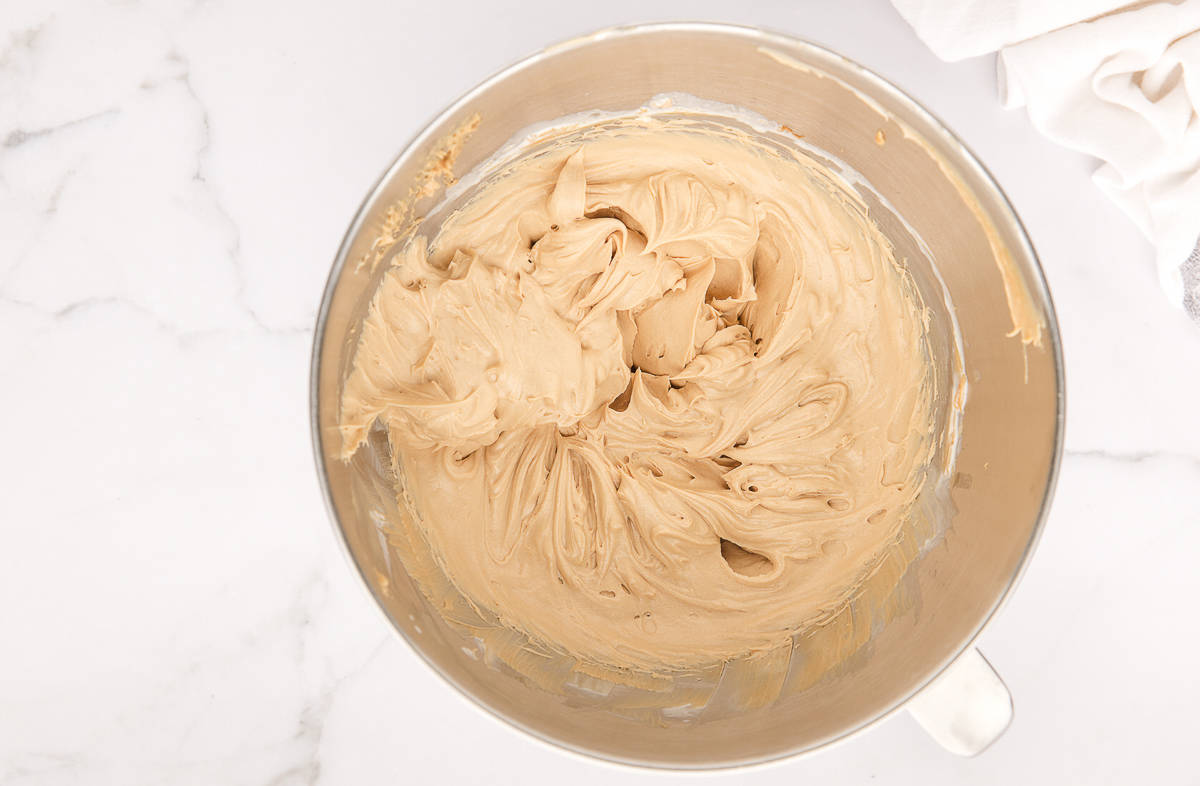
In the bowl of a stand mixer fitted with the paddle attachment, add the cream cheese and beat until smooth and creamy. Add the Biscoff spread and vanilla extract and beat until fully combined and uniform in color.
Swap the paddle attachment for the whisk attachment.
Add the heavy cream and beat for a couple of minutes until very thick.
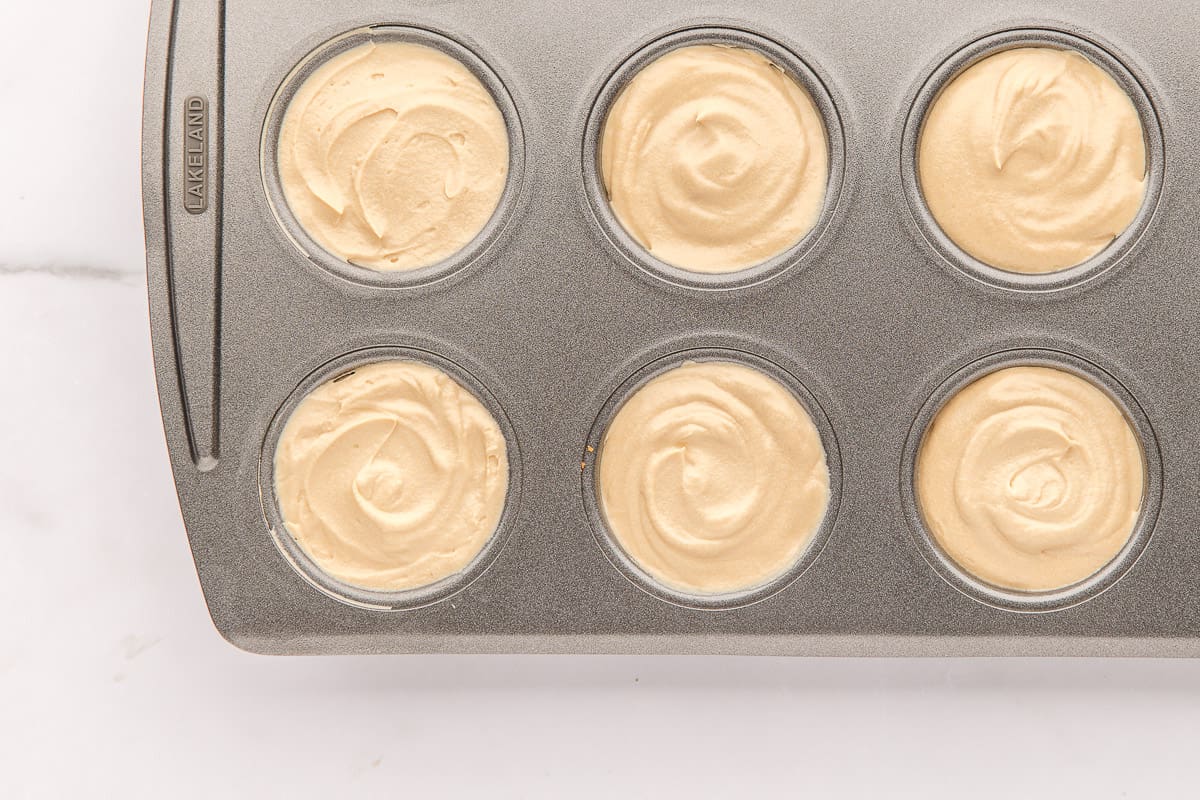
Divide the cheesecake filling between the 12 holes of the pan. Smooth the tops with a spoon or offset spatula.
Cover the pan with plastic wrap and freeze or refrigerate overnight for at least 4 hours, but preferably overnight (see notes).
When the cheesecakes have set, prepare the topping ingredients.
Add the heavy cream and powdered sugar to a mixing bowl and whisk with a handheld electric whisk or using a stand mixer until the cream is holding its shape. Take care not to over whisk. Transfer the whipped cream to a piping bag fitted with a star piping tip (we used a Wilton 1M).
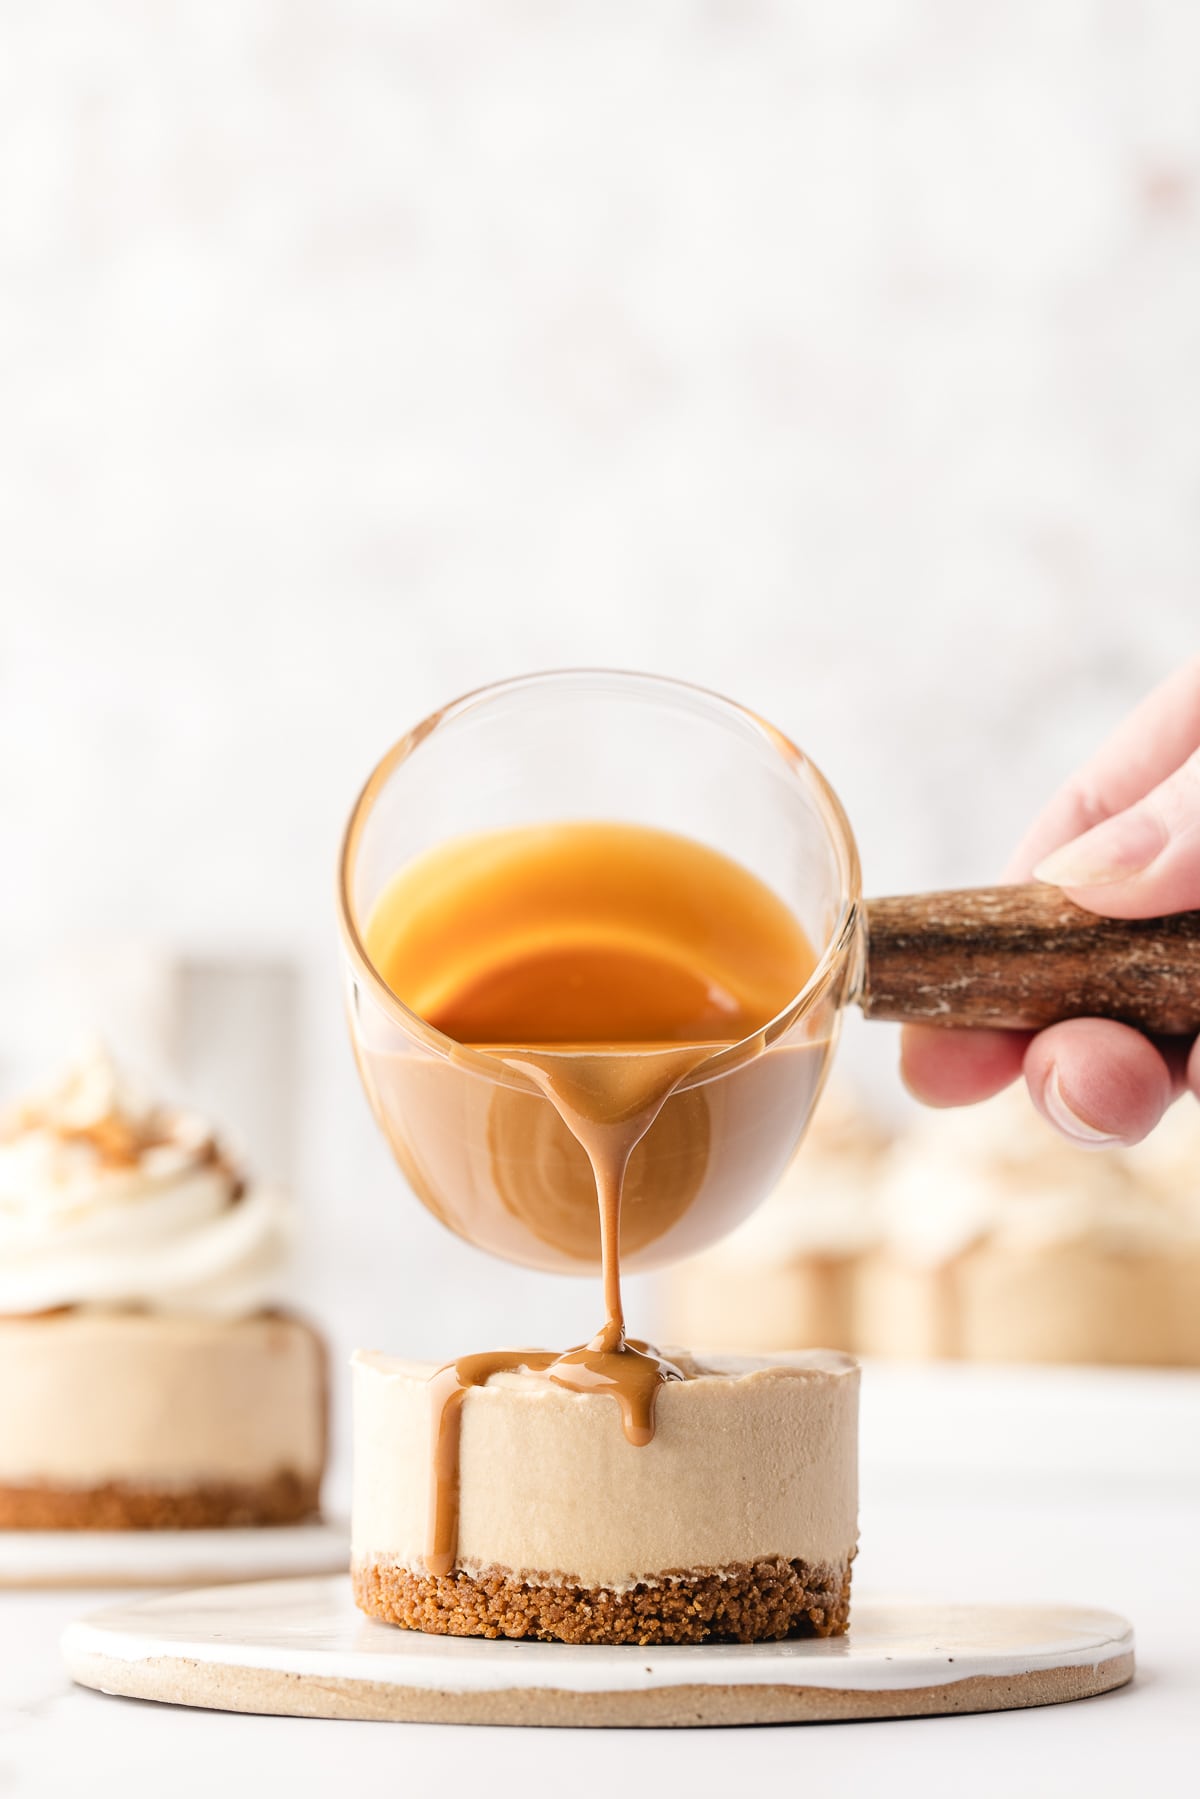
Warm the Biscoff spread for a few seconds in the microwave to loosen it.
Remove the cheesecakes from the pan and drizzle 3/4ths of the warmed Biscoff spread over all of the cheesecakes.
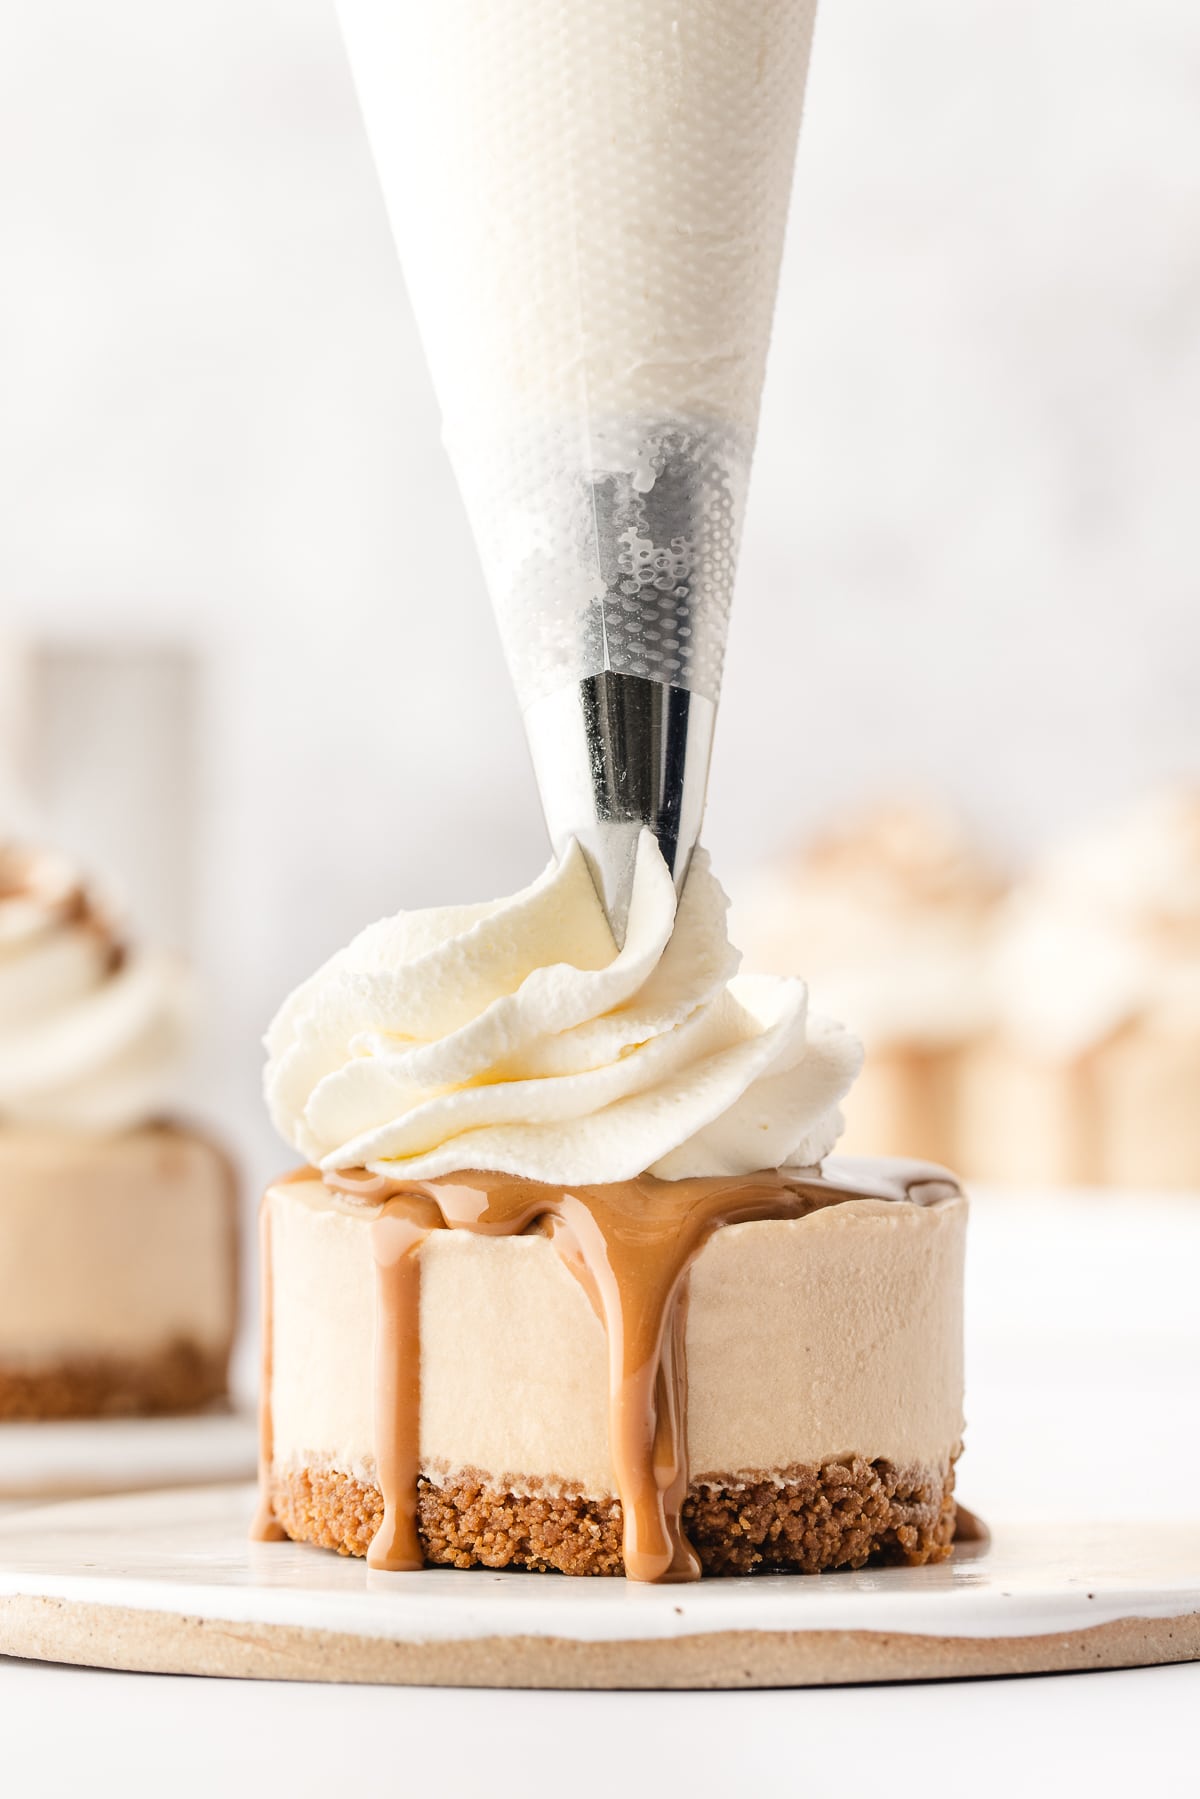
Pipe a whipped cream swirl on top of each cheesecake then scatter over the Biscoff crumbs and add another drizzle of Biscoff spread.
Present!
For a final decorating flourish, snap the 6 Biscoff cookies in half and add one half to the top of each mini cheesecake.
Serve immediately and enjoy!
Tips and Techniques
- We used a 12-hole removable bottomed pan to make these cheesecakes. This pan is not essential but it does enhance the appearance of the cheesecakes ensuring very smooth edges. If you don’t have a loose bottom pan with individual holes you can make this recipe with cupcakes liners placed into a muffin pan instead.
- It’s important that the cream cheese is at room temperature as this allows it to blend seamlessly with the other ingredients and prevents lumps from forming.
- We froze our mini cheesecakes overnight and then put them into the fridge for a couple of hours before turning them out from the pan. This allows for clean edges and ensures the cheesecake has set.
- If you don’t have room in your freezer be mindful that proper refrigeration is crucial. Refrigerate the cheesecake for at least 4-6 hours or overnight to allow it to set completely. This ensures a firm and stable texture.
- If you don’t intend on serving all 12 of these cheesecakes at the same time we recommend leaving them undecorated in the freezer or fridge until you’re ready to serve. The texture of the cheesecakes will soften if they are left at room temperature for too long.
- No Bake Mini Biscoff Cheesecakes should be stored in the refrigerator where they will stay fresh for 2 days.
- They can be frozen, undecorated, for up to one month.
More Cheesecake Recipes


Love this Mini Biscoff Cheesecake recipe? Follow me on Pinterest, Instagram, and Facebook for more!
If you try this recipe, please leave a comment and star rating. I would really appreciate it!

Mini Biscoff Cheesecake
Ingredients
Biscoff Crust
- 22 Biscoff cookies
- 1/4 cup unsalted butter (melted)
No-Bake Biscoff Cheesecake
- 12 ounces full fat cream cheese (room temperature)
- 1 cup Biscoff spread
- 1 teaspoon vanilla extract
- 1 1/2 cups heavy whipping cream:
Topping
- 1 cup heavy whipping cream
- 2 tablespoons powdered sugar
- 3/4 cup Biscoff spread
- 4 Biscoff cookies (crushed)
- 6 Biscoff cookies (broken in half)
Instructions
- Pulse the 22 Biscoff cookies for the crust in a food processor until they resemble fine crumbs. Add the melted butter and pulse again until combined.22 Biscoff cookies, 1/4 cup unsalted butter
- Divide the Biscoff crumb mixture between the 12 holes in removable bottom pan (or into cupcake liners and muffin pan). Use the back of a spoon to press down into an even layer and set aside in the fridge while you make the filling.
- In the bowl of a stand mixer fitted with the paddle attachment, add the cream cheese and beat until smooth and creamy. Add the Biscoff spread and vanilla extract and beat until fully combined and uniform in color.12 ounces full fat cream cheese, 1 cup Biscoff spread, 1 teaspoon vanilla extract
- Swap the paddle attachment for the whisk attachment. Add the heavy cream and beat for a couple of minutes until very thick.1 1/2 cups heavy whipping cream:
- Divide the cheesecake filling between the 12 holes of the pan. Smooth the tops with a spoon or offset spatula.
- Cover the pan with plastic wrap and freeze or refrigerate overnight for at least 4 hours, but preferably overnight (see notes).
- Add the heavy cream and powdered sugar to a mixing bowl and whisk with a handheld electric whisk or using a stand mixer until the cream is holding its shape. Take care not to over whisk. Transfer the whipped cream to a piping bag fitted with a star piping tip (we used a Wilton 1M).1 cup heavy whipping cream, 2 tablespoons powdered sugar
- Warm the Biscoff spread for a few seconds in the microwave to loosen it. Remove the cheesecakes from the pan and drizzle 3/4ths of the warmed Biscoff spread over all of the cheesecakes.3/4 cup Biscoff spread
- Pipe a whipped cream swirl on top of each cheesecake then scatter over the Biscoff crumbs and add another drizzle of Biscoff spread.4 Biscoff cookies
- For a final decorating flourish, snap the 6 Biscoff cookies in half and add one half to the top of each mini cheesecake.6 Biscoff cookies
Notes
Tips and Techniques
- We used a 12-hole removable bottomed pan to make these cheesecakes. This pan is not essential but it does enhance the appearance of the cheesecakes ensuring very smooth edges. If you don’t have a loose bottom pan with individual holes you can make this recipe with cupcakes liners placed into a muffin pan instead.
- It’s important that the cream cheese is at room temperature as this allows it to blend seamlessly with the other ingredients and prevents lumps from forming.
- We froze our mini cheesecakes overnight and then put them into the fridge for a couple of hours before turning them out from the pan. This allows for clean edges and ensures the cheesecake has set.
- If you don’t have room in your freezer be mindful that proper refrigeration is crucial. Refrigerate the cheesecake for at least 4-6 hours or overnight to allow it to set completely. This ensures a firm and stable texture.
- If you don’t intend on serving all 12 of these cheesecakes at the same time we recommend leaving them undecorated in the freezer or fridge until you’re ready to serve. The texture of the cheesecakes will soften if they are left at room temperature for too long.
- No Bake Mini Biscoff Cheesecakes should be stored in the refrigerator where they will stay fresh for 2 days.
- They can be frozen, undecorated, for up to one month.