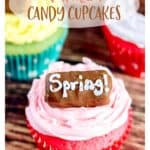
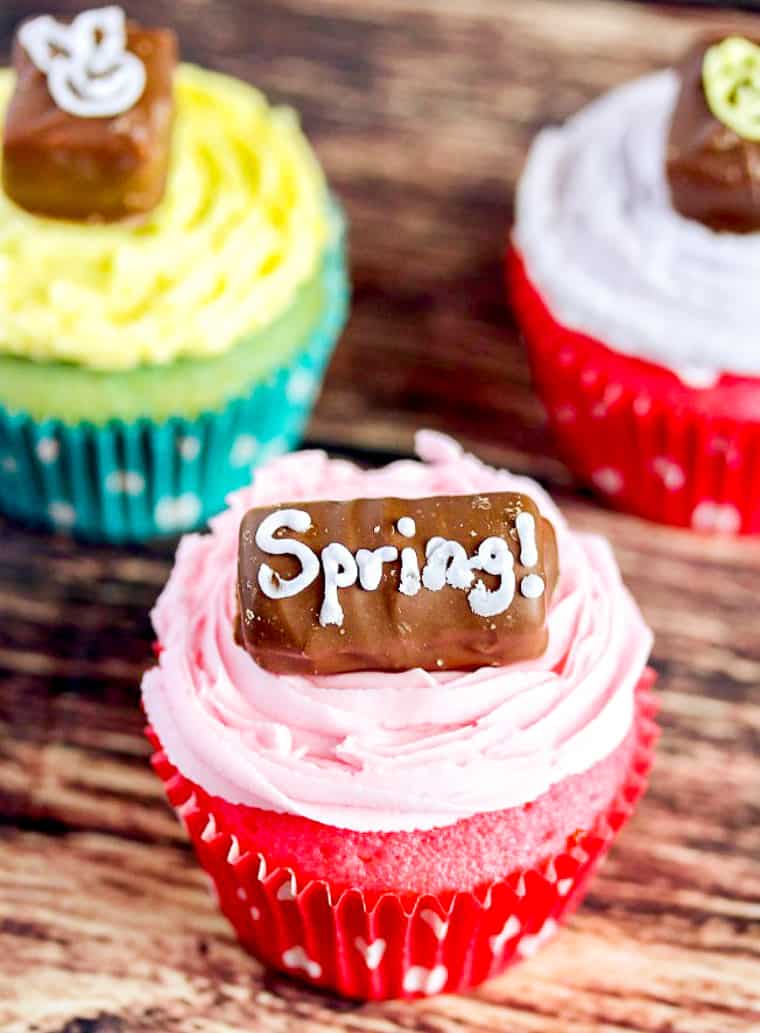
Try these Vanilla Candy Cupcakes for a fun, delicious treat! Make them as shown in the photos for spring gatherings, or change up the colors to suit any and every party, holiday, or celebration need!
This post contains affiliate links. See our Disclosure Statement for more information.
Cupcakes are an easy go-to dessert for just about any gathering, celebration, or holiday. At Christmas time, I’ll make Gingerbread Cupcakes. As a special treat for my oldest son, I make his favorite Dark Chocolate Mint Cupcakes, but for the most part, vanilla cupcakes are the flavor I make the most.
When I first developed this recipe, I wanted the cupcakes to have both a spring and Easter feel to them. There is no better way to do that than to make them pretty pastel colors and add a little candy touch! For the candy on top, I bought a bag of mixed mini chocolate candy bars that come in both square and rectangular shapes. This way I could write both words and pipe images on them.
You can decorate your cupcakes the same way, or easily modify the colors and candy to suit whatever occasion you need them for!
Why This Recipe Works
- This Vanilla Candy Cupcake recipe is rich and full of vanilla flavor! I use heavy cream in place of some of the butter and reduce the amount of sugar as well. This results in a really moist cupcake that’s just sweet enough.
- These cupcakes can be enjoyed plain or decorated for any occasion!
- The recipe can easily be doubled and used as a basic vanilla cake recipe.
How to Make Vanilla Candy Cupcakes
Prep!
Set the butter out about an hour before you begin baking to allow it to come to room temperature. If the butter is too cold or too warm, the results may not be ideal.
When you are ready to begin baking, preheat your oven to 350°F and line a cupcake pan with 12 paper liners.
Create!
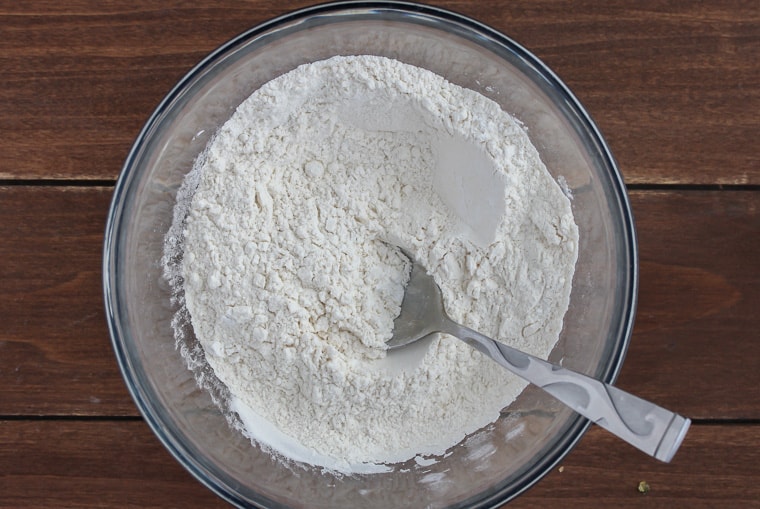
Mix together the flour, baking powder, and salt in a small bowl and set aside.
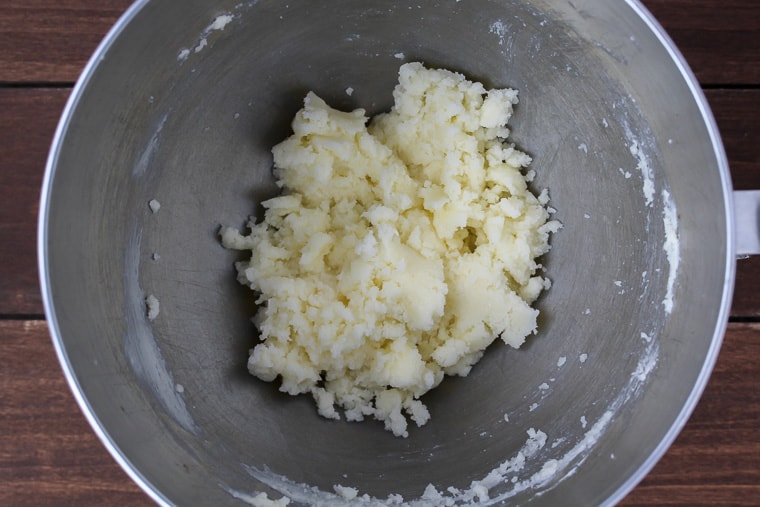
In a medium bowl, mix together the sugar and butter using an electric mixer on medium speed.
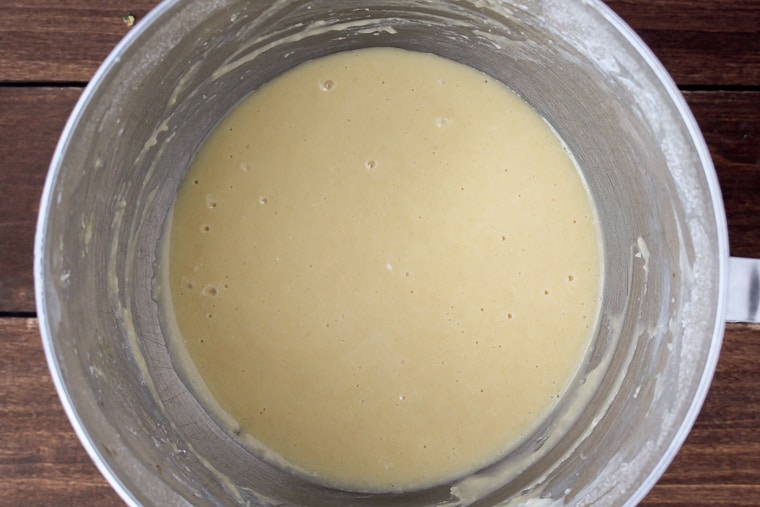
Add the eggs, then the vanilla until well blended and smooth.
Add the flour mixture and the heavy cream by alternating them until the batter is smooth and everything is well blended.
If using food coloring, this is the time to divide your batter into equal portions for each color you plan to use. Mix the food coloring in until you reach your desired result.
Tip: to color the cupcakes and icing, I use yellow, pink, purple, and blue gel food coloring and add just a little bit at a time to get the perfect pastel shades.

Fill each cupcake liner half full.
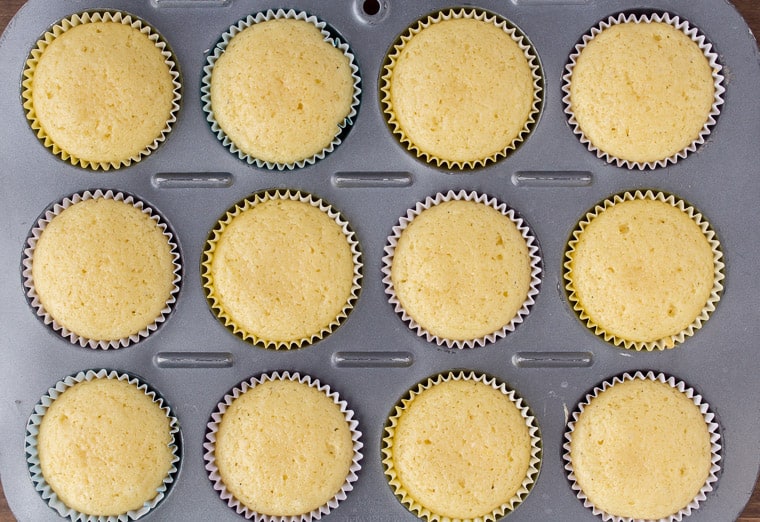
Bake the cupcakes for 12-14 minutes. Check if they are fully done baking by inserting a toothpick into the middle to see if it comes out clean. If so, they are done.
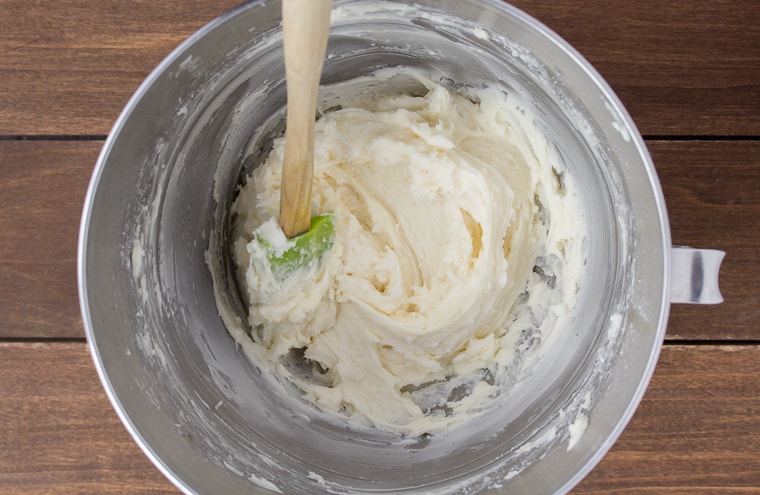
While the cupcakes are baking, make the vanilla icing by adding the powdered sugar, butter, heavy cream, and vanilla to a medium mixing bowl. Beat on medium speed until smooth.
Again, if using food coloring, divide your icing and color as desired. Once again, I start with a small amount of food coloring gel and build up until I reach the desired shade.
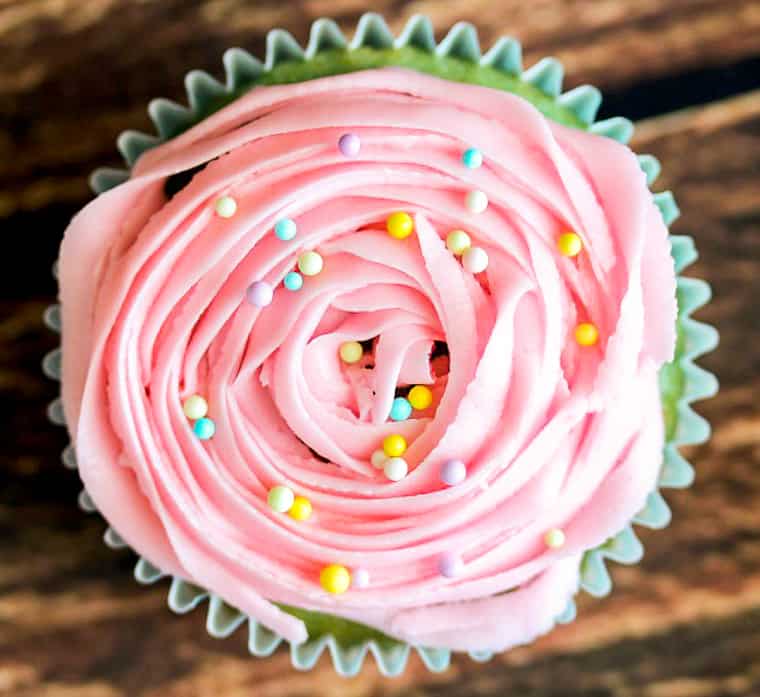
Spread or pipe the icing onto the cupcakes, as desired, once they are cool.
Present!
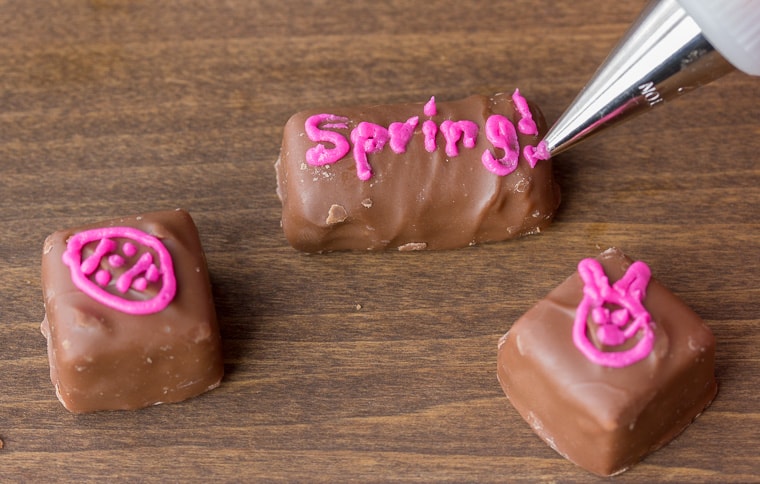
Use leftover icing in a piping bag fitted with a very small round tip to “draw” spring and Easter themed wording and designs on the mini candy bars.
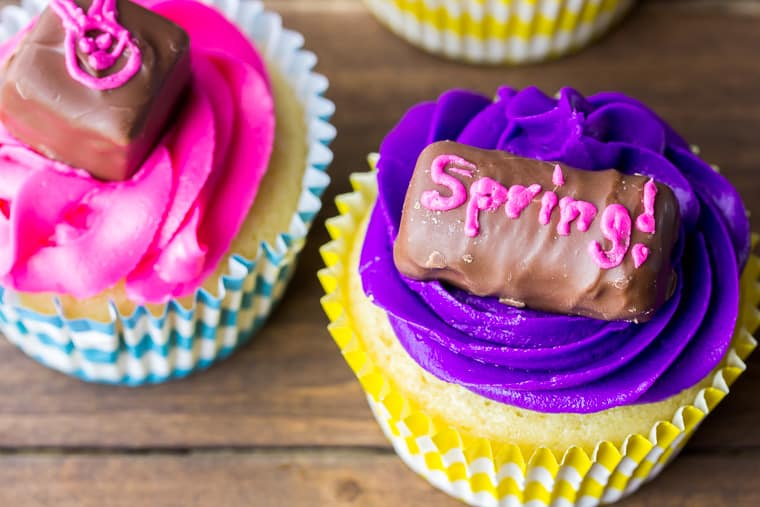
Add icing to the bottom of each candy to “glue” it to the iced cupcake.
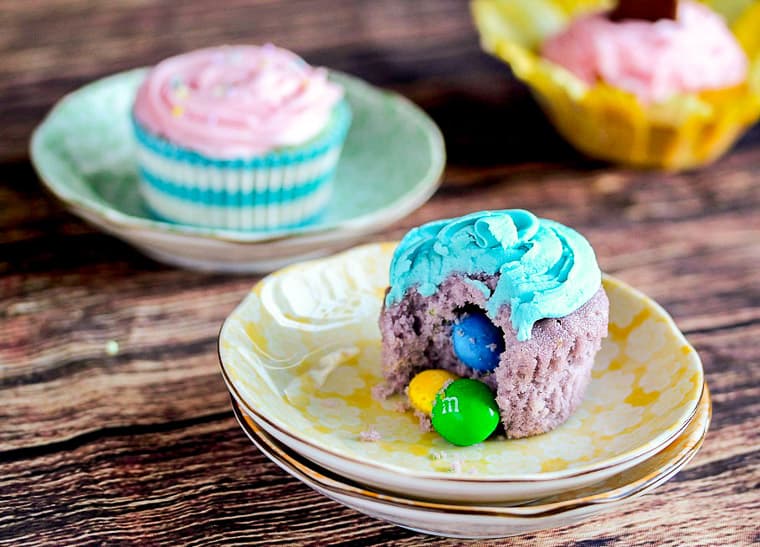
Alternatively, you can cut a hole into middle of the cupcakes, about halfway deep, and place candy inside for a little surprise! Then, pipe on the icing in the colors and designs of your choice.
Supplies Used to Decorate Vanilla Candy Cupcakes
- Cupcake liners – I used both pastel cupcake liners and these flower blossom liners.
- Piping Bags
- Piping Tips – for the writing I recommend using a #2 or #3 round piping tip (usually sold in sets). You can use whatever piping tips you like for the icing. I like to use #97, #108, and #2D.
- Sprinkles – I used Wilton sprinkles that are round and pastel
- Mini Candy Bars
Tips & Techniques for the Best Vanilla Candy Cupcakes
- Set the butter out about an hour before you begin baking to allow it to come to room temperature. If the butter is too cold, or too warm, the cupcakes may not turn out perfectly.
- Decorate your cupcakes the same way, or easily modify the colors and candy to suit whatever occasion you need them for!
FAQ’s
- How do you store cupcakes? You can store cupcakes without icing tightly covered at room temperature for a day or two, or with/without icing in the refrigerator for up to seven days.
- Can cupcakes be frozen? You can freeze cupcakes without icing, tightly wrapped in plastic wrap, for 4-6 months.
- Can buttercream icing be frozen? Yes. You can freeze buttercream icing in an air-tight container for up to 3 months. Allow it to thaw in the refrigerator before using.
Other Recipes to Try
- Chocolate Hazelnut Cupcakes
- Dark Chocolate Mint Cupcakes
- Strawberry Vanilla Cupcakes
- Mini Lemon Cupcakes
- Gingerbread Cupcakes
Love this Vanilla Candy Cupcakes recipe? Follow me on Pinterest, Instagram, and Facebook for more!

Vanilla Candy Cupcakes
Ingredients
Vanilla Cupcakes
- 1 1/4 Cups all purpose flour
- 1 1/4 teaspoons baking powder
- 1/4 teaspoon salt
- 3/4 Cups granulated sugar
- 1/4 Cup butter * at room temperature
- 2 eggs
- 2 teaspoons vanilla extract
- 1/2 Cup heavy cream
- food coloring *optional
Vanilla Icing
- 4 Cups powdered sugar
- 1/2 Cup butter * at room temperature
- 2 Tablespoons heavy cream
- 2 teaspoons vanilla extract
- food coloring *optional
Decorations
- 12 pieces mini candy bars
- M&M’S candies *if opting to make surprise cupcakes
Instructions
Vanilla Cupcakes
- Preheat oven to 350° F. Line a cupcake pan with 12 liners.
- Mix together the flour, baking powder, and salt in a small bowl, and set aside.
- In a medium bowl, mix together the sugar and butter using an electric mixer on medium speed.
- Add the eggs, then the vanilla until well blended and smooth.
- Add the flour mixture and the heavy cream by alternating them until the batter is smooth and everything is well blended.
- If using food coloring, this is the time to divide your batter into equal portions for each color you plan to use. Mix in the food coloring until you reach your desired result.
- Fill each cupcake liner half full.
- Bake the cupcakes for 12-14 minutes or until a toothpick inserted into the center comes out clean.
Vanilla Buttercream
- Add the powdered sugar, butter, heavy cream, and vanilla to a medium mixing bowl.
- Beat on medium speed until smooth.
- If using food coloring, divide your icing and color as desired. Icing cupcakes as desired once they are cool.
- Use leftover icing in a piping bag fitted with a very small round tip to "draw" wording and designs onto the candy. Add icing to the bottom of each candy to "glue" it to the cupcake.
- Alternatively, you can hollow out the middle of each cupcake before icing and place M&M’S inside to make surprise cupcakes.
Notes
Supplies Used to Decorate Vanilla Candy Cupcakes
- Cupcake liners – I used both pastel cupcake liners and these flower blossom liners.
- Piping Bags
- Piping Tips – for the writing I recommend using a #2 or #3 round piping tip (usually sold in sets). You can use whatever piping tips you like for the icing. I like to use #97, #108, and #2D.
- Sprinkles – I used Wilton sprinkles that are round and pastel
- Mini Candy Bars
Tips & Techniques for the Best Vanilla Candy Cupcakes
- Set the butter out about an hour before you begin baking to allow it to come to room temperature. If the butter is too cold, or too warm, the cupcakes may not turn out perfectly.
- Decorate your cupcakes the same way, or easily modify the colors and candy to suit whatever occasion you need them for!
FAQ’s
- How do you store cupcakes? You can store cupcakes without icing tightly covered at room temperature for a day or two, or with/without icing in the refrigerator for up to seven days.
- Can cupcakes be frozen? You can freeze cupcakes without icing, tightly wrapped in plastic wrap, for 4-6 months.
- Can buttercream icing be frozen? Yes. You can freeze buttercream icing in an air-tight container for up to 3 months. Allow it to thaw in the refrigerator before using.
Nutrition
This recipe was originally posted on March 2, 2017. The content and text was updated in March 2019 to include more thorough instructions, tips, techniques, and FAQ’s.