Learn how to toast coconut right at home in your own oven or on the stove top. It’s so easy, and so delicious, you’ll wonder why you haven’t done it sooner! Also included is plenty of ways to enjoy homemade toasted coconut.
This post may contain affiliate links. See our Disclosure Statement for full details.
The first time I ever tried toasted coconut was when I received a sample of toasted coconut chips in the mail, of all places! It was one of those experiences where all it took was one bite, and I was hooked.
By the time I tried toasted coconut, I had already gotten over my dislike for regular coconut. For years I couldn’t deal with the taste or the texture, but even if I hadn’t gotten past that, I think I’d still love it toasted.
Toasted coconut has a nutty flavor, and I love most nuts. The texture is also different. It’s a lot more crispy and crunchy which makes it absolutely addicting!
Why This Recipe Works
The biggest reason to toast your own coconut is that it costs significantly less to do it yourself, than to buy it, and literally takes less than 10 minutes to make. You can easily make a small or large quantity depending on what you need it for.
The next reason is the flavor and texture. Toasted coconut it nuttier, crispier, and crunchier, than regular coconut. It adds so much flavor and texture to food.
If you use unsweetened shredded coconut, it’s a great way to add some extra flavor and texture to low carb or keto recipes.
How To Toast Coconut in The Oven
What You Need For This Recipe
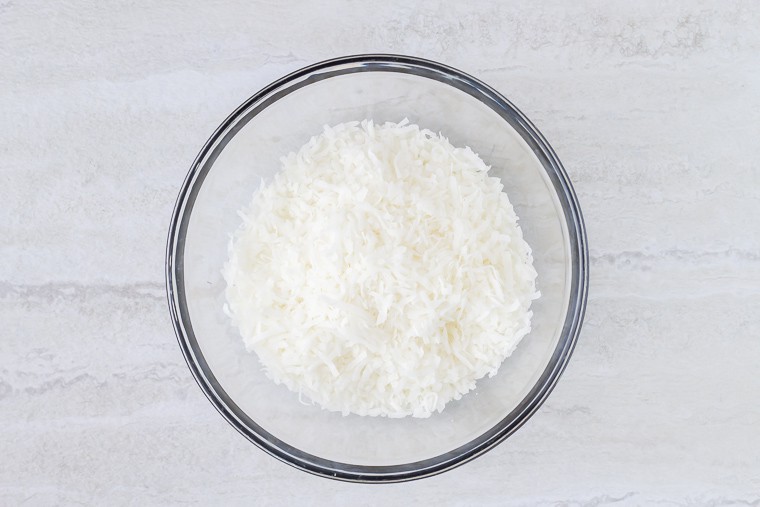
All you need for this recipe is coconut. You can use sweetened or unsweetened that is shredded or flaked.
Note: the recipe card states to use 1 cup, but you can use any amount that you need, so long as it can fit on a baking sheet (or in a skillet for the stove top method) in a single layer.
The entire recipe and instructions can also be found in the recipe card at the bottom of this post. You can also print the recipe from the card, if needed.
Prep!
Preheat your oven to 350°F.
See the notes section of the recipe card at the bottom of this post for how to toast a smaller amount of coconut in a skillet on the stove top, if that’s the method that you prefer.
Create!
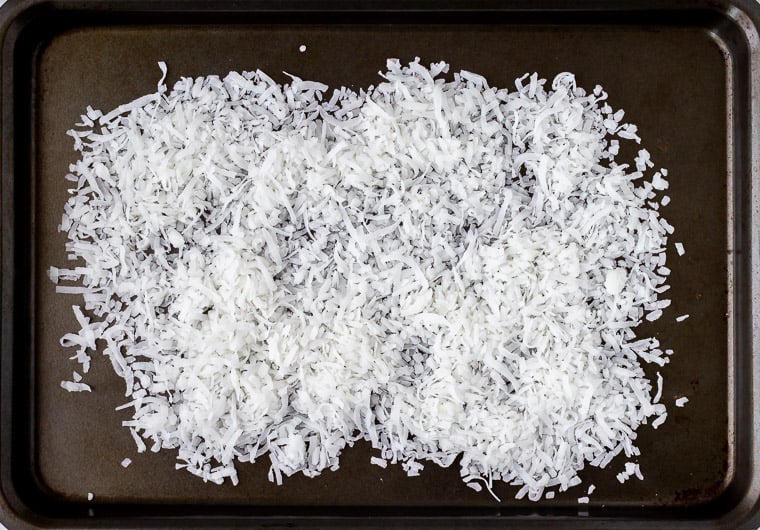
Spread the coconut onto a baking sheet and place in the oven.
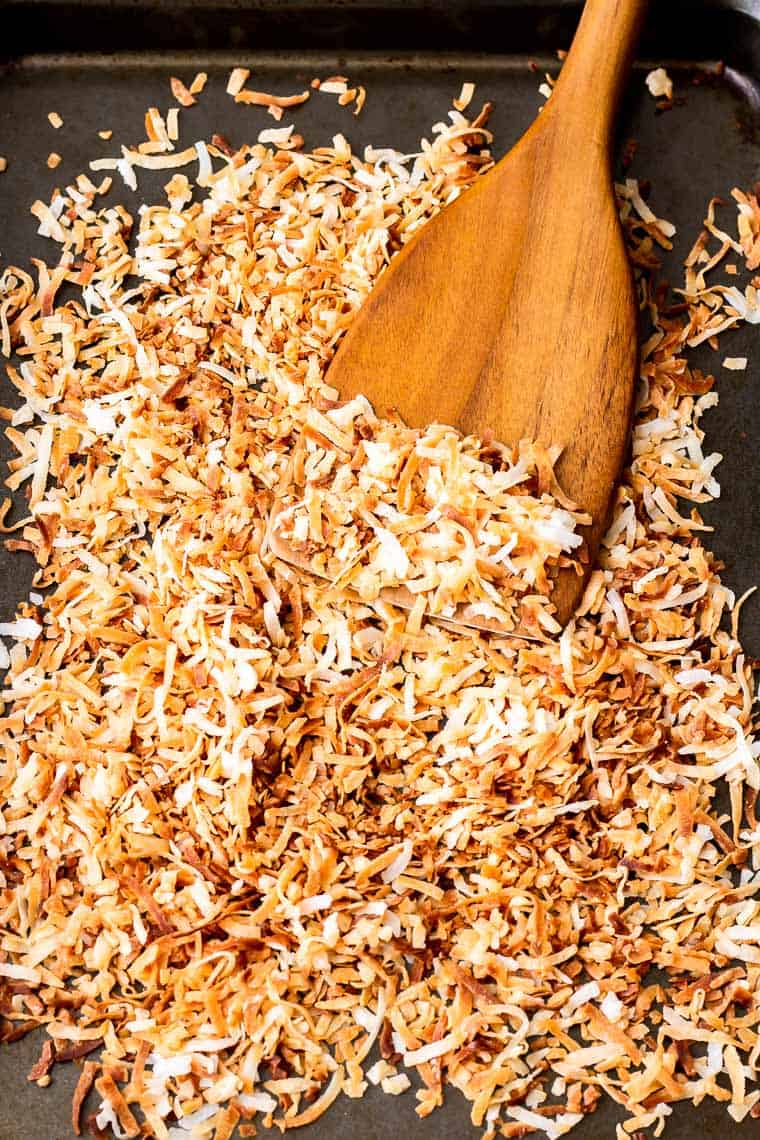
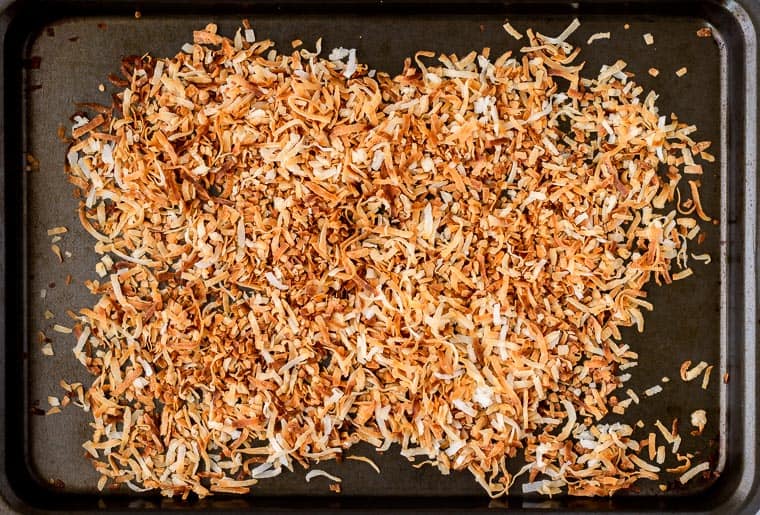
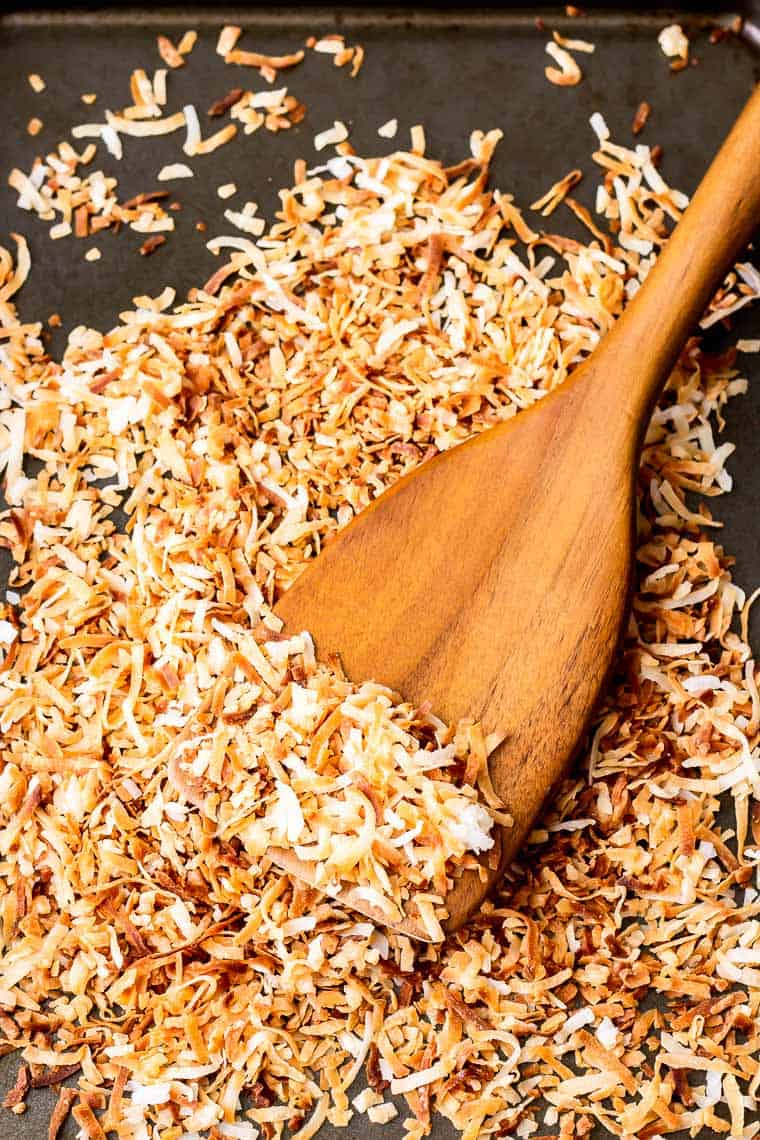
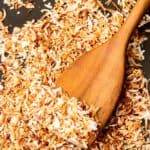
Toss the coconut every minute or two for the first few minutes, then check on it every 30 seconds to 1 minute, until it’s toasted and a medium, golden brown color.
How long it takes to toast will vary depending on the amount, but for 1 cup, I find that it’s done right between 5 and 7 minutes.
Chef’s Tip: keep a very close eye on your coconut, especially as you get to the last minute or two. It can go from toasted to burnt really quickly!
Present!
Remove from the oven and let cool before using.
How To Use Toasted Coconut
Toasted coconut can be used in a variety of recipes. A few ways to use it include:
- On top of cupcakes or cake (try it on these Mini Coconut Cupcakes with Coconut Buttercream Frosting).
- On top of pie, especially coconut cream pie.
- As an ice cream topping.
- As a garnish on recipes that use coconut, such as Coconut Curry Chicken and Creamy Coconut Rice.
- As part of a homemade granola mix.
- Mixed into cereal.
- On top of oatmeal.
- As a crunchy yogurt mix in or topping.
- Sprinkled on a salad.
- Straight from the bowl.
How To Toast Coconut On The Stovetop
I find that toasting coconut in the oven works best to get it more evenly browned and crispy, but if you’re only making a serving or two, you might find it easier to toast your coconut on the stovetop instead.
Simply add the shredded coconut to a dry skillet over medium-low heat. Cook, stirring frequently, until the coconut turns light to medium brown and crisps up.
Transfer to a plate or bowl to cool so that it does not continue to cook in the pan.
Tips and Techniques
- You can toast any amount of coconut that you need, so long as it can fit on a baking sheet (or in a skillet for the stove top method) in a single layer.
- Keep a very close eye on your coconut, especially as you get to the last minute or two. It can go from toasted to burnt really quickly.
- Store toasted coconut in an airtight container at room temperature. Use within 3-4 weeks for best quality.
FAQ’s
Why Do You Toast Coconut?
The primary reason to toast coconut is the flavor. It has a nuttier flavor than regular coconut and a nice crunchy texture. The flavor of toasted coconut is a nice addition to many recipes from breakfast to main dishes to desserts.
More Coconut Recipes To Try
Here are a few more coconut recipes that you might like:
- Toasted Coconut Sugar Cookies
- Chocolate Dipped Coconut Macaroons
- Gluten Free Coconut Shrimp
- Ginger Beef with Lime and Coconut
- Coconut Chai Tea Latte
Love this Toasted Coconut recipe? Follow me on Pinterest, Instagram, and Facebook for more!
If you try this recipe, I would really appreciate it if you would please leave a comment and star rating. Thanks!
How To Toast Coconut
Ingredients
- 1 cup shredded coconut * or however much you desire, sweetened or unsweetened
Instructions
- Preheat your oven to 350°F.
- Spread the coconut onto a baking sheet and place in the oven.
- Bake, tossing the coconut every minute or two for the first few minutes, then check every 30 seconds to 1 minute, until it’s toasted and a medium, golden brown color, about 5-7 minutes.
- Remove from the oven and let cool before using.
Notes
How To Toast Coconut On The Stovetop
Add the shredded coconut to a dry skillet over medium-low heat. Cook, stirring frequently, until the coconut turns light to medium brown and crisps up. Transfer to a plate or bowl to cool so that it does not continue to cook in the pan.Tips and Techniques
- You can toast any amount of coconut that you need, so long as it can fit on a baking sheet (or in a skillet for the stove top method) in a single layer.
- Keep a very close eye on your coconut, especially as you get to the last minute or two. It can go from toasted to burnt really quickly.
- Store toasted coconut in an airtight container at room temperature. Use within 3-4 weeks for best quality.
Nutrition
This recipe was originally published on May 22, 2016. It was updated with new images, more thorough instructions, uses, tips, techniques, and FAQ’s in July 2020.


