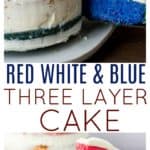
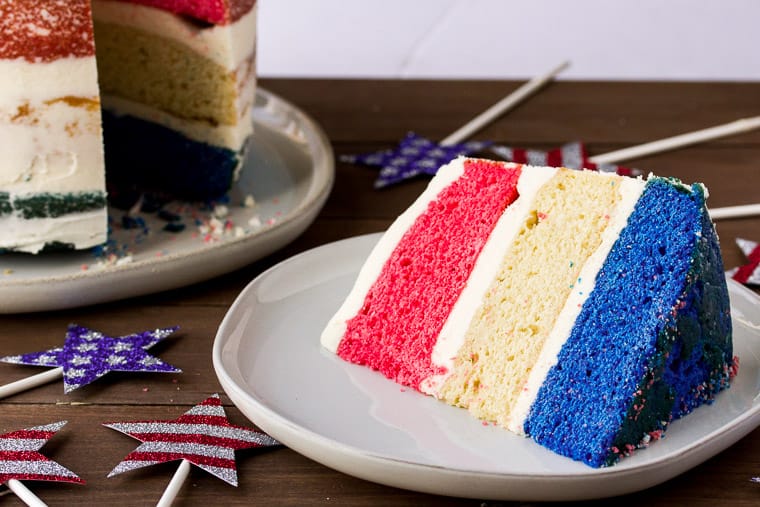
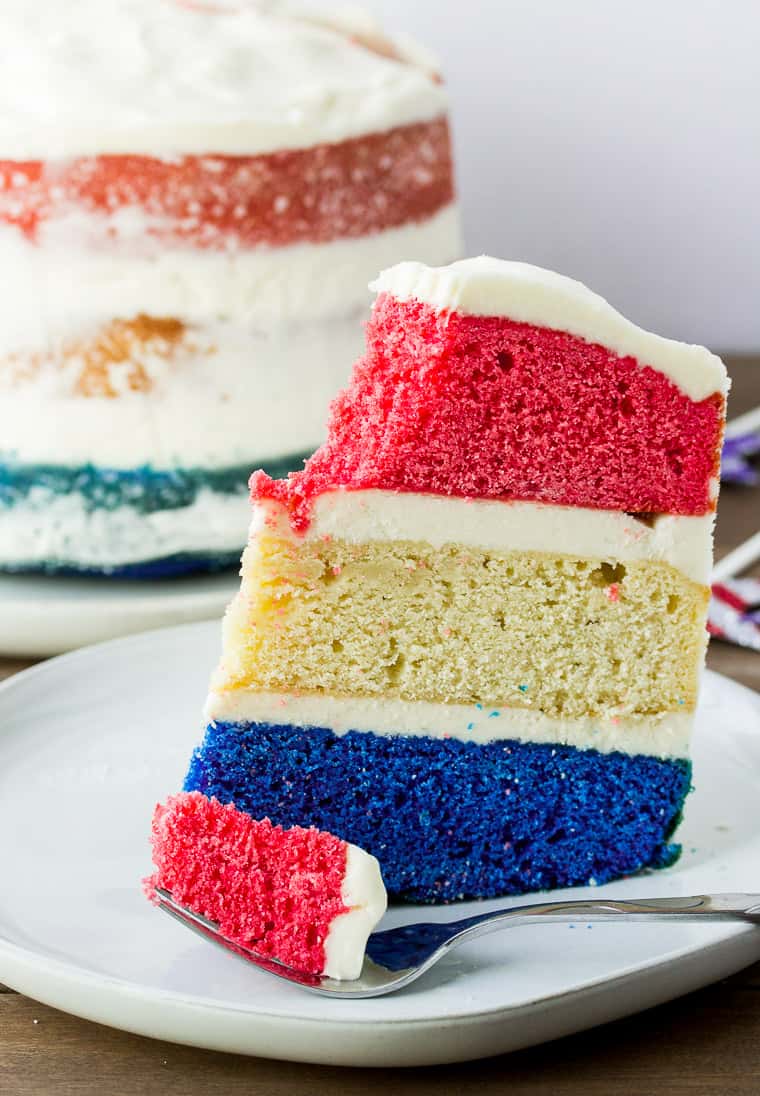
This three-layer Red White and Blue Cake is perfect for celebrating all things patriotic, like the 4th of July and Memorial Day. Switch up the colors and this delicious vanilla layer cake recipe can be used for any special event.
This post contains affiliate links. See our Disclosure Statement for more information.
When my oldest son was just a toddler, I decided I wanted to teach myself cake decorating. I was obsessed with baking shows and competitions and thought for sure I’d be able to pick it up, no problem. They make it look so easy!
But, it isn’t easy. Like anything, it takes practice. I still have all of the fancy tools and equipment, but I don’t get to practice as much as I’d like.
These days, I mostly stick to somewhat easier methods of baking and decorating. And while this Red, White, and Blue Cake may look a bit challenging, it’s actually pretty easy.
Two things make baking and decorating this patriotic cake even simpler – Silpat Round Cake Pan Mats or pre-cut round parchment paper and a super easy frosting technique.
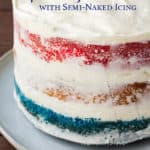
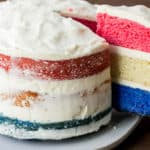
A cake with this type of icing is often referred to as a “semi-naked cake” because the sides have very little frosting.
Why This Recipe Works
This cake, as shown in the photos, is a festive and fun recipe that is perfect for Fourth of July and other patriotic celebrations. But, you can easily change the colors to fit any holiday or theme.
It’s an easy recipe to make. It’s basically a simple homemade vanilla layer cake made mostly from pantry staples.
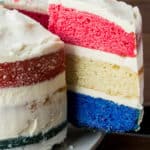
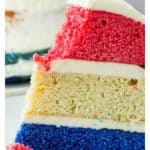
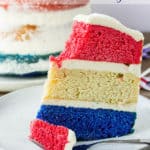
The cake batter is separated into 3 bowls where one bowl of batter is colored red, one is colored blue and one is left white. The baked cakes are topped with an easy-to-make vanilla buttercream frosting.
Semi-naked icing makes this one hard to mess up – literally! And, you can see a little hint of what’s inside.
There is plenty of frosting between the cake layers and on top for the perfect amount of sweetness.
How To Make A Red White and Blue Cake
What You Need To Make This Recipe
For the Vanilla Cake, you will need:
- 3 3/4 cups all purpose flour: we highly recommend using high-quality baking products like King Arthur brand for the best results.
- 3 tablespoons baking powder
- 3/4 teaspoon salt
- 2 1/2 cups granulated sugar
- 3/4 cup unsalted butter (at room temperature)
- 6 eggs
- 2 tablespoons vanilla extract
- 2 1/2 cups heavy cream
- food coloring (optional)
For the Vanilla Buttercream Frosting, you will need:
- 6 cups powdered sugar
- 3/4 cup butter (at room temperature)
- 3 tablespoons milk
- 1 tablespoon vanilla extract
The entire recipe and instructions can also be found in the recipe card at the bottom of this post. You can also print the recipe from the card, if needed.
Prep!
Set your butter out ahead of time to let it come to room temperature. This is really important, because if the butter is too cold it won’t distribute evenly into the batter.
Grease and flour the sides of 3 8-inch round cake pans. Place Silpat mats or parchment paper into the bottoms.
Preheat your oven to 350°F.
Bake the Cakes!
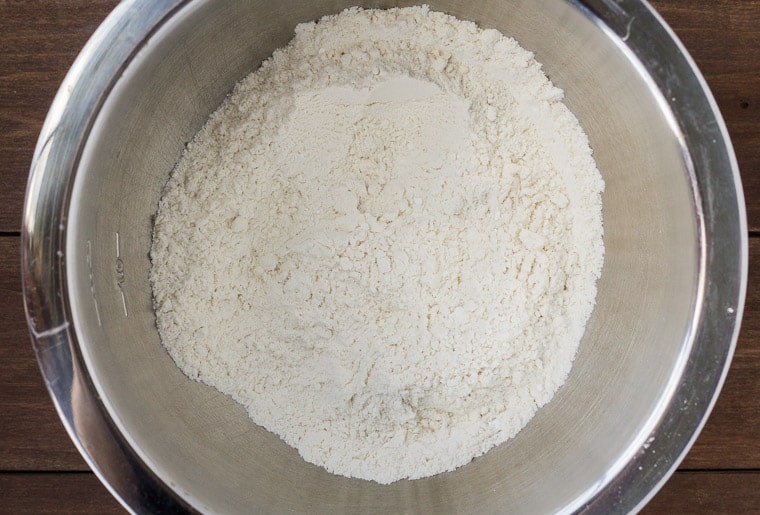
Add the flour, baking powder, and salt in a large bowl and mix until well combined.
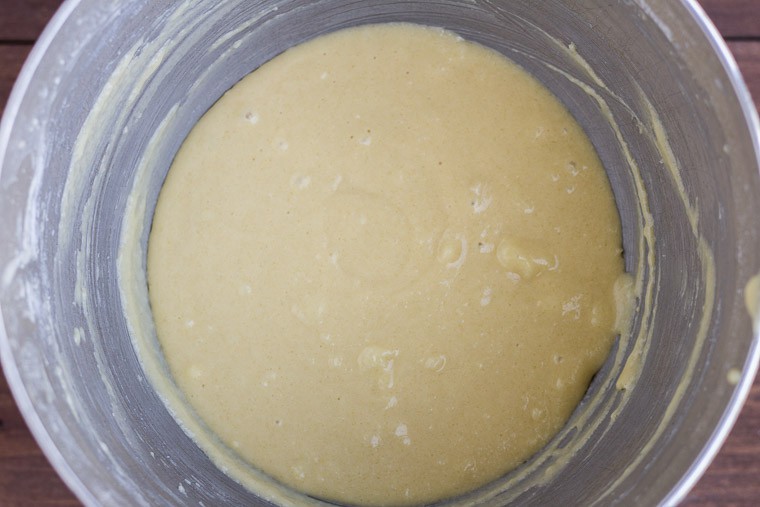
In the bowl of an electric mixer, add the sugar and butter. Beat until well blended and creamy. Add the eggs, one at a time, then the vanilla extract. Slowly add the heavy cream.
Gradually add the flour mixture, about 1/4 cup at a time, letting each cupful fully blend into the batter before adding the next. Beat on medium speed until the batter is smooth.
Divide the batter into 3 equal parts. If you are using food coloring, now is the time to add it and mix each batter until the color is nicely blended.
To make a red, white and blue cake, you add red food dye to one bowl until you reach a nice, red color and then add blue food dye to a second bowl of batter. Leave the third bowl of batter white.
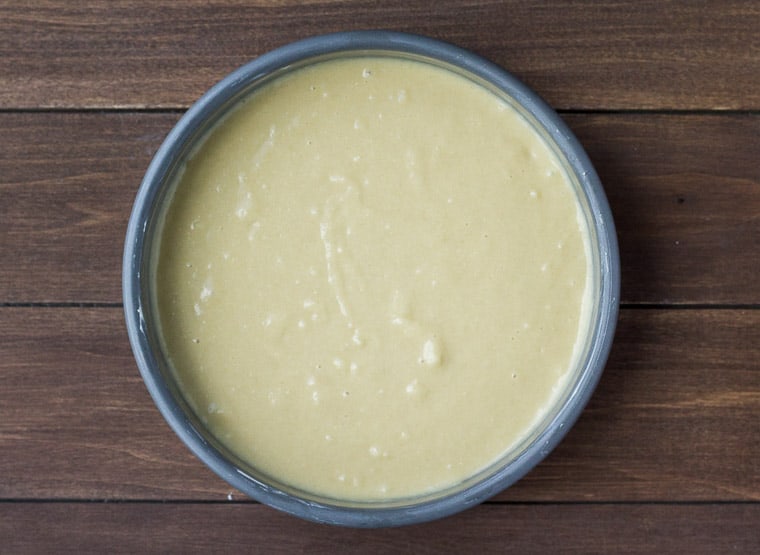
Pour the batter into the prepared cake pans.
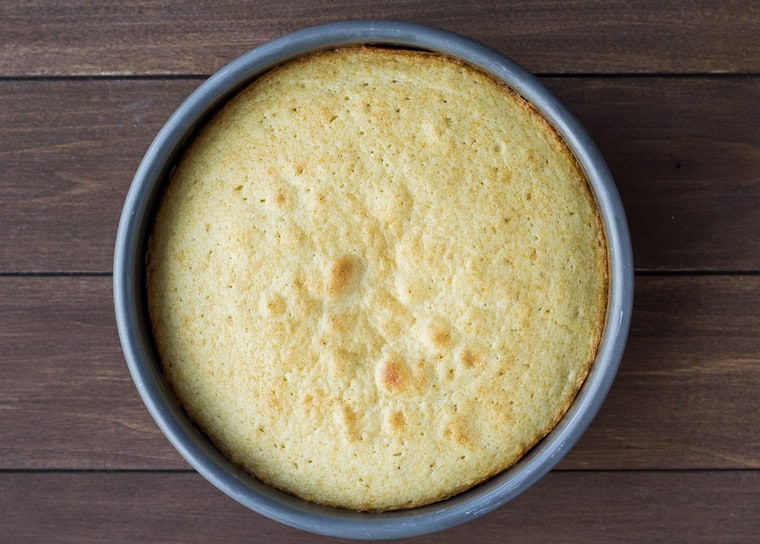
Bake for 28-32 minutes, or until a toothpick inserted into the middle comes out clean.
Allow the cakes to cool in the pan, then carefully remove to a cooling rack. Make sure the cakes are completely cool before adding the frosting.
Tip: refrigerating the cakes before applying the frosting will help keep crumbs to a minimum.
How to Make a Semi-Naked Cake
Naked and semi-naked cakes have been pretty popular lately.
It’s pretty easy to do, but if you prefer a traditional frosting, see the notes section on the recipe card below. There you will find the adjustments needed for the extra frosting.
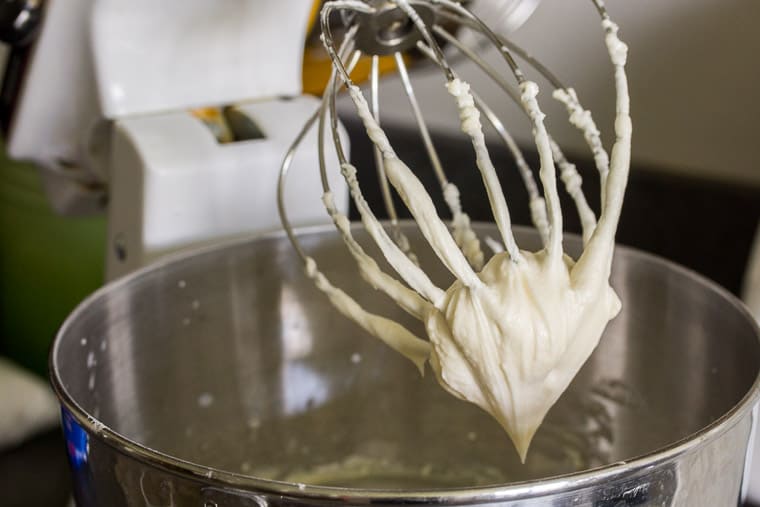
Make the vanilla buttercream icing by adding the powdered sugar, butter, milk, and vanilla to a medium mixing bowl. Beat on low speed at first, then medium speed until smooth.
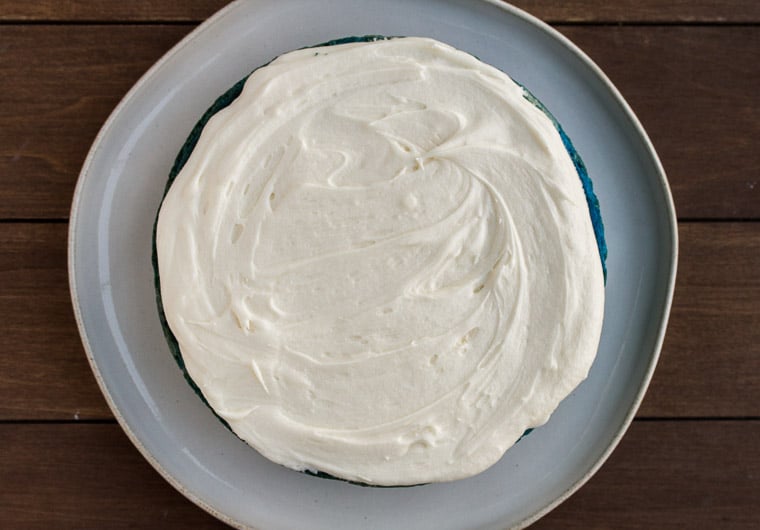
To frost the cakes, place the first cake on a plate or cake stand. I used the blue cake as the base so my cake would be red, white, and blue from the top down. Add 1 cup of the vanilla frosting to the top and spread evenly to the edges of the cake.
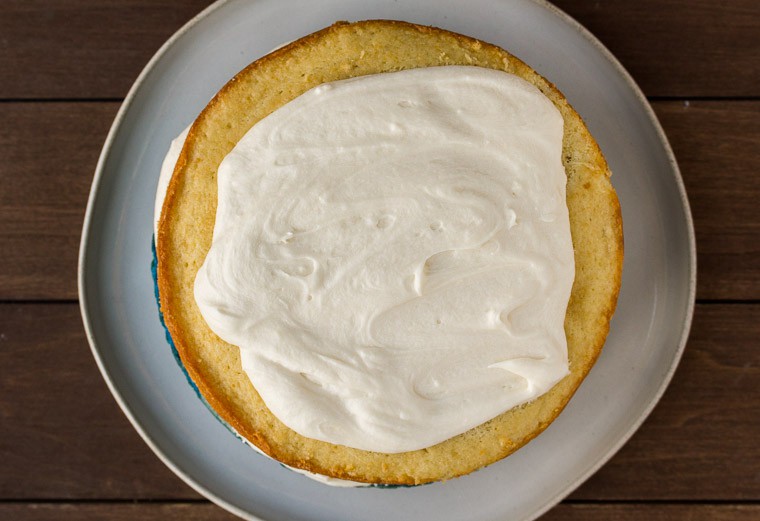
Place the second cake on top of the first and add another cup of the frosting and spread that out to the edges of the cake.
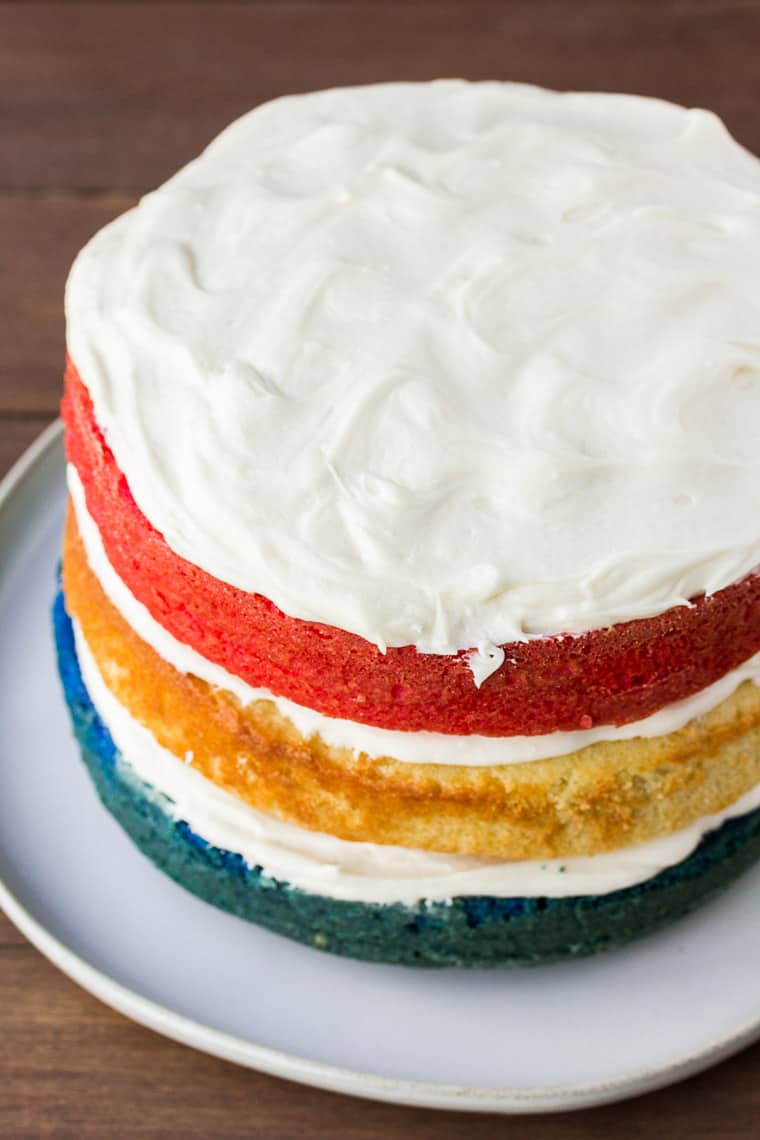
Top with the final cake and add another cup of frosting to the top. Spread evenly out to the edges. At this point, you have a naked cake. But, we are going to take things one step further and add a little frosting to the sides.
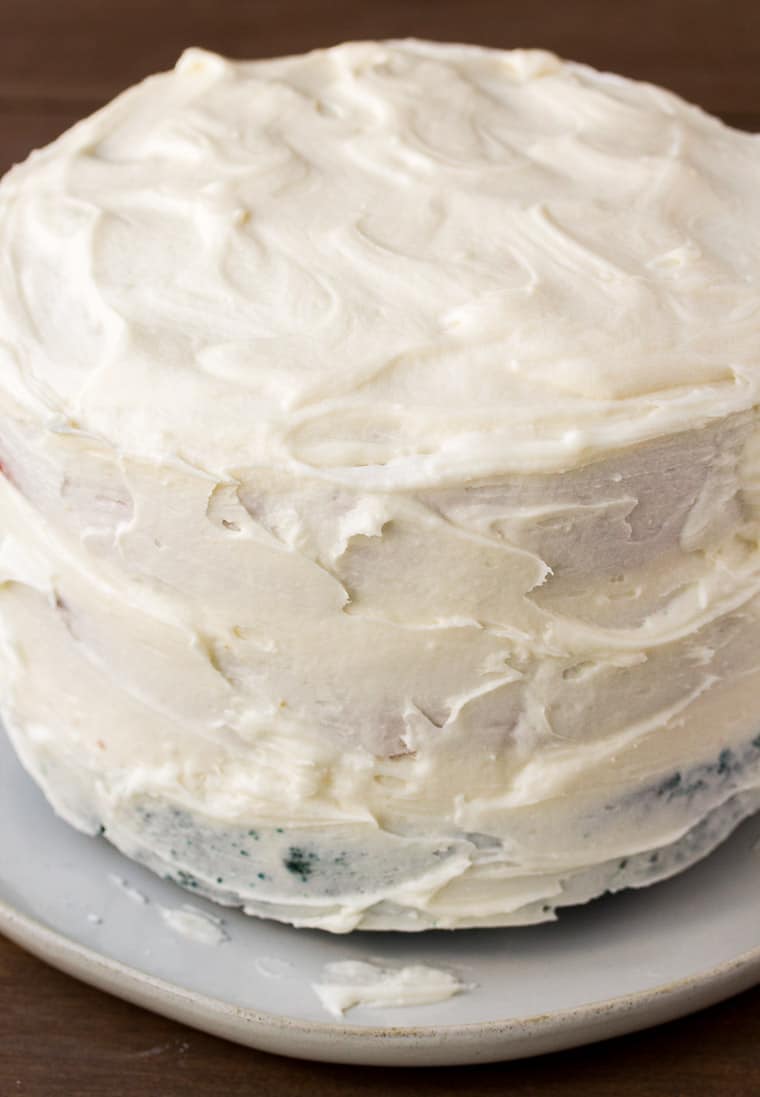
Apply the remainder of the frosting to the outside of the cakes. It doesn’t have to be neat, as you can see in the photo above – most of this will be scraped off.
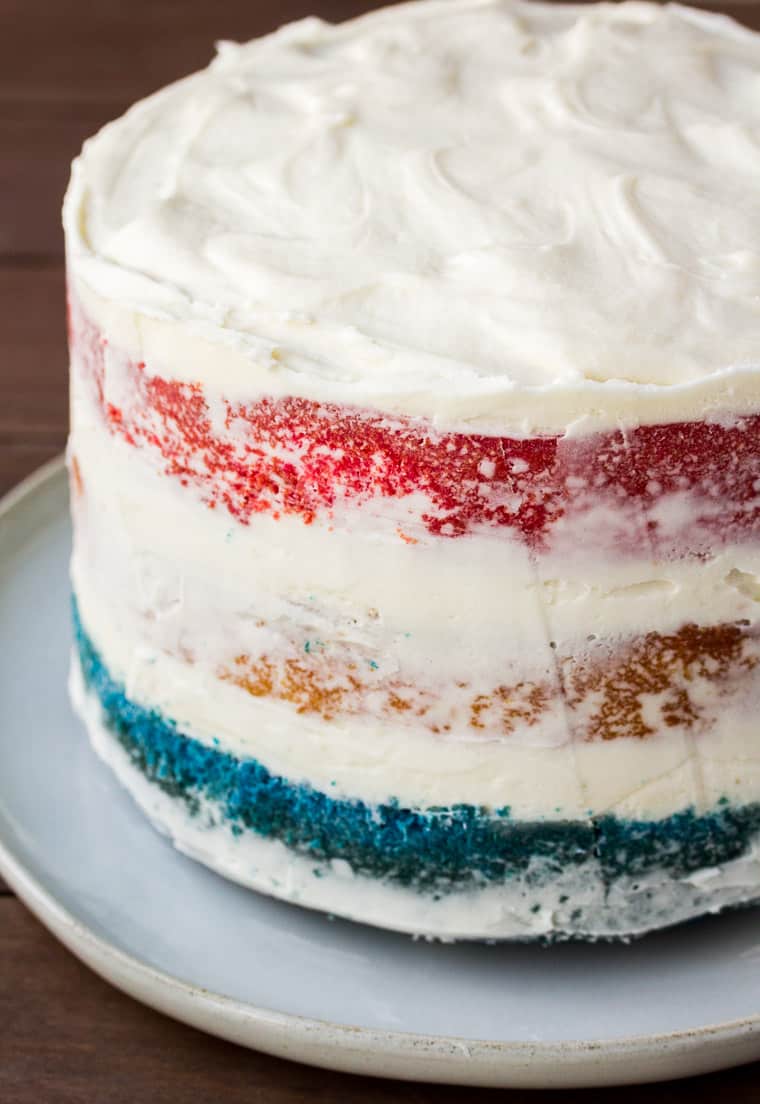
Use a bench scraper or an offset spatula to remove the excess frosting from the sides of the cake as you turn the plate or cake stand. Wipe off the excess frosting as you go until most of it is removed to your liking.
Present!
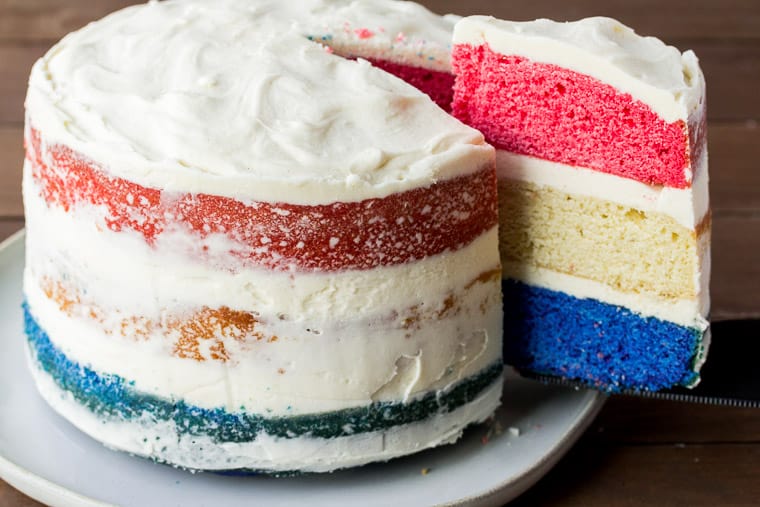
Tip: a chilled cake will result in a cleaner cut and the frosting between the layers will keep it’s shape better, so if possible, keep your cake in the refrigerator until you are ready to serve it.
How to Decorate a 4th of July Cake
I like the simple, clean look of this cake, but you can definitely add a bit for flare to it, if you prefer.
Red, white and blue sprinkles are the easiest way to decorate this cake. Or, if you’re a bit more artistic, you can use gel or pipe frosting to make this a firecracker cake.
Serve this cake for dessert at any Memorial Day or 4th of July barbecue or cookout. It’s delicious with a scoop of cold, vanilla ice cream too!
Tips and Techniques
- Set the butter out about an hour before you begin so that it has time to come to room temperature.
- Refrigerating the cakes before applying the frosting will help keep crumbs to a minimum.
- For cleaner cuts and to help the frosting keep it’s shape better, keep your cake in the refrigerator until you are ready to serve it.
- Baked cakes with buttercream frosting can be stored at room temperature or in the refrigerator for 3 days.
FAQ’s
Can You Freeze A Cake With Buttercream Frosting?
You can freeze a cake with buttercream frosting for up to 3 months.
It is recommended that you freeze individual slices of cake on a sheet pan. Once frozen wrap each slice tightly in plastic wrap, then in aluminum foil. This way you can remove slices as you need them.
Remove the slices from the freezer as needed, remove the foil and plastic wrap and allow to thaw overnight in the refrigerator.
More Recipes To Try
- Mini Lemon Cupcakes with Lemon Buttercream
- Gingerbread Cupcakes Recipe with Cinnamon Vanilla Buttercream Frosting
- Vanilla Strawberry Cupcakes with Vanilla Strawberry Buttercream
- Chai Spice Pumpkin Coffee Cake
- Vanilla Candy Cupcakes
- No-Bake NILLA Wafer Cake + Video
- Mint Chocolate Cupcakes with Chocolate Ganache Frosting
- Chocolate Raspberry Cupcakes
Love this Red, White, and Blue Cake with Naked Frosting? Follow me on Pinterest, Instagram, and Facebook for more!
Red White and Blue Cake with Semi-Naked Icing
Ingredients
Vanilla Cake
- 3 3/4 cups all purpose flour
- 2 tablespoons baking powder
- 3/4 teaspoon salt
- 2 1/4 cups granulated sugar
- 3/4 cup unsalted butter * at room temperature
- 6 eggs
- 2 tablespoons vanilla extract
- 1 1/2 cups heavy cream
- food coloring * optional
Vanilla Buttercream Frosting
- 6 cups powdered sugar
- 3/4 cup butter * at room temperature
- 3 tablespoons milk
- 1 tablespoon vanilla extract
Instructions
Vanilla Cake
- Preheat your oven to 350°F.
- Grease and flour the sides of 3 8-inch cake pans. Place Silpat mats or parchment paper rounds into the bottoms.
- Combine the flour, baking powder, and salt in a large bowl. Mix until well blended.
- In the bowl of an electric mixer, add the sugar and butter. Beat until well blended and creamy. Add the eggs, one at a time, then the vanilla extract. Slowly add the heavy cream.
- Gradually add the flour mixture, about 1/4 cup at a time, letting each cup fully blend into the batter before adding the next. Beat on medium until the batter is smooth.
- Divide the batter into 3 equal parts. If you are using food coloring, now is the time to add it and mix each batter until the color is nicely blended.
- Pour the batter into the prepared cake pans and bake for 28-32 minutes, or until a toothpick inserted into the center comes out clean.
- Allow the cakes to cool in the pan, then carefully remove to a cooling rack. Make sure the cakes are completely cool before adding the frosting.
Vanilla Buttercream Frosting
- Add the powdered sugar, butter, milk, and vanilla to a medium mixing bowl. Beat on low speed at first, then medium speed until smooth.
- To frost the cakes, place the first cake on a plate or cake stand. Add 1 cup of the vanilla frosting to the top and spread evenly to the edges of the cake.
- Place the second cake on top of the first and add another cup of the frosting and spread that out to the edges of the cake.
- Top with the final cake and add another cup of frosting to the top. Spread evenly out to the edges.
- To make a semi-naked cake, apply the remainder of the frosting to the outside of the cakes. It doesn't have to be neat as most of this will be scraped off.
- Use a bench scraper to remove the excess frosting from the sides of the cake, as you turn the plate or cake stand. Wipe off the excess and repeat until most of the frosting is removed to your liking.
- Decorate with sprinkles and/or icing, if desired.
Notes
Tips and Techniques
- Set the butter out about an hour before you begin so that it has time to come to room temperature.
- Refrigerating the cakes before applying the frosting will help keep crumbs to a minimum.
- For cleaner cuts and to help the cake keep it’s shape better, keep your cake in the refrigerator until you are ready to serve it.
- Baked cakes with buttercream frosting can be stored at room temperature or in the refrigerator for 3 days.
How To Make Enough Buttercream To Frost The Sides Of The Cakes
If you would prefer to fully icing the sides of the cake, use these measurements for the vanilla buttercream (follow the same instructions as in the recipe): 8 Cups powdered sugar 1 Cup butter 1/4 Cup milk 1 Tablespoon + 1 teaspoon vanilla extract ** Nutritional information is given as an estimate only and will vary.Nutrition
This post was originally published on June 30, 2018. It was updated with more thorough instructions, tips, techniques, and FAQ’s in May 2020.