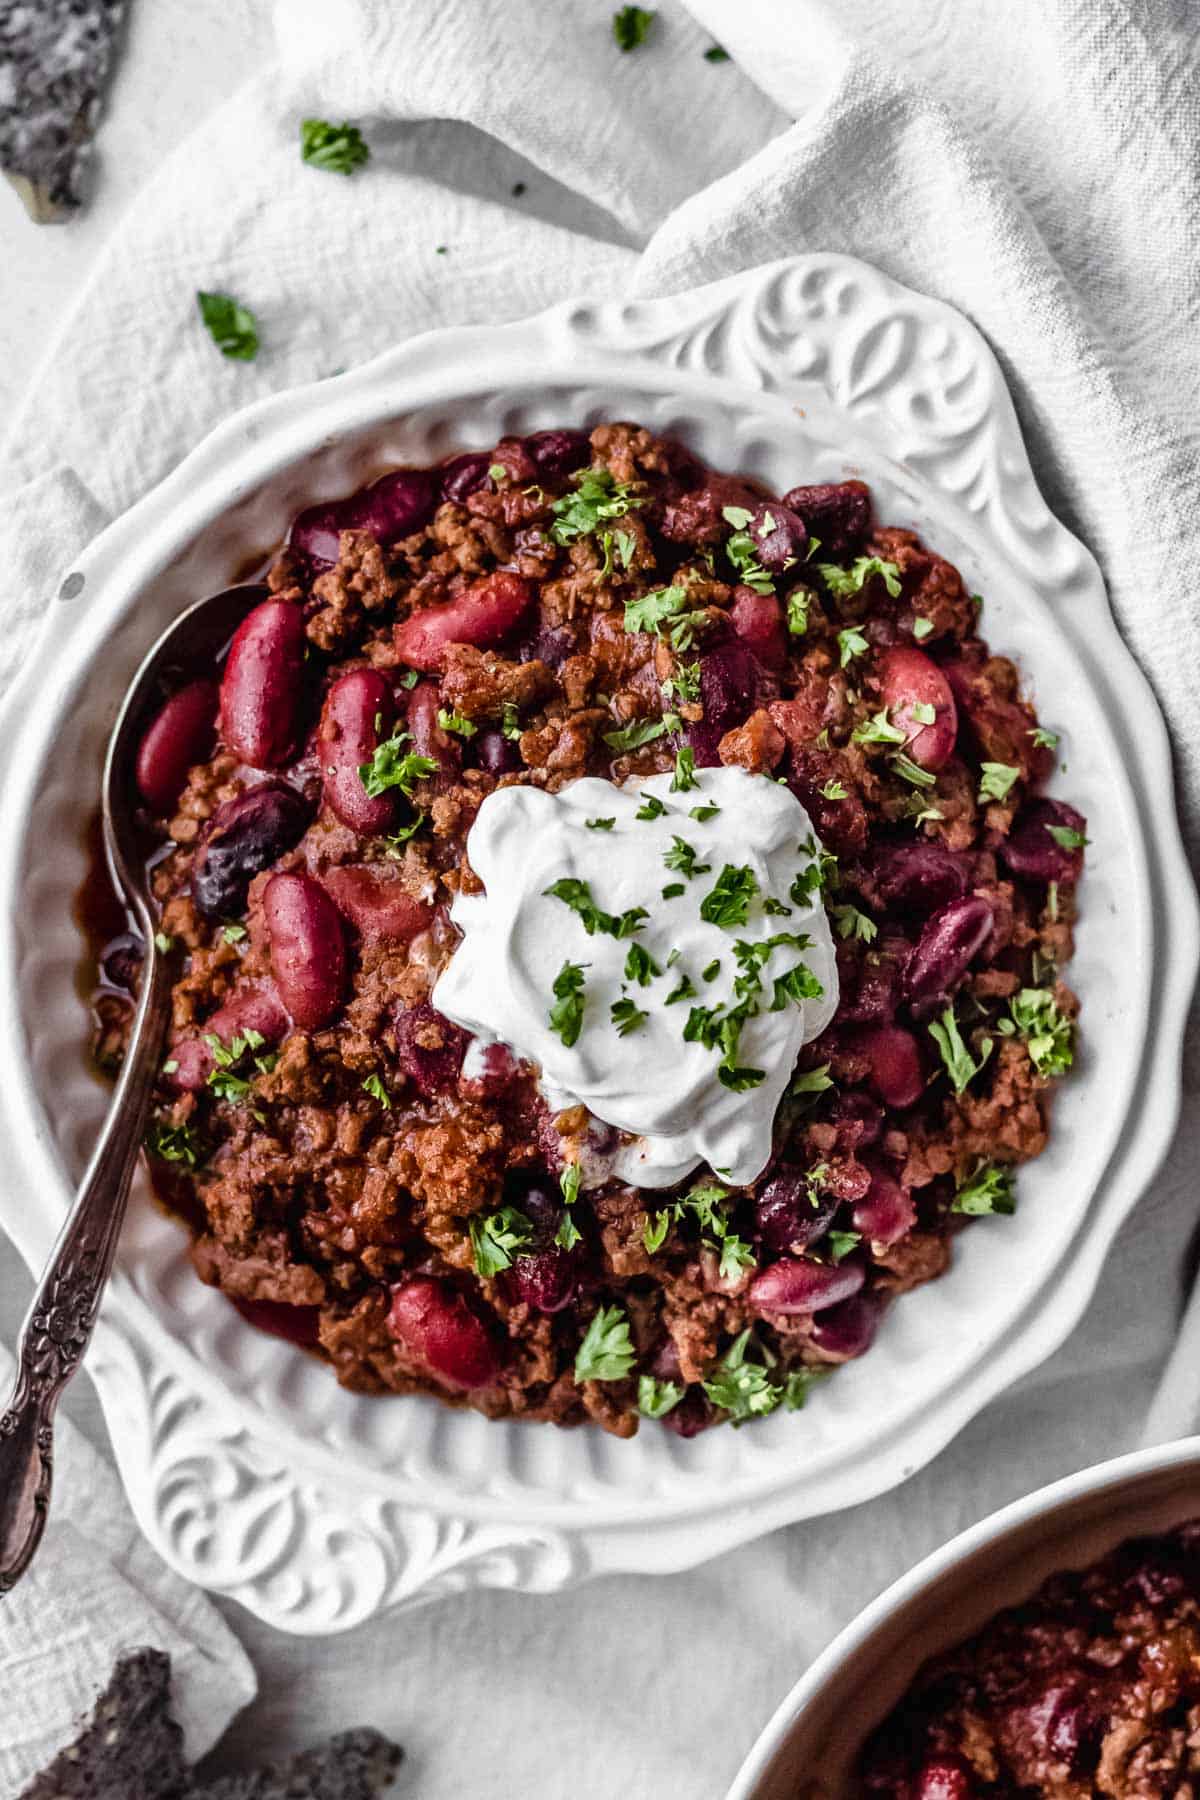
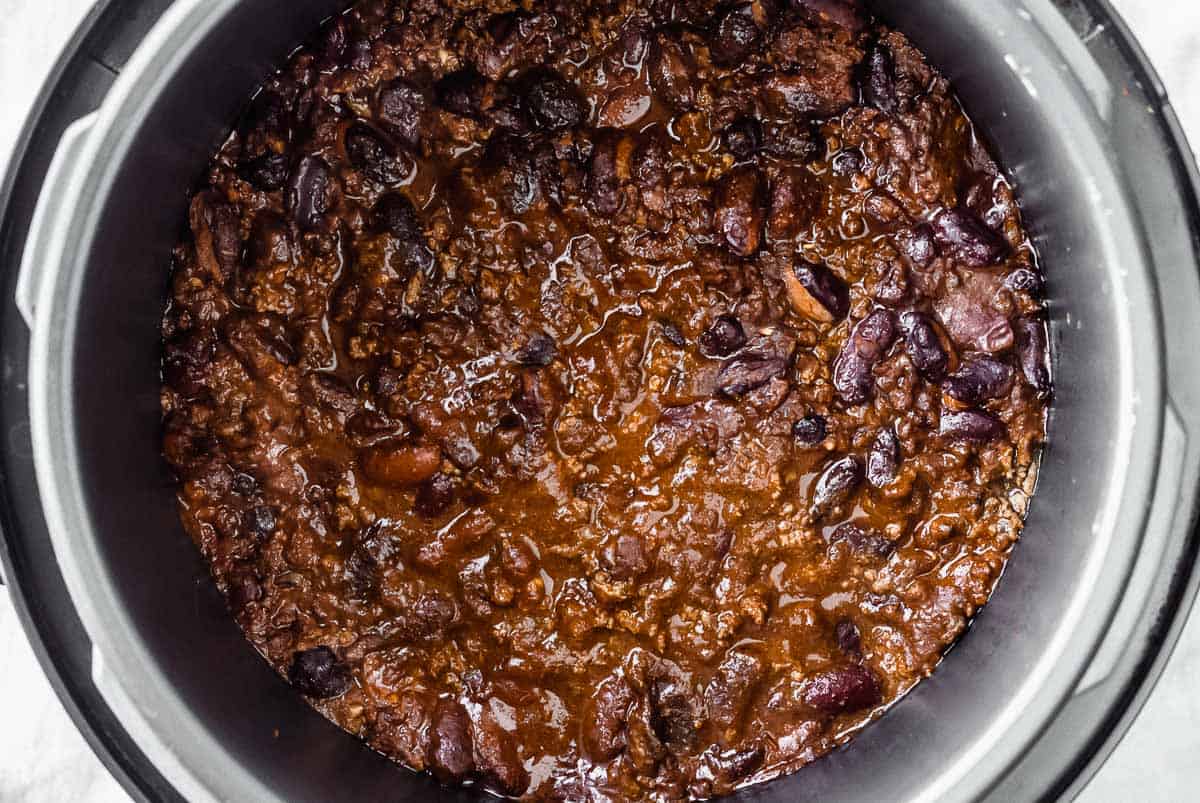
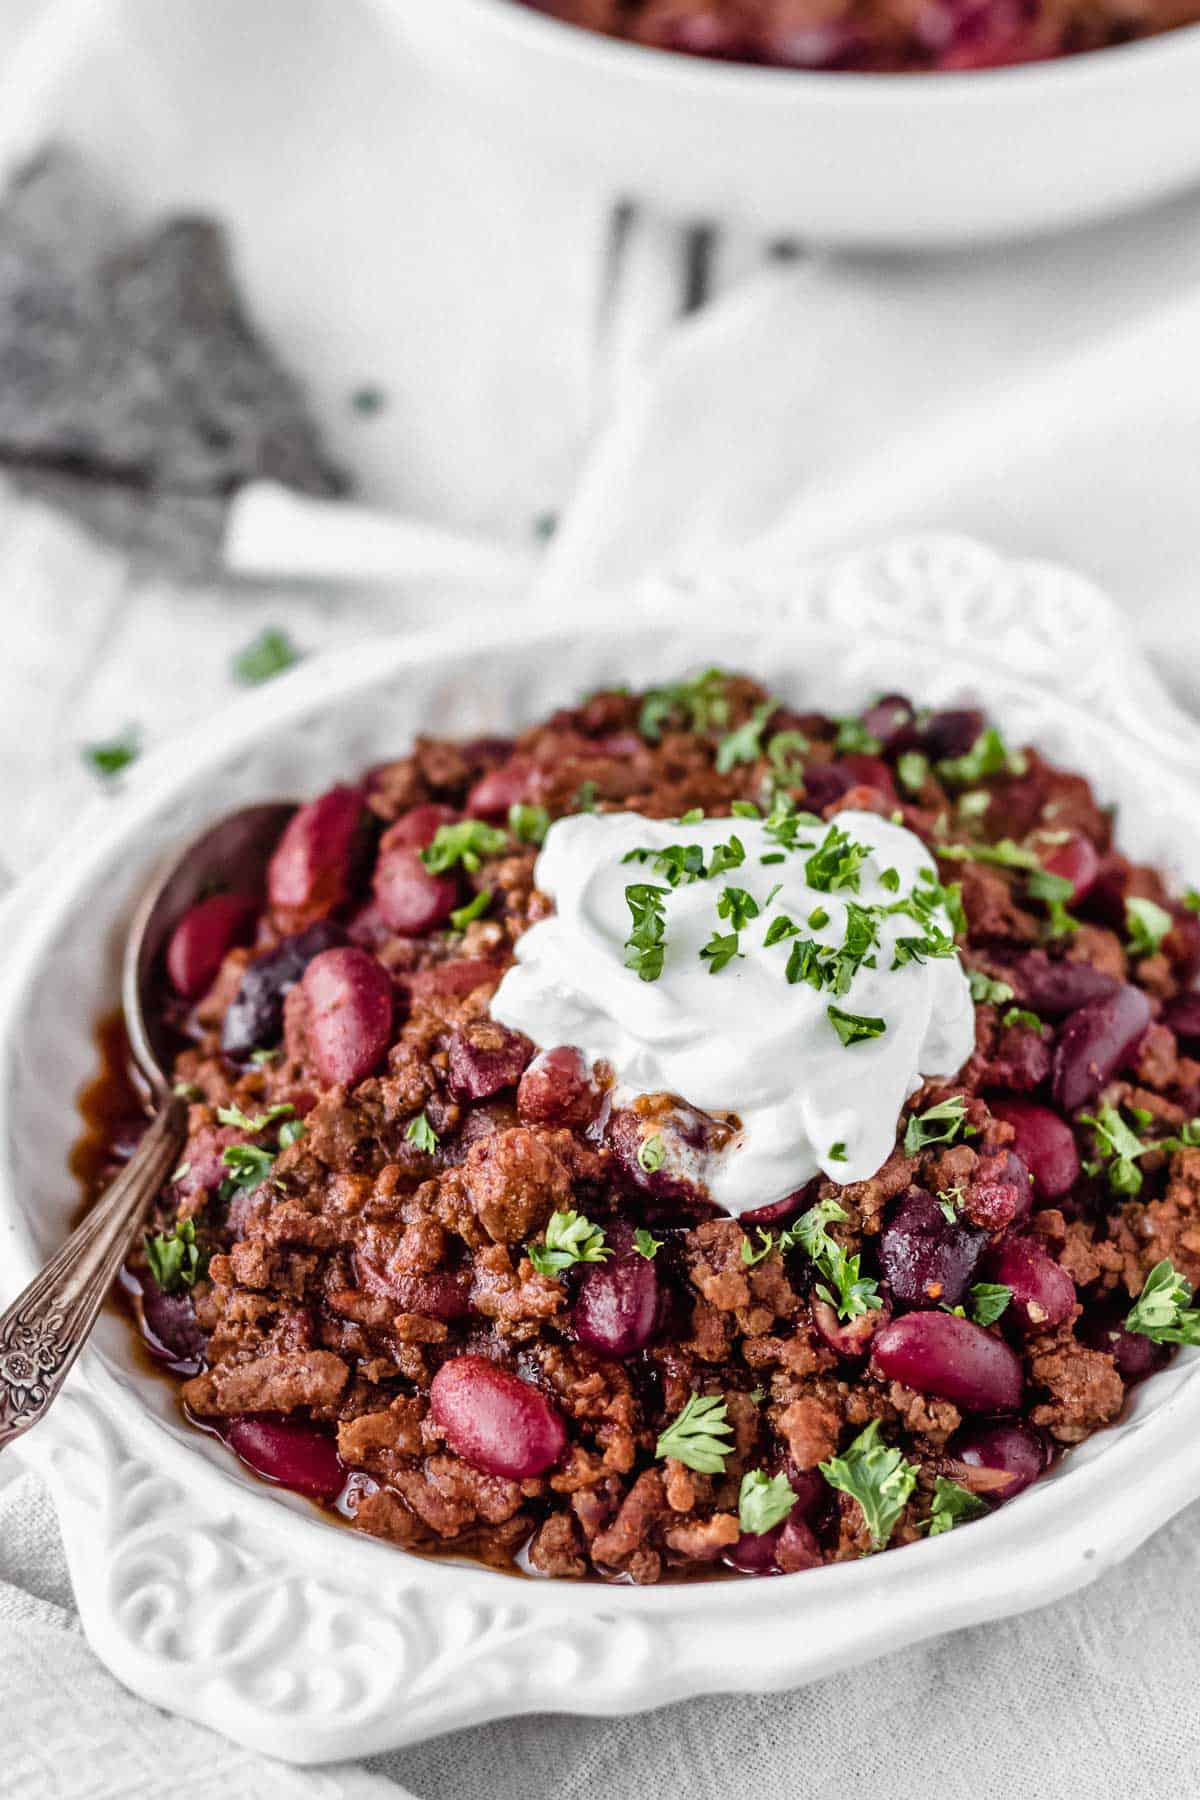
Instant Pot Smoky Beef Chili is loaded with ground beef, kidney beans, and smoked paprika to give it a unique flavor you will love. It’s ready in less than an hour, but tastes as if it’s been simmering all day.
This post contains affiliate links. See our Disclosure Statement for more information.
I used to be of the mindset that chili had to cook all day long, and even then, it was still better the next day when the flavors had even more time to all meld together. That’s the way I always made chili. Before.
Enter the Instant Pot. My goodness how this little device has changed things!
You can just about throw everything into this magical machine and out will come chili that tastes as if it’s been slow cooking for days! Not to mention the fact that this particular chili recipe even tastes a little like it’s been doing all that slow cooking over an open flame in the middle of the wilderness somewhere. Smoked paprika kinda has that effect on things.
While many recipes use bacon to add smokiness, I find that the paprika gives a similar smoke flavor.
Why This Recipe Works
This chili is loaded with ground beef and kidney beans. I’ve kept the recipe simple using a combination of tomato sauce and spices to create a dish that is simple, yet unique. I’m highly biased that this chili is best as is, but if you prefer a little more chunkiness to your chili, you can add some onion, peppers, or even diced tomatoes.
What a spicy chili? Add some diced chipotle peppers for added spice and smokiness.
All this goodness takes less than an hour!
Be aware that while the Instant Pot does have a slow cooker setting, this recipe will be utilizing the chili setting for quicker, yet just as delicious, results.
How to Make Smoky Beef Chili in an Instant Pot
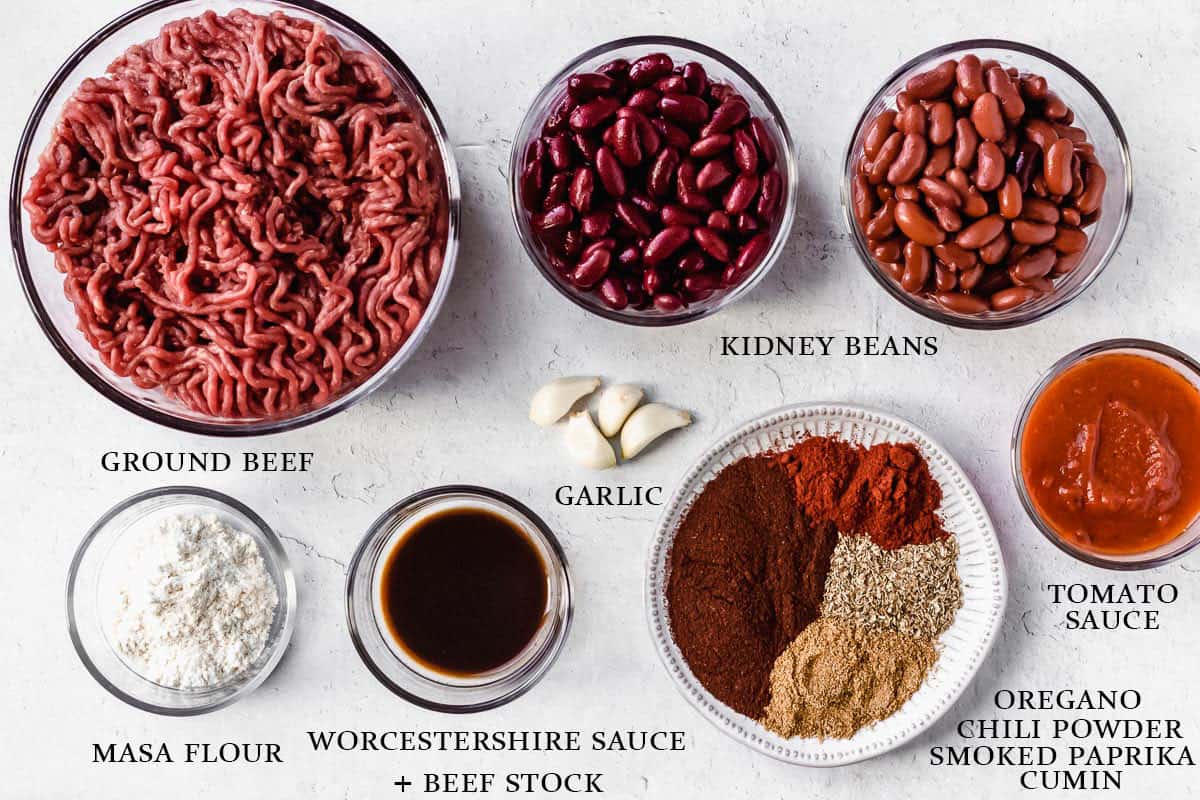
Ingredients
- Grass fed beef is recommended for the best flavor.
- You can use regular flour, or omit the masa flour, if needed.
- You can add some diced chipotle peppers for some spiciness and added smokiness, if desired.
The entire recipe and instructions can also be found in the recipe card at the bottom of this post. You can also print the recipe from the card, if needed.
Prep!
There really isn’t much to prep for this recipe.
Create!
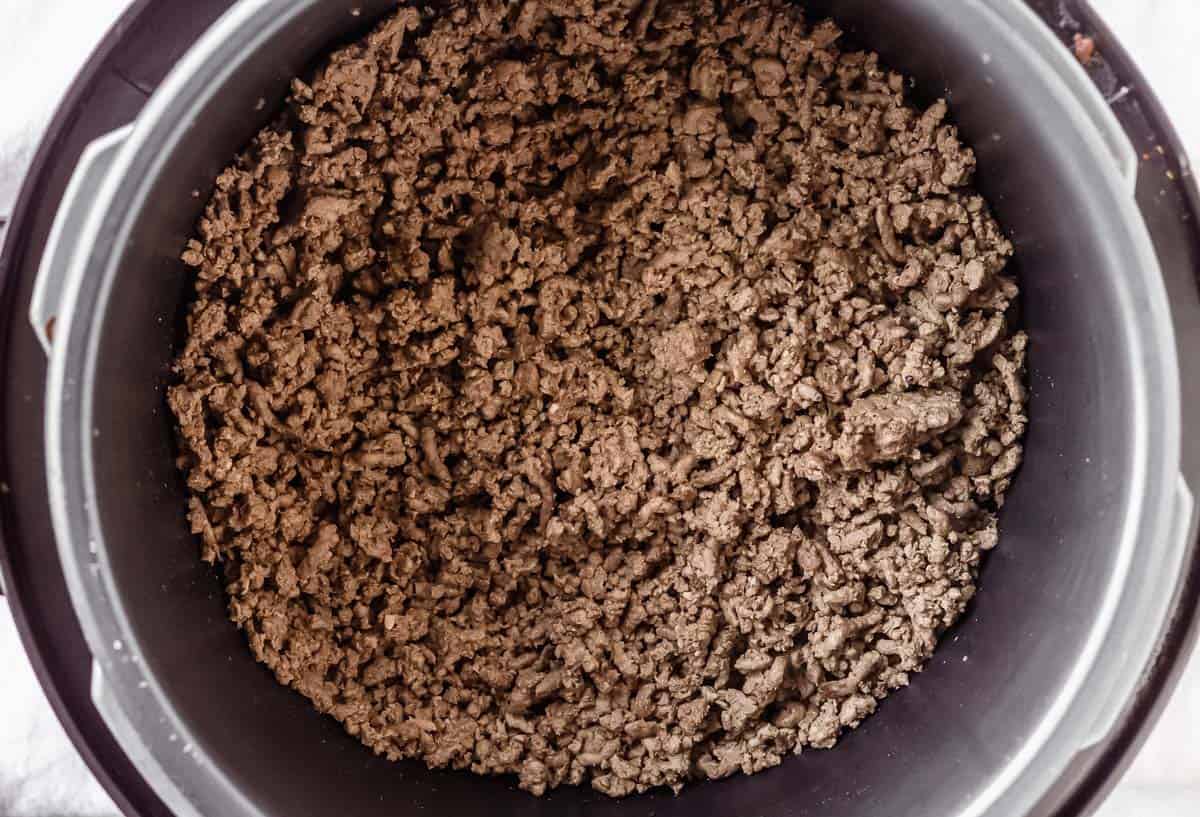
Turn your Instant Pot or pressure cooker onto sauté. Once the pot reads “HOT” add the olive oil and the ground beef. Season with salt and pepper.
Cook the ground beef, breaking it up into smaller pieces until it is no longer pink, about 10 minutes.
Turn off the sauté function and carefully drain any excess grease from the pot.
Chef’s Tip: angle the Instant Pot to the side and use a ladle to remove the excess grease.
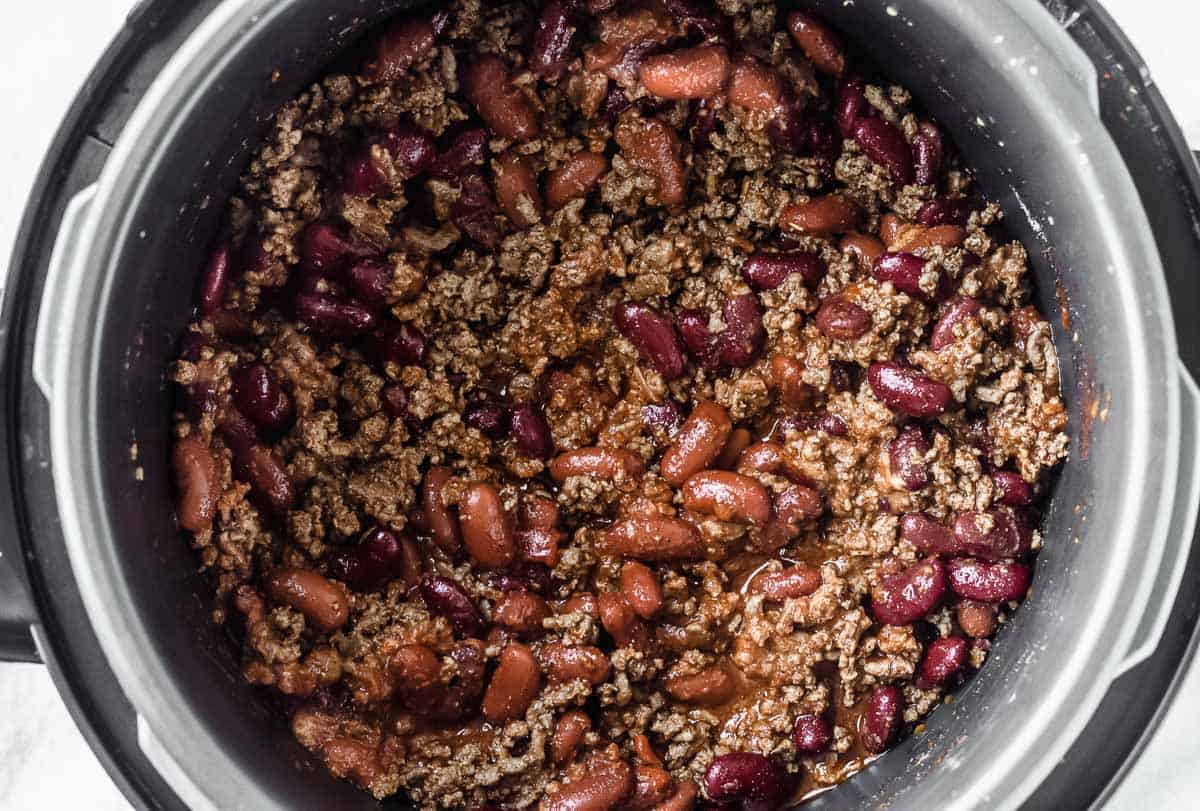
Add all of the remaining ingredients to the pot with the ground beef. Stir well
Place the lid on the Instant Pot and make sure the valve is set to the “seal” position.
Press the Instant Pot chili setting and set the time to 20 minutes. It will start cooking automatically in a few seconds.
When the cook time is up, allow the Instant Pot to do a natural release for 15 minutes, followed by a quick release before opening the lid.
Chef’s Tip: a natural release just means that you will leave the Instant Pot undisturbed. A quick release is done by turning the valve to vent, then carefully opening the lid once all the steam has escaped.
Present!
Serve the chili hot with your favorite toppings.
Chili Topping Ideas
- shredded cheddar cheese
- sour cream
- green onions
- cilantro
- crush tortilla chips
- jalapeno pepper slices
Tips and Techniques
- Grass fed beef gives this chili the best flavor.
- You can add some diced onion, peppers, or even diced tomatoes.
- Store any leftovers in an air-tight container in the refrigerator. Use with 3 days.
- You can freeze this chili in an air-tight container for up to 4-6 months, for best results.
FAQ’s
What If My Instant Pot Doesn’t Have A Chili Setting?
You can use the pressure cook setting on high for approximately 12 minutes, instead.
Can This Chili Recipe Be Made In A Slow Cooker?
Don’t have an Instant Pot, but still want to try this chili recipe? You can absolutely still use your slow cooker. Simply brown the meat and add to a slow cooker with all of the remaining ingredients. Cook on low for 6-8 hours.
More Chili Recipes


Love this Instant Pot Smoky Beef Chili recipe? Follow me on Pinterest, Instagram, and Facebook for more!
If you try this recipe, I would really appreciate it if you would please leave a comment and star rating. Thanks!

Instant Pot Smoky Beef Chili
Ingredients
- 1 tablespoon extra virgin olive oil
- 2 pounds ground beef
- 1 15.5 ounce can dark red kidney beans (drained)
- 1 15.5 ounce can light red kidney beans (drained)
- 1 cup beef stock
- 8 ounces tomato sauce
- 1 tablespoon Worcestershire sauce
- 2 tablespoons masa flour (or regular flour)
- 4 cloves garlic (minced)
- 2 tablespoons chili powder
- 2 teaspoons smoked paprika
- 1 1/2 teaspoons ground cumin
- 1 teaspoon dried oregano
- 1 teaspoon salt
Instructions
- Turn your Instant Pot onto sauté. Once the pot reads "HOT" add the olive oil and the ground beef.
- Cook the ground beef, breaking up into smaller pieces until no longer pink, about 10 minutes.
- Turn off the sauté function and drain any excess grease from the pot.
- Add all of the remaining ingredients to the pot with the ground beef. Stir well.
- Place the lid on the Instant Pot and make sure the valve is set to the "seal" position.
- Press the "Chili" function and set the time to 20 minutes.
- When the cook time is up, allow the Instant Pot to do a natural release for 15 minutes, followed by a quick release before opening the lid.
- Serve the chili hot with your favorite toppings.
Notes
Tips and Techniques
- Grass fed beef gives this chili the best flavor.
- You can add some diced onion, peppers, or even diced tomatoes.
- A natural release just means that you will leave the Instant Pot undisturbed. A quick release is done by turning the valve to vent, then carefully opening the lid once all the steam has escaped.
- Store any leftover Instant Pot Smoky Beef Chili in an air-tight container in the refrigerator. Use with 3 days.
- You can freeze this chili in an air-tight container for up to 4-6 months, for best results.
Nutrition
This recipe was originally published on December 12, 2018. It was updated with new images, more thorough instructions, tips, techniques, FAQs, and video in November 2020.


