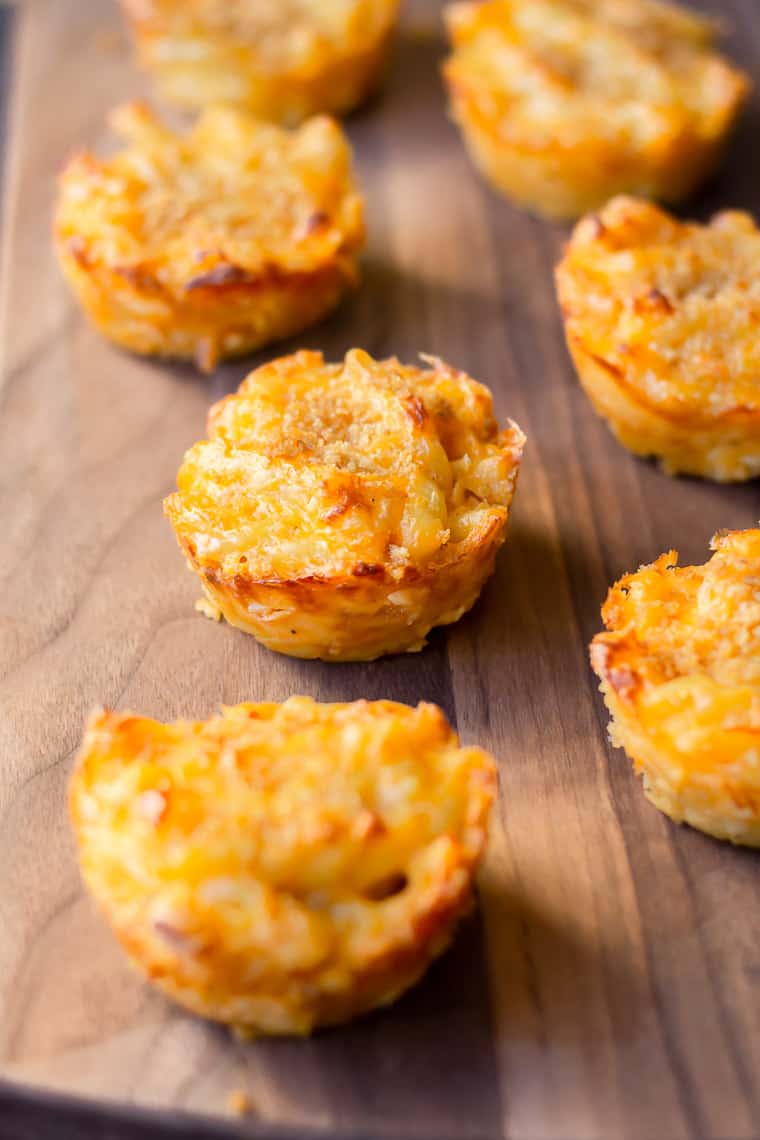
Baked Mac and Cheese Cups are cheesy delicious, easy to make, and fun to eat. They are perfectly portioned to serve as appetizers or snacks, or have a few and make them a meal. These macaroni and cheese bites are definitely not just for the kids!
This post contains affiliate links. See our Disclosure Statement for more information.
Baked Mac and Cheese Cups (also commonly called balls or bites) have been popping up on appetizer menus in restaurants everywhere proving that mac and cheese isn’t just for kids.
While this grown-up version of macaroni and cheese might be more adult-friendly, it’s definitely for kids too!
Why This Recipe Works
This recipe is really easy to make an only requires simple, real food ingredients.
It’s a fun recipe for kids and adults. There is no need to feel guilty sneaking bites of the kid’s macaroni and cheese any longer!
You can enjoy these as an appetizer or snack or serve them as lunch or dinner.
There are instructions on how to make this recipe gluten free in the notes section of the recipe card at the bottom of this post.
How to Make Mac and Cheese Cups
What You Need For This Recipe
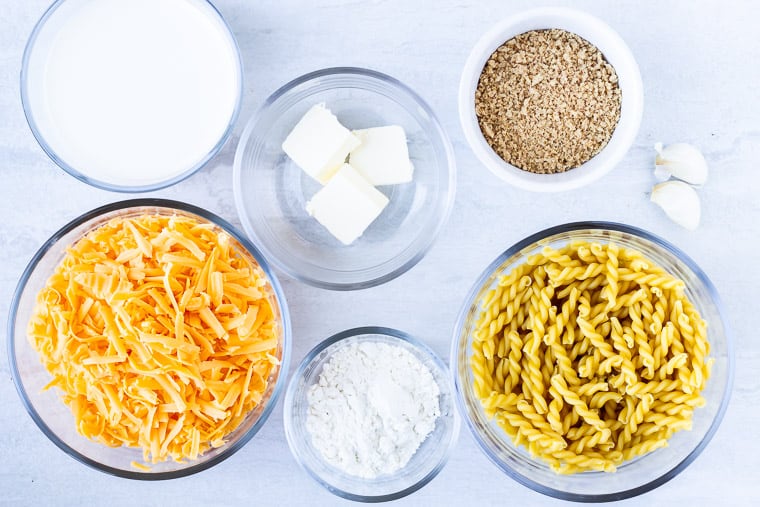
To make this recipe you will need pasta, cheddar cheese, milk, breadcrumbs, flour, garlic, butter, salt and pepper.
Tip: use a smaller pasta like shells or elbows to make filling the cups a bit easier. Gemelli, pictured above, adds a fun shape and texture.
Prep!
Use a small amount of butter to grease the inside of all 12 cups of a standard size muffin tin and set aside.
Shred the cheddar cheese and mince the garlic.
Tip: it is highly recommended to shred the cheese from a block. Bagged shredded cheese has starch in it which may give your cheese sauce a gritty texture.
Place a pot of salted water over high heat on the stovetop to boil and preheat your oven to 350°F.
Create!
Cook the pasta, according to the package directions, or until it is al dente.
While the pasta is cooking, melt the butter in a saucepan over medium heat. Add the garlic and cook for 1 minute, stirring constantly.
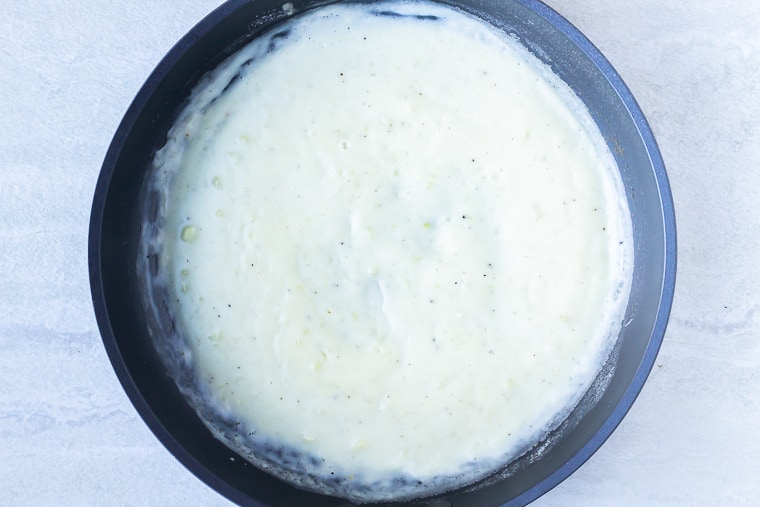
Whisk in the salt, pepper, and flour until there are no lumps left in the flour.
Slowly whisk in the milk and heat until just boiling.
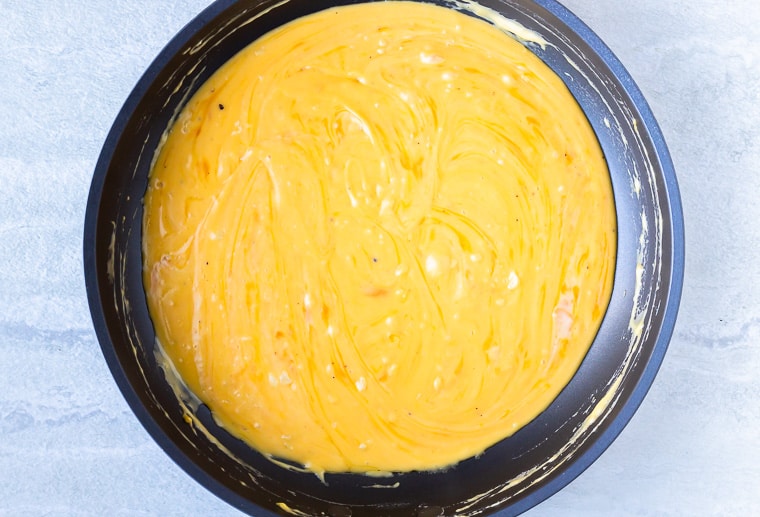
Remove from the heat and stir in the cheddar cheese.
Once the pasta is done cooking, drain well, and gently stir into the cheese sauce.
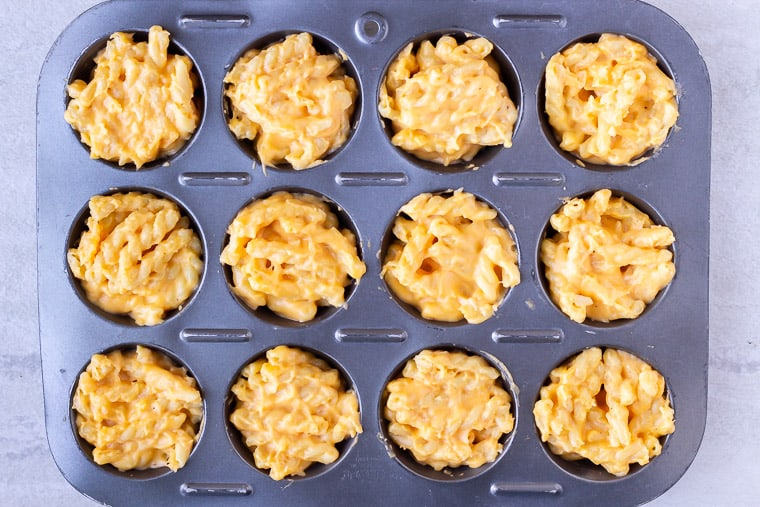
Divide the pasta among the 12 muffin cups.
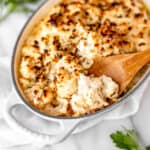
Sprinkle the breadcrumbs evenly over the Mac and Cheese Cups.
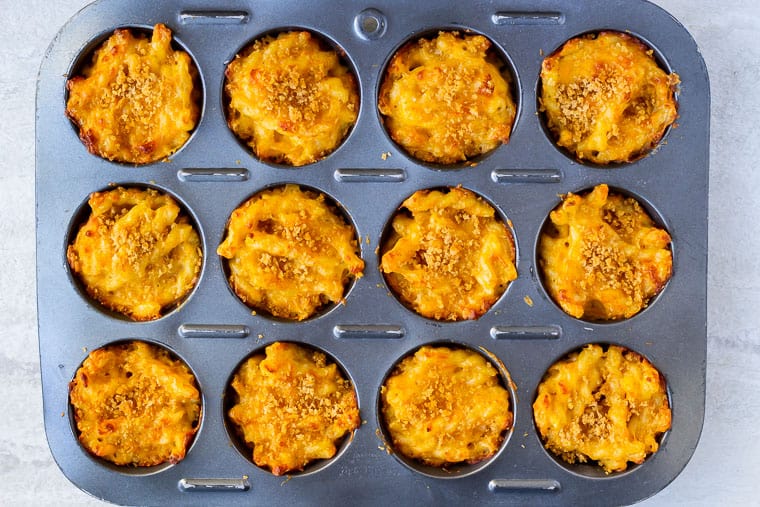
Bake for 30-35 minutes, or until the tops are just starting to brown.
Present!
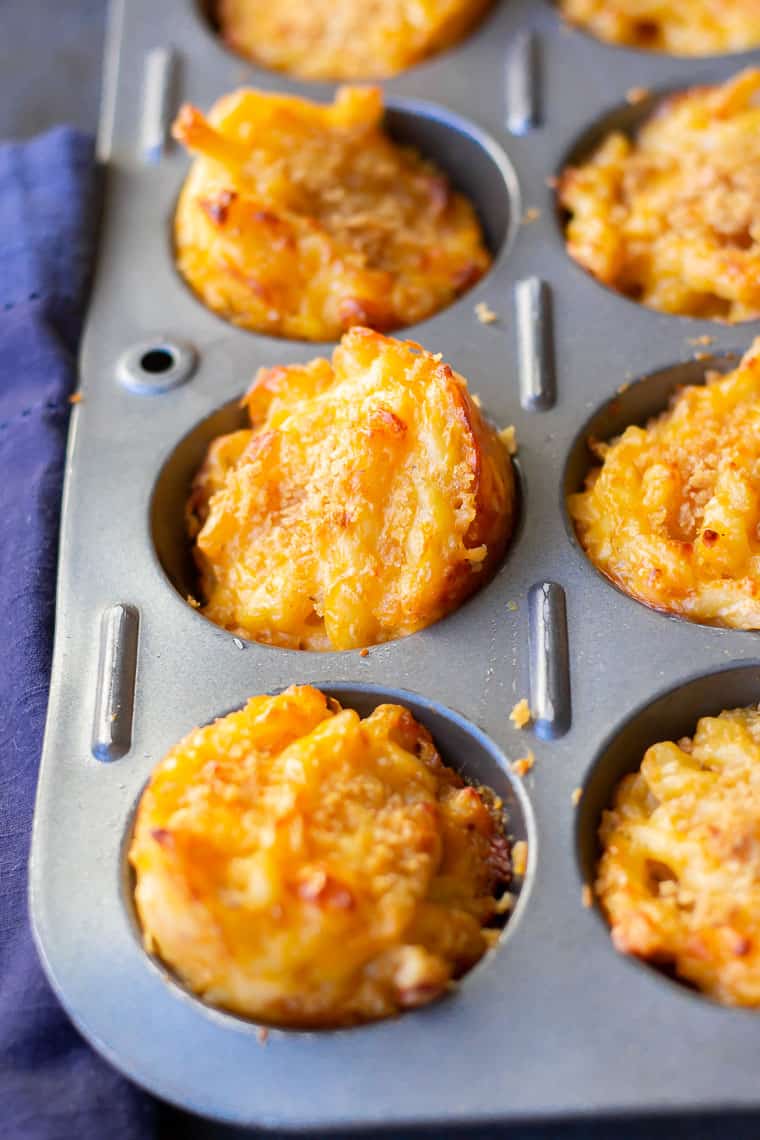
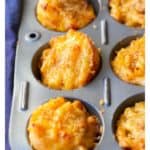
Let cool completely before removing from the pan. You may need to loosen the cups with a butter knife before gently removing them from the pan.
How to Make Gluten Free Mac and Cheese Cups
There are just a few simple swaps to make this recipe gluten free.
First, you will need to use gluten free pasta and gluten free breadcrumbs.
Also, swap out the all purpose flour for cornstarch and the results should be almost identical.
Tips and Techniques for Perfect Baked Mac and Cheese Cups
- Use a smaller pasta shape like elbows or shells to make filling the cups easier. Fun shapes like the gemelli used in the photos add a unique texture.
- Shred the cheddar cheese from a block for the best melting and texture.
- Store leftovers in an airtight container in the refrigerator. Use within 2-3 days.
FAQ’s
- Can you freeze mac and cheese? The simple answer is yes, you can freeze mac and cheese. However, you need to be really careful not to cook the pasta past al dente, as pasta does not hold up well in the freezer and there will likely be some texture changes when reheated.
- What can you serve with baked mac and cheese? A side of vegetables is always a good choice with this main dish. Broccoli is a popular go-to vegetable to serve with mac and cheese, as well as spinach, carrots, or sweet potatoes.
- What can you add to mac and cheese? Breadcrumbs and bacon are popular toppings for mac and cheese. You can also stir in meats like chicken or beef, or vegetables like broccoli or peas. Sauces or dressing like ranch or hot sauce are also great ways to add a kick to this otherwise simple dish.
More Cheesy Pasta Recipes to Try
Interested in trying a few more unique, cheesy pasta recipes?
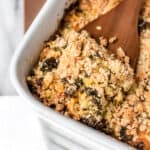
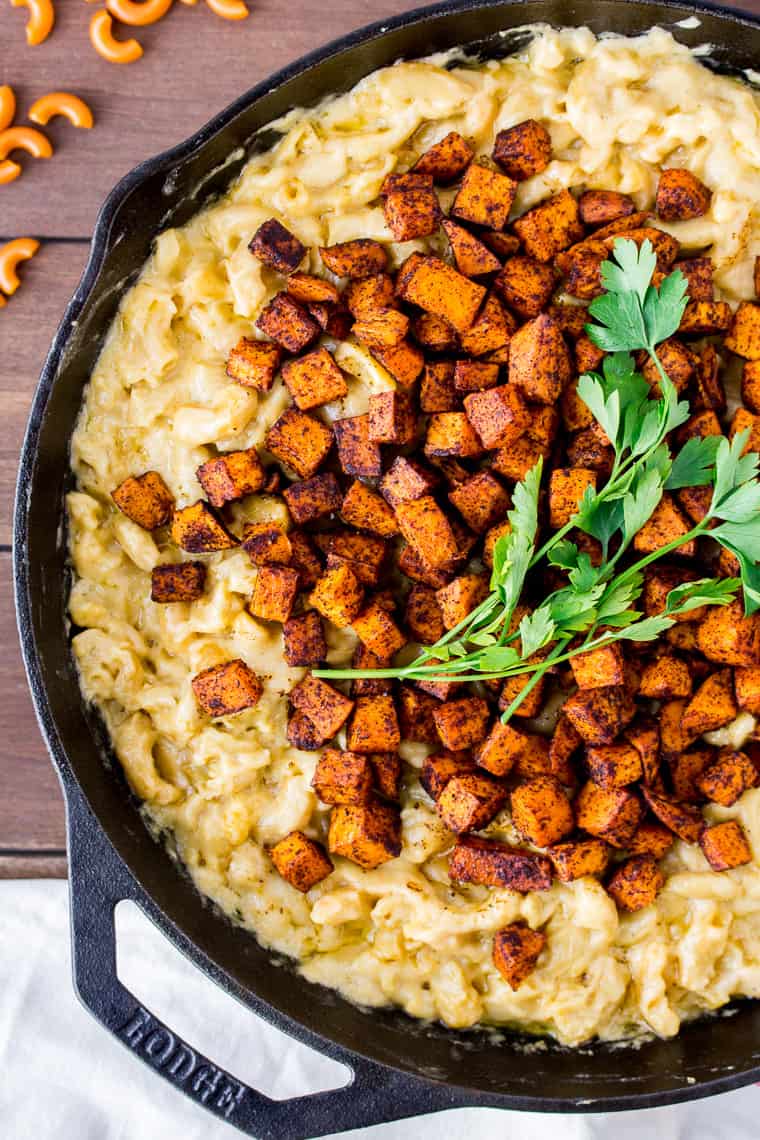
This Chili-Roasted Sweet Potato Mac and Cheese recipe is definitely a bit different, but the flavor is amazing. It’s the perfect blend of chili and cheese as well as sweet and savory.
You might also enjoy this Keto Mac and Cheese with Zoodles for a low carb version, or this recipe for Pasta with Creamy Goat Cheese Tomato Sauce that has a tangy little bite to it.
Love this Baked Mac and Cheese Cups recipe? Follow me on Pinterest, Instagram, and Facebook for more!

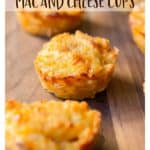
Baked Mac & Cheese Cups
Ingredients
Mac & Cheese Cups
- 8 ounces pasta * shells, elbows, or gemelli
- 3 tablespoons butter
- 2 cloves garlic * minced
- 1/2 teaspoon salt
- 1/8 teaspoon ground black pepper
- 2 tablespoons all purpose flour
- 1 cup whole milk
- 2 cups shredded cheddar cheese
- 1/4 cup breadcrumbs
Instructions
- Butter all 12 cups of a standard size muffin tin and set aside. Place a pot of salted water over high heat on the stovetop to boil and preheat your oven to 350°F.
- Cook the pasta, according to the package directions, or until al dente.
- While the pasta is cooking, melt 3 tablespoons of butter in a saucepan over medium heat. Add the garlic and cook for 1 minute.
- Whisk in the salt, pepper, and flour until the flour is smooth.
- Slowly whisk in the milk and heat until just boiling, then remove from the heat and stir in the cheddar cheese.
- Once the pasta is done cooking, drain well, and gently stir into the cheese sauce.
- Divide the pasta among the 12 muffin cups.
- Top evenly with the breadcrumbs.
- Bake for 30-35 minutes, or until the tops are just starting to brown.
- Let cool completely before removing from the pan. You may need to loosen the cups with a butter knife before gently removing them from the pan.
Notes
Tips and Techniques for Perfect Baked Mac and Cheese Cups
- Use a smaller pasta shape like elbows or shells to make filling the cups easier. Fun shapes like the gemelli used in the photos work too.
- Shred the cheddar cheese from a block for the best melting and texture.
- Store leftovers in an airtight container in the refrigerator. Use within 2-3 days.
How to Make Gluten Free Mac and Cheese Cups
To make this recipe gluten free, you will need to use gluten free pasta and gluten free breadcrumbs. Also, swap out the all purpose flour for cornstarch and the results should be almost identical. ** Nutritional information is an estimate and may vary.Nutrition
This recipe was originally posted on January 16, 2018. It was updated with an improved recipe, more thorough instructions, new images, tips, techniques, and FAQ’s in February 2020.