


Mini Chocolate Halloween Cupcakes are an easy, delicious dessert for the holiday. These cupcakes are decorated in a simple way to make them festive without being scary. They are perfect for Halloween parties and celebrations.

This post contains affiliate links. See our Disclosure Statement for more information.
Halloween is one of my favorite food holidays. We don’t usually have a Halloween party because my kids still prefer trick-or-treating, but I do make a fun Halloween meal and dessert every year.
This year, we kept it simple with Chocolate Halloween Cupcakes. There are so many recipes out there with elaborate, fun designs, but my kids like to help with the baking. For them, it’s best to keep it easy, but still festive.
In this recipe, I use my Mini Chocolate Cupcakes recipe and decorate them in a simple, easy way that’s perfect for any Halloween party or celebration.
Why This Recipe Works
These Halloween cupcakes are a quick and easy recipe to make and decorate. It’s a fun recipe to have the kids help with too.
Homemade chocolate cupcakes taste so much better than store bought cake mixes. Plus, there are no questionable ingredients and preservatives. You know exactly what’s going into your recipe.
They are small, but pack a rich, delicious, chocolaty punch. Their size makes them great for entertaining and decorating in a variety of ways.
How To Make Mini Chocolate Halloween Cupcakes
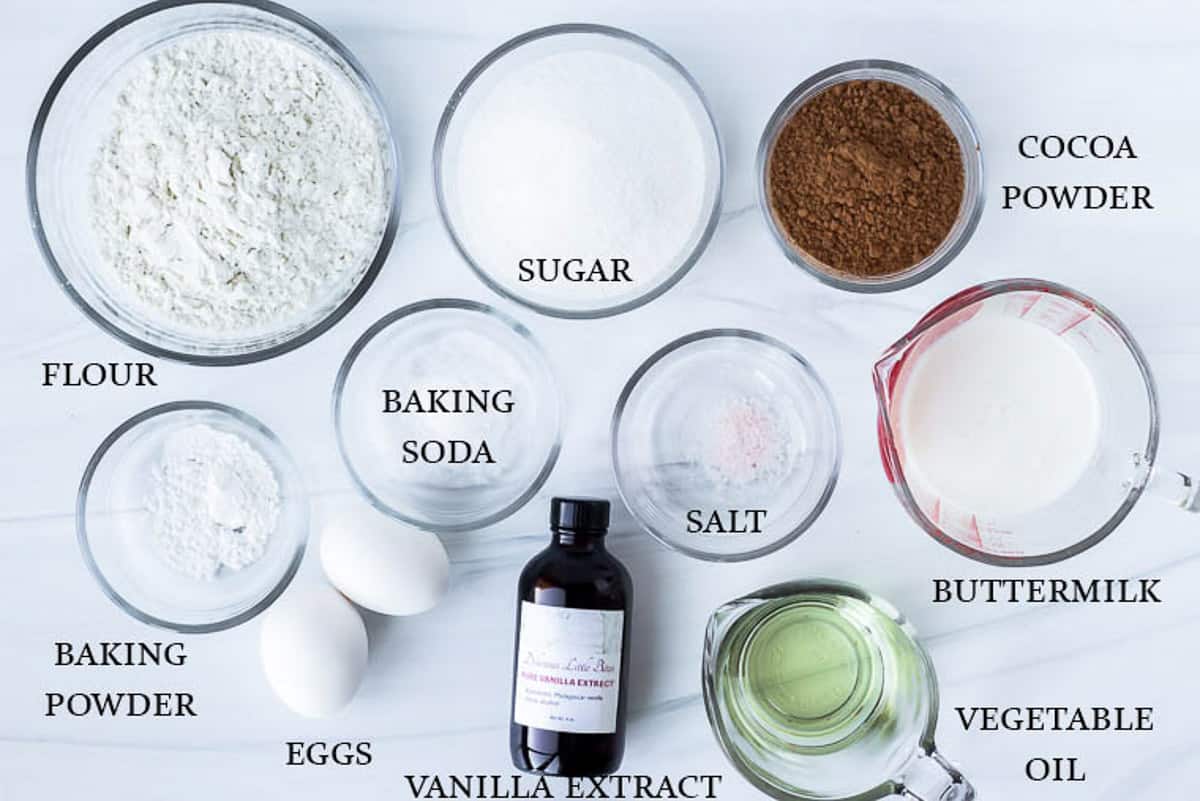
Ingredients
- Use pure vanilla extract for the best flavor.
- Be sure to scoop the flour into the measuring cup with a spoon, then scrap off the excess with the back of a butter knife. If you scoop the flour out with the measuring cup, it becomes too packed and may result in drier cupcakes from the excess flour.
- We highly recommend using high-quality baking products like King Arthur brand for the best results.
The full recipe and instructions can be found in the recipe card at the bottom of this page.
Prep!
Preheat your oven to 350°F. Line a mini cupcake pan with mini cupcake liners.
Note: if you would rather make full size cupcakes, line a standard cupcake pan with liners. The oven temperature will be the same. Bake times are included for both mini and standard cupcakes in the recipe card.
Create!
Making this recipe is very simple.
- Mix the batter.
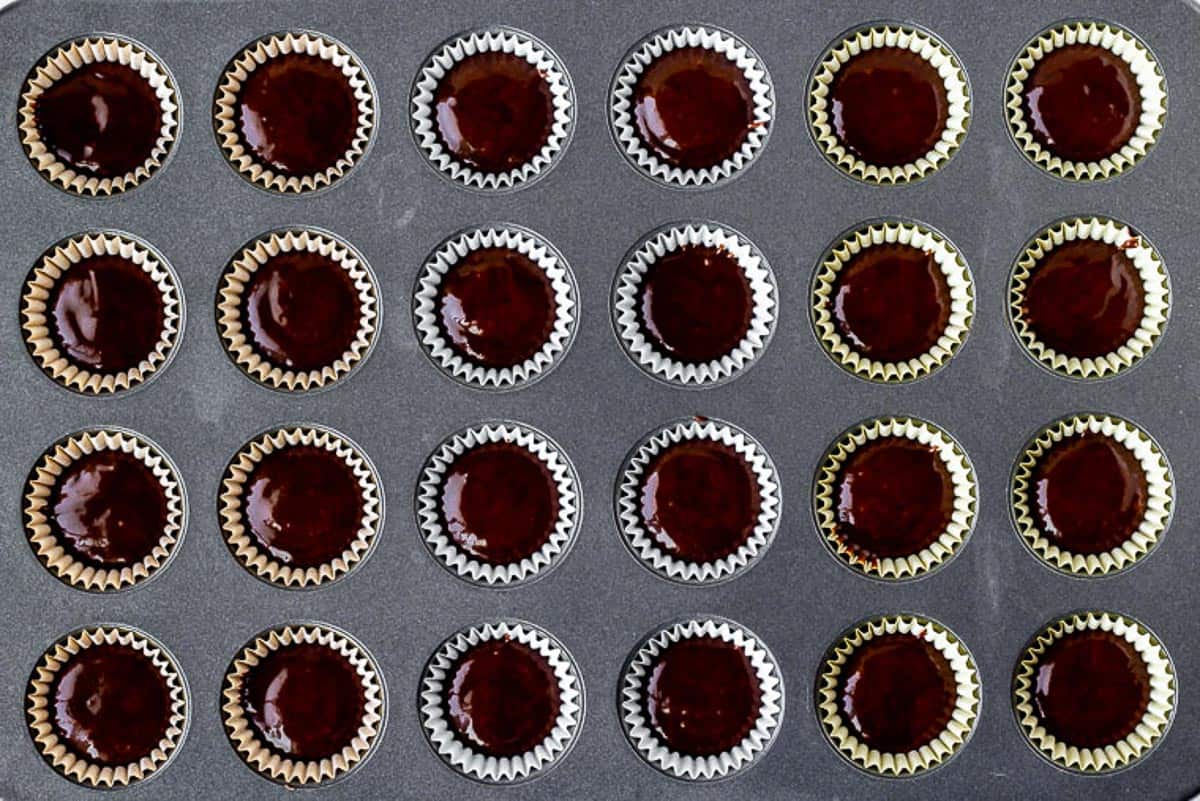
- Fill the cupcake liners only halfway full.
- Bake.
- While the cupcakes are baking, prepare your frosting. I use this recipe for Homemade Chocolate Buttercream Frosting.
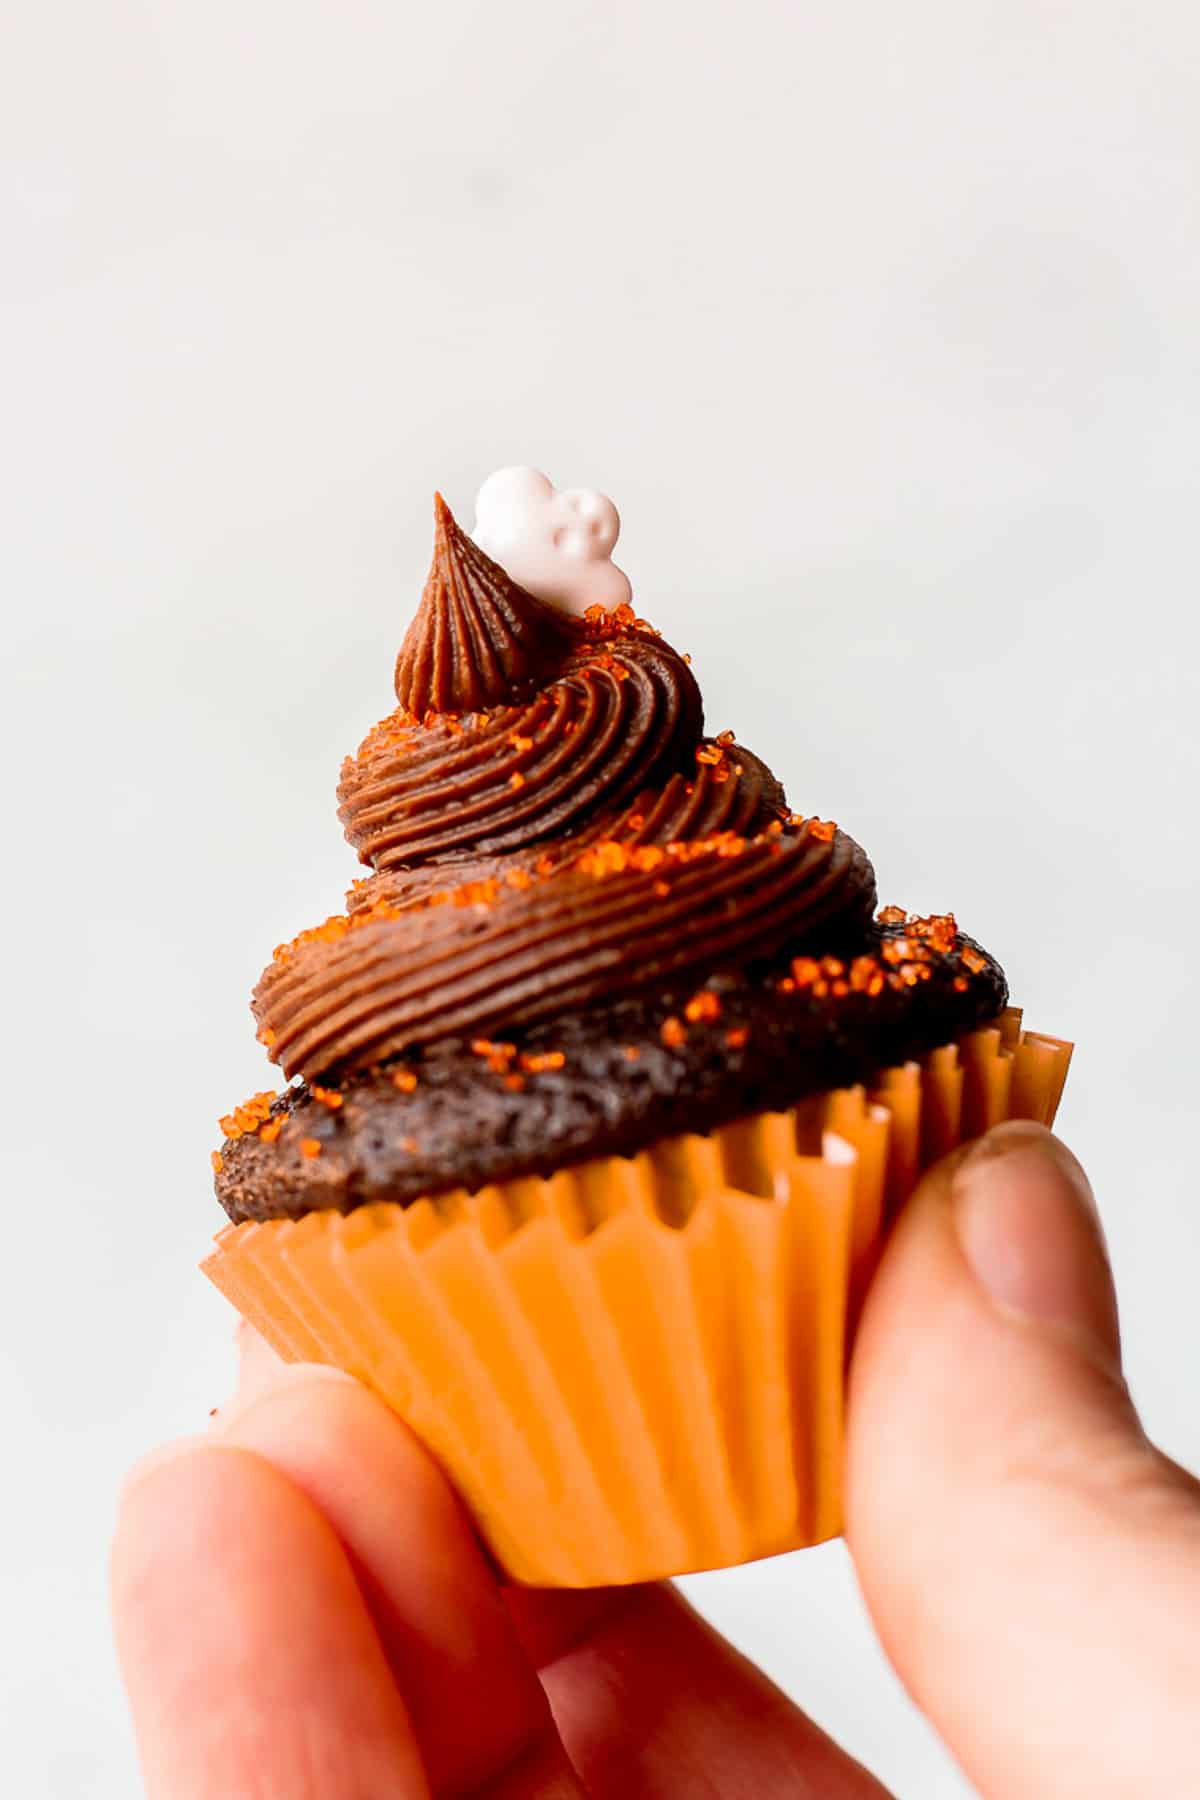
- Decorate. See below for decorating ideas.
Present!
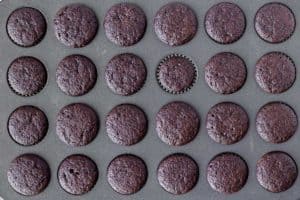
Allow your cupcakes to cool completely before frosting and decorating.
Halloween Cupcakes Decorations
There are so many ways to decorate cupcakes, but the easiest is frosting and sprinkles.
Instead of chocolate frosting, you can make vanilla frosting and use food dye to color it, if desired. I prefer to use food color gel for the best results.
There are a ton of options for Halloween sprinkles available. To decorate cupcakes like those pictured, I used black and orange sugar, purple balls, multi-colored traditional sprinkles, and mini pumpkin and ghost candies. All of these came in a set of 6 different Halloween sprinkles from Wilton. I actually have 2 different sets of 6 from Wilton that are specifically for Halloween.
Tips and Techniques
- Use pure vanilla extract for the best flavor.
- Spoon the flour into the measuring cup to avoid packing it. If you pack the flour too much, the cupcakes will turn out dry.
- Store cupcakes without icing tightly covered at room temperature for a day or two, or with/without frosting in the refrigerator for up to seven days.
FAQ’s
How Long Does It Take For Mini Cupcakes To Bake?
I have found that baking mini cupcakes at 350°F for 12-15 minutes to be the sweet spot. However, all recipes vary so it is best to check them frequently when modifying a recipe.
Can You Make Mini Cupcakes Without A Mini Cupcake Pan?
Yes, but it’s a bit trickier. You will need to use sturdy, foil mini cupcake liners or multiple paper liners stacked together. Then, place the liners on a baking sheet, fill as directed and bake.
Can You Freeze Cupcakes?
Yes. Store unfrosted cupcakes individually wrapped in plastic wrap or in freezer bags for up to 3 months. If the cupcakes are frosted, place them on a baking sheet in the freezer. Once frozen, wrap in plastic wrap or place in air-tight containers. Thaw in the refrigerator or at room temperature.
More Halloween Recipes
Here are a few more Halloween recipes that you might like:


Love this Mini Chocolate Halloween Cupcakes recipe? Follow me on Pinterest, Instagram, and Facebook for more!
If you try this recipe, I would really appreciate it if you would please leave a comment and star rating. Thanks!
Mini Chocolate Halloween Cupcakes
Ingredients
- 1 cup all purpose flour
- 1/2 cup unsweetened cocoa powder
- 1 teaspoon baking powder
- 1/2 teaspoon baking soda
- 1/4 teaspoon salt
- 1 cup granulated sugar
- 1/4 cup vegetable oil
- 2 eggs
- 1 teaspoon vanilla extract
- 1/4 cup buttermilk
- 1 batch Homemade Chocolate Buttercream Frosting (or any frosting you prefer)
- Halloween sprinkles
Instructions
- Preheat oven to 350°F. Line a mini cupcake pan with paper liners. You may need to work in batches.

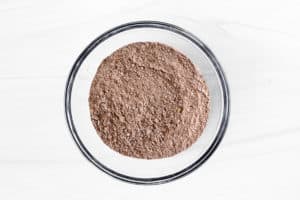
- Stir together the flour, cocoa powder, baking powder, baking soda, and salt in a small bowl.
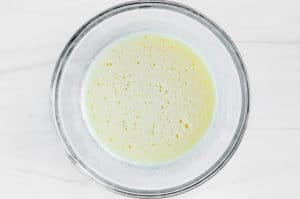
- Whisk together the sugar, vegetable oil, eggs, and vanilla in a second large bowl until well blended.

- Mix in half of the dry ingredients, half of the wet ingredients and half of the buttermilk. Repeat with the remaining dry ingredients, wet ingredients, and buttermilk until everything is incorporated and well blended.

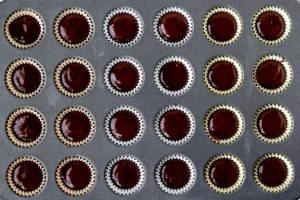
- Fill each cupcake liner halfway with batter.
- Bake for 12-15 minutes or until a toothpick inserted into the center of a cupcake comes out clean. For standard size cupcakes, bake 18-20 minutes.
- Let cool before frosting and adding Halloween sprinkles.


Notes
Tips and Techniques
- Use pure vanilla extract for the best flavor.
- Spoon the flour into the measuring cup to avoid packing it. If you pack the flour too much, the cupcakes will turn out dry.
- Store cupcakes without icing tightly covered at room temperature for a day or two, or with/without frosting in the refrigerator for up to seven days.