
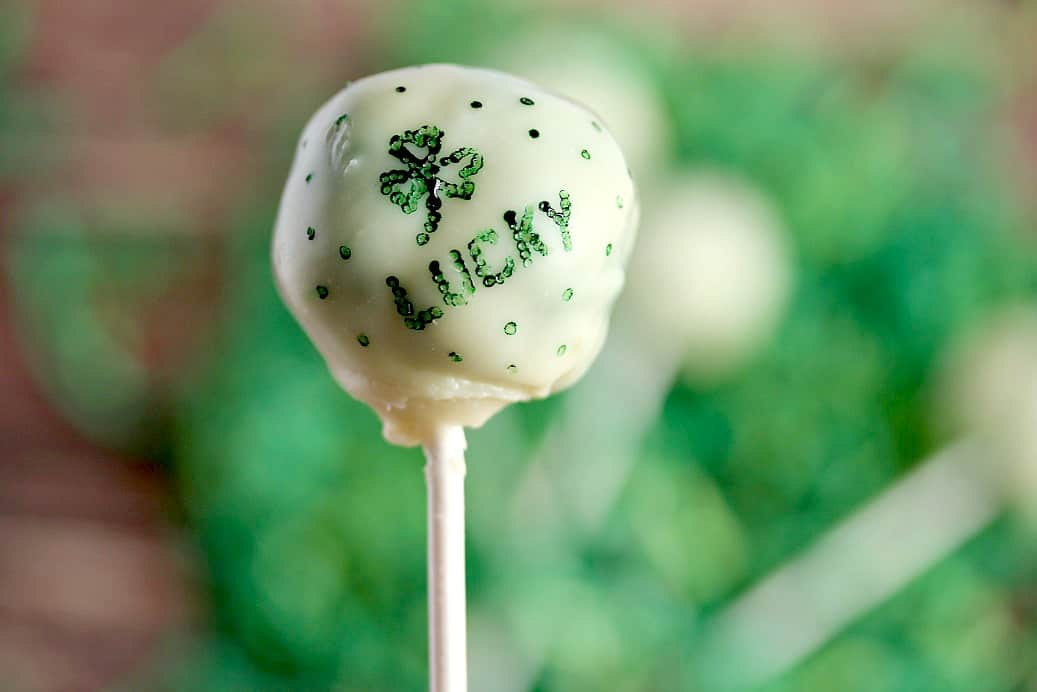
These fun Green Cake Pops are easy-to-make and super delicious. They are the perfect treat for St. Patrick’s Day parties and celebrations.
This post contains affiliate links. See our Disclosure Statement for more information.
Those of us who aren’t even a teeny tiny bit Irish, can still rock the “Kiss Me, I’m Irish” pin every St Patrick’s Day. The expression that we are all a little bit Irish on St. Patrick’s Day makes it such a fun holiday for everyone to celebrate.
There’s no better treat to enjoy after a delicious corned beef dinner than cake. Especially Green Cake Pops with fun St. Patrick’s Day decorations on them.
Why This Recipe Works
Cake pops are a really fun recipe to make and decorate. It’s definitely one that the kids can help with too!
You can make these cake pops for any occasion. While this recipe is showing green cake pops decorated for St. Patrick’s Day, you can easily swap out the colors and decorations to anything that you prefer.
This recipe has been tested with gluten free boxed cake mix and is just as delicious as regular boxed cake mix.
How to Make Cake Pops
What You Need to Make This Recipe
You will need a box of regular or gluten free vanilla cake mix and the ingredients listed on the box to prepare the cake.
In addition to the cake mix, you will also need vanilla frosting, white chocolate chips and food coloring.
To make cake pops, you will need lollipop sticks. See the section below titled Cake Pop Decorating Ideas for some suggestions on how to decorate these cake pops and what else you might need.
Prep!
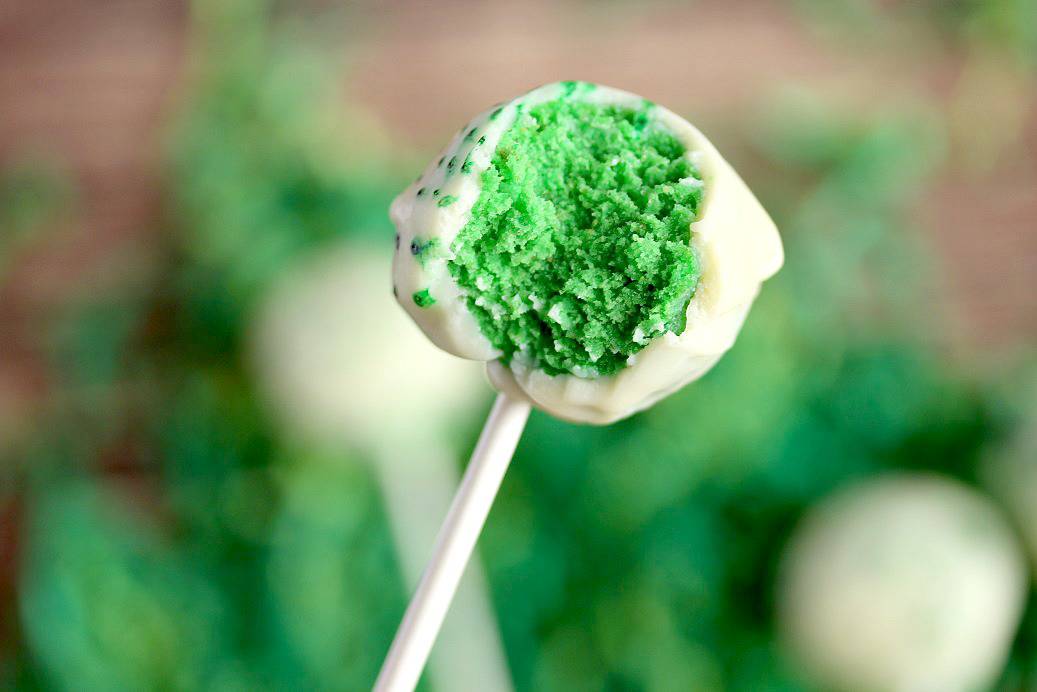
Make the cake according to the directions on the package. If you want your cake to be green, or any other color, stir in food coloring until the desired shade is reached before baking.
Tip: you can use a homemade cake recipe or gluten free box cake mix instead.
Create!
After the cake has baked and cooled, crumble it into fine crumbs in a large bowl.
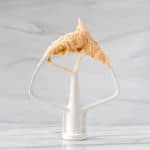
Add the vanilla cake frosting a tablespoon at a time until the cake is just moist enough to be rolled into about 40 1-inch smooth balls.
Place the cake balls on a sheet pan on the top shelf in the refrigerator for at least an hour or two. They can be left in the refrigerator longer if needed.
Once the cake balls are firm, place the white chocolate chips in a microwave safe bowl and cook on 50% power for a minute. Stir until smooth. If they are not melted enough, heat on 15 second intervals, stirring in between, until melted and smooth.
Dip the end of a lollipop stick into the melted white chocolate and then insert it into the cake ball about half way. Dip the cake ball into the white chocolate and turn to coat.
Let the cake balls cool, upright not touching each other until set.
Tip: dipping the cake balls in the white chocolate can be a little tricky. Try using a small silicone brush to help spread the chocolate around to fully cover the cake. You can place the cake pops into coffee mugs or a Styrofoam block to keep them upright and not touching each other while the white chocolate is hardening back up.
Present!
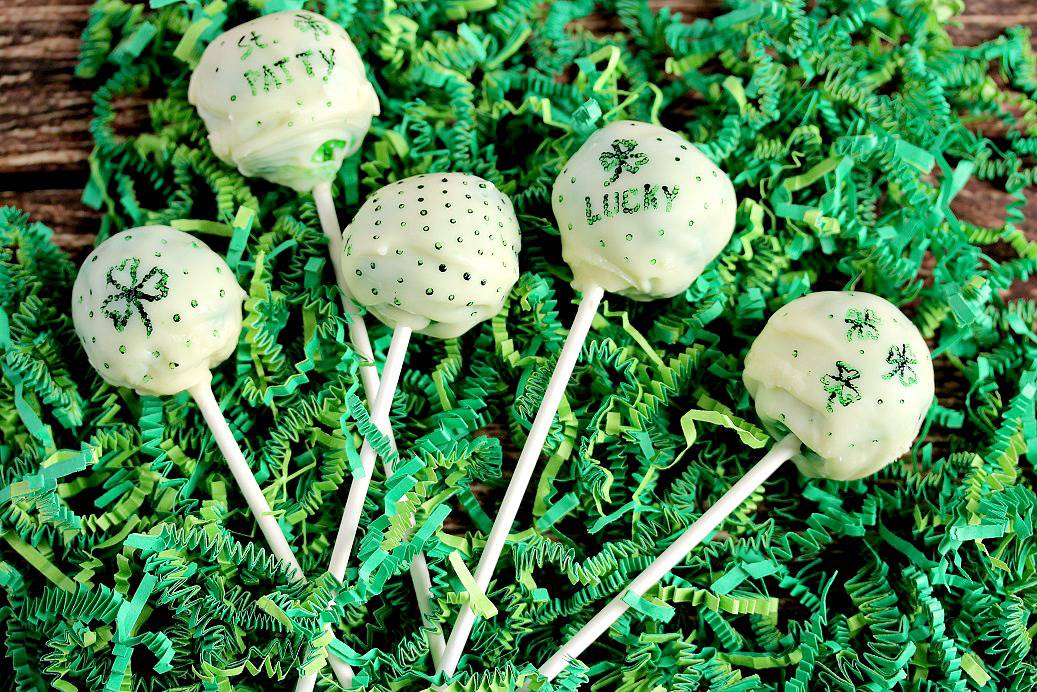
Decorate and enjoy!
Cake Pop Decorating Ideas
There are lots of ways that you can decorate cake pops. Here are a few suggestions:
- Add sprinkles, colored sugar, or edible glitter before the white chocolate sets.
- Use different colored cake icing or Candymelts to add swirls or designs.
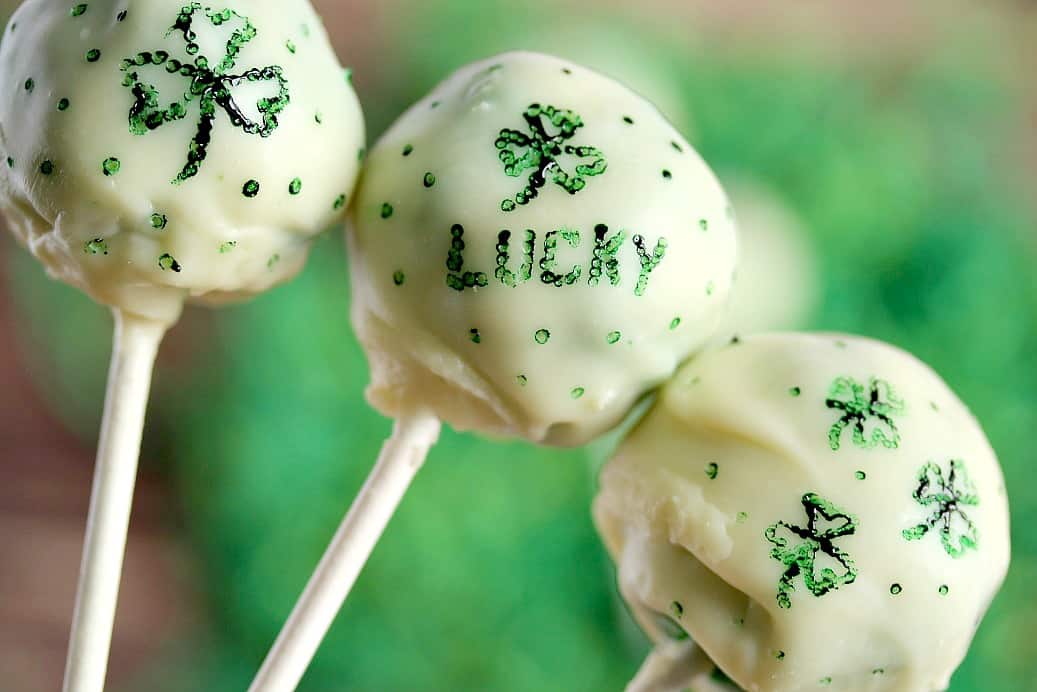
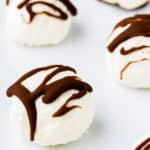
- Use green gel food coloring and a toothpick to create designs as shown in the photos. Just be aware that the food coloring may not fully set so be extra careful if you have to transport the cake pops.
Tips and Techniques for Making Cake Pops
- You can use a regular or gluten free boxed cake or a homemade cake recipe with very similar results.
- Use a small silicone brush, if necessary, to help spread the white chocolate around so that the cake is fully covered.
- Place the cake pops into coffee mugs or a block of Styrofoam to keep them upright and not touching each other while the white chocolate is hardening back up.
- Cover cake pops to store them. They can be left at room temperature for up to a week or in the refrigerator for up to 2 weeks. You can also freeze your cake pops for up to 3 months.
FAQ’s
Why Are My Cake Pops Cracking?
Cracking is a common issue when making cake pops.
This happens if the candy coating sets before the cake has come back to room temperature and full size after being chilled.
To avoid this, place the cake pops on the top shelf of the refrigerator to chill, when possible. Do not freeze the cake pops before coating them in the melted candy.
How Do You Get Cake Pops to Stay on the Stick?
There are a few tricks to help get your cake pops to stay on the stick.
First, dip the stick into the melted candy before inserting it into the cake pop. The melted candy is like glue between the stick and the cake.
Next, make sure the cake balls are not to big and heavy. Keep the cake pops about 1-inch in size.
Finally, ensure that your candy is melted so that it is very smooth and thin. If it’s overheated it can be become thicker and heavier adding weight to the cake pop as it’s being dipped and potentially causing it to fall off.
More Spring Desserts to Try
With spring right around the corner, bright and beautiful desserts are perfect for the upcoming holidays and celebrations.
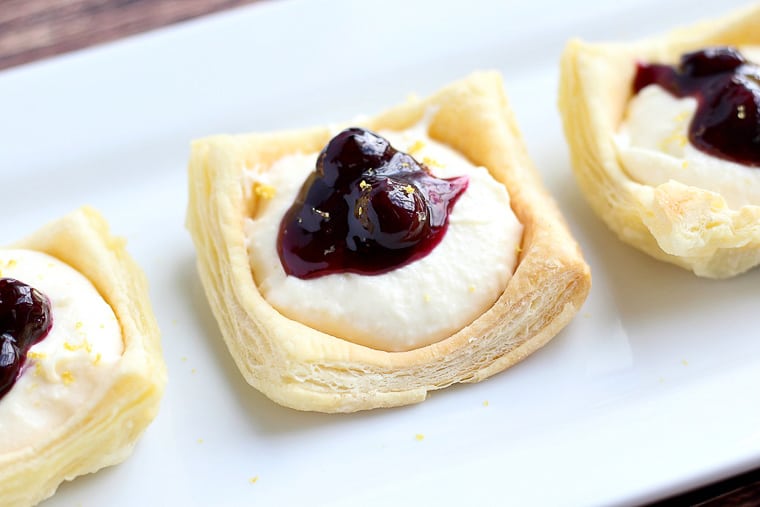
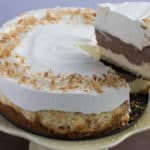
One surprisingly easy dessert recipe that is absolutely beautiful is for these No-Bake Lemon Cheesecake Cups. The cheesecake portion is no-bake, but the cups are easy to make and don’t take very long at all.
You might also enjoy these 2-bite Mini Lemon Cupcakes. And, these Vanilla Candy Cupcakes are perfect for Easter and children’s birthday parties.
Love this Green Cake Pops recipe? Follow me on Pinterest, Instagram, and Facebook for more!

Green Cake Pops
Ingredients
- 1 box vanilla cake mix * or homemade equivalent
- food coloring
- 1/2 cup vanilla icing * or less
- 2 cups white chocolate chips
Instructions
- Make the cake according to the directions on the package, stirring in food coloring until the desired shade is reached before baking.
- After the cake has baked and cooled, crumble it into fine crumbs in a large bowl.
- Add the vanilla cake frosting a tablespoon at a time until the cake is just moist enough to be rolled into about 40 1-inch smooth balls.
- Place the cake balls on a sheet pan in the refrigerator for at least an hour or two. They can be left in the refrigerator longer if needed.
- Once the cake balls are firm, place the white chocolate chips in a microwave safe bowl and cook on 50% power for a minute. Stir until smooth. If they are not melted enough, heat on 15 second intervals, stirring in between, until melted and smooth.
- Dip the end of a lollipop stick into the melted white chocolate and then insert it into the cake ball about half way. Dip the cake ball into the white chocolate and turn to coat.
- Decorate and enjoy! See notes for decorating suggestions.
Notes
Tips and Techniques for Making Cake Pops
- You can use a regular or gluten free boxed cake or a homemade cake recipe with very similar results.
- Use a small silicone brush, if necessary, to help spread the white chocolate around so that the cake is fully covered.
- Place the cake pops into coffee mugs or a block of Styrofoam to keep them upright and not touching each other while the white chocolate is hardening back up.
- Cover cake pops to store them. They can be left at room temperature for up to a week or in the refrigerator for up to 2 weeks. You can also freeze your cake pops for up to 3 months.
Cake Pop Decorating Ideas
- Add sprinkles, colored sugar, or edible glitter before the white chocolate sets.
- Use different colored cake icing or Candymelts to add swirls or designs.
- Use green gel food coloring and a toothpick to create designs as shown in the photos. Just be aware that the food coloring may not fully set so be extra careful if you have to transport the cake pops.
Nutrition
This recipe was originally published March 3, 2017. It was updated with more thorough instructions, tips, techniques, and FAQ’s in February 2020.


Kelli Kerkman says
So cute! Love the creativity 🙂
Carmy says
You are so talented! I love how you decorated these cake pops. They’re so pretty!
Amy | The Cook Report says
These are such a fun idea, I love how bright they are!
David says
Well, I am Irish, even a bit more on St. Pat’s Day! These would make a nice dessert for the occasion.
Jamielyn Nye says
These are so fun! My kids LOVED them!!
Jennie Durren says
I love the toothpick/gel food color decoration – completely inspired MacGuyver solution and it looks fantastic! I want to make cake pops soon. I love eating them but have yet to try my hand at making some.
ourlittleeverything says
Thank you so much! I was so glad it worked out! You should definitely make cake pops sometime! They are soooo good!!