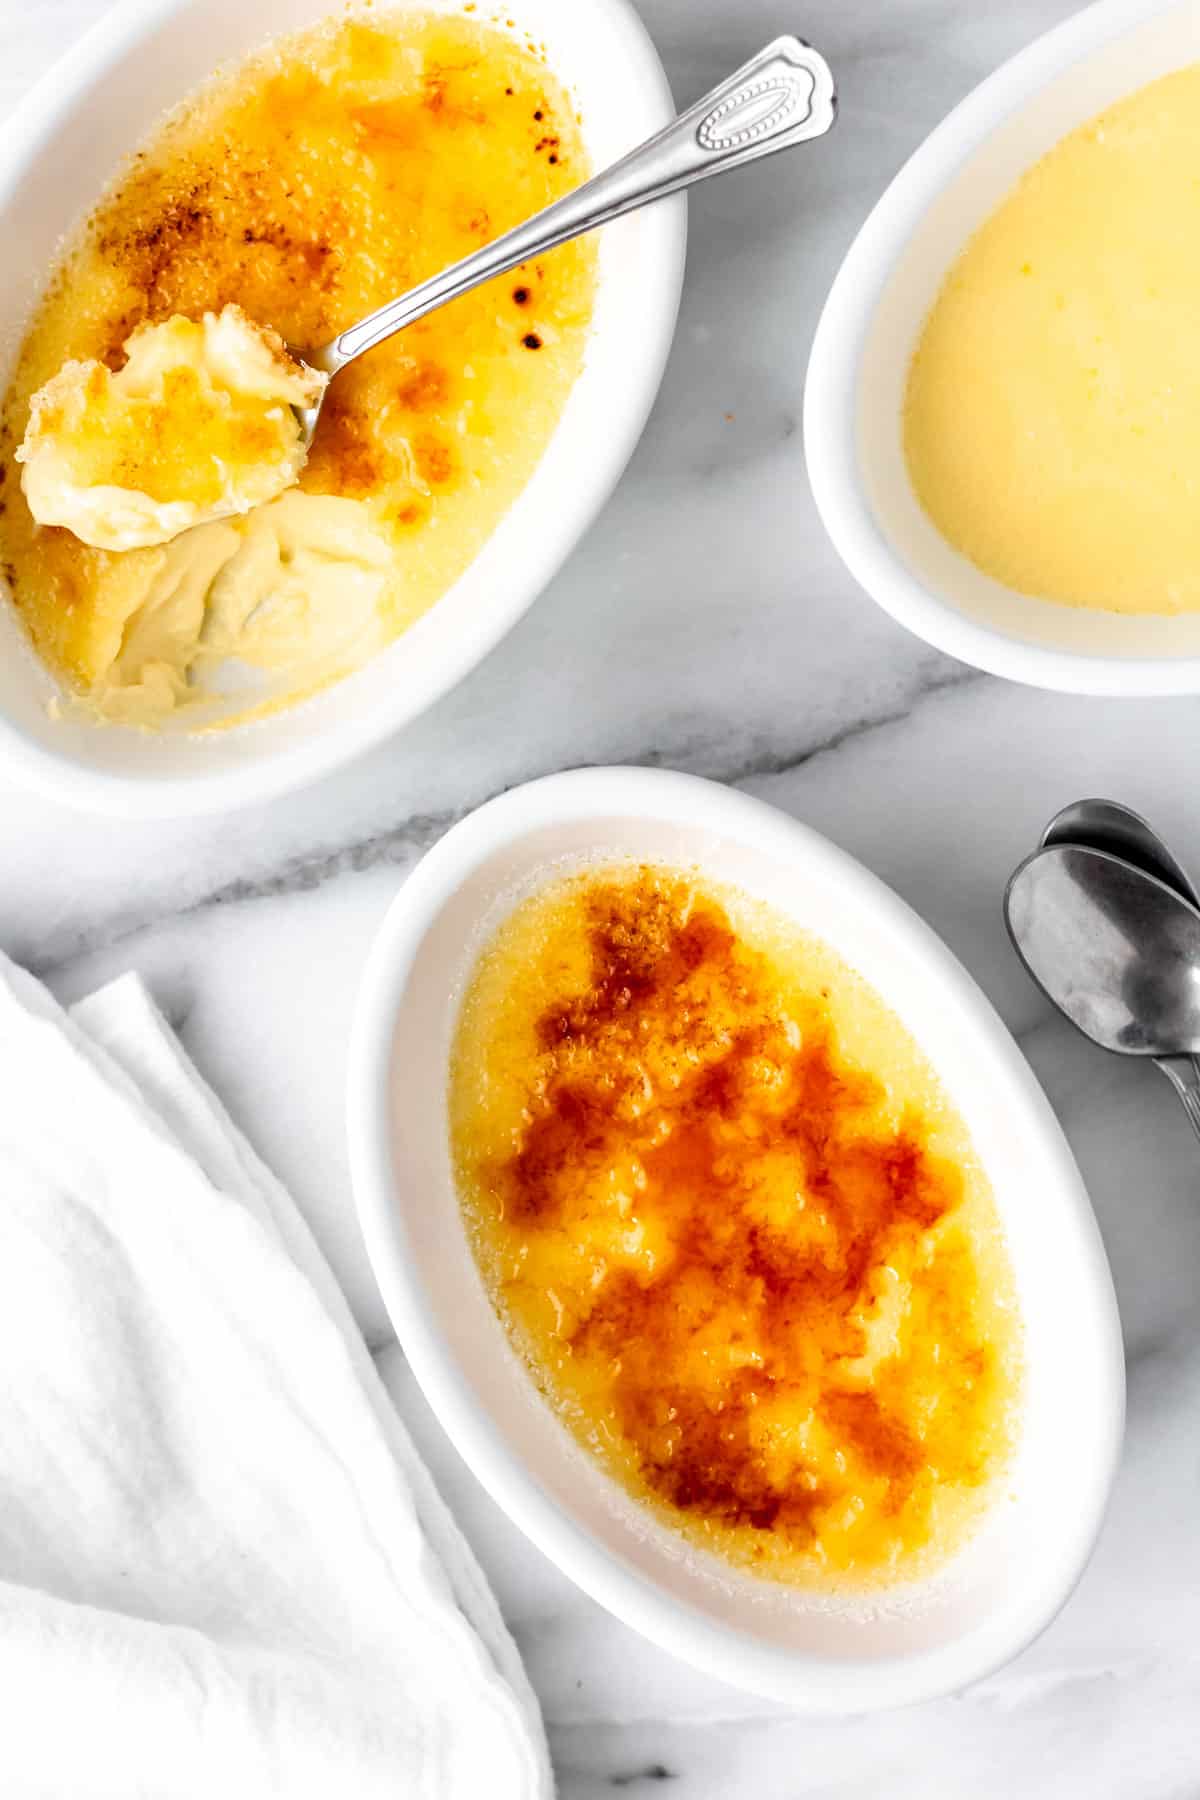
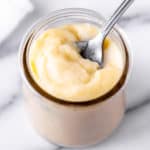
Vanilla Crème Brûlée is a decadent, rich and creamy custard with a perfectly crisp shell of caramelized sugar on top. This recipe is quick and easy to prepare and sure to impress your friends and family.
This post contains affiliate links. See our Disclosure Statement for more information.
Crème Brûlée is a most commonly known to be a classic French dessert, though England and Spain have both claimed that it actually began in their country. Regardless of where is was first created, it’s a simple, exquisite dessert that can easily be made in your own kitchen.
So, what exactly is crème brûlée? It’s a baked custard made with just heavy cream, egg yolks, sugar, salt and vanilla extract.
The most notorious part of crème brûlée is the addition of a thin layer of sugar on top of the baked custard that is caramelized with a crème brûlée torch to create a thin, hard shell. Don’t worry if you don’t have a kitchen torch, you can also use the broiler in your oven, though the final result may not be as pretty.
It’s one of many classic dessert preparations that we made in Culinary School. The step-by-step instructions below (and in the recipe card) will help even the most novice home cook make the most perfect crème brûlée dessert.
Surprisingly, it’s actually quicker and easier to prepare than classic vanilla cupcakes!
Why This Recipe Works
It’s an easy preparation that results in a rich, creamy dessert with a perfectly crisp burnt sugar topping.
You can prepare the custard base ahead of time, since it does need time to chill. It is recommended to wait to caramelize the sugar topping until right before serving, though this step takes only a minute or so.
This dessert has a historically upscale reputation, yet it is simple enough for even beginner cooks to make. It is a dessert sure to impress your friends and family.
How To Make Crème Brûlée
Ingredients
- 3 egg yolks
- 1/4 cup granulated sugar
- 1 1/2 cups heavy whipping cream
- 1/4 teaspoon salt
- 1 teaspoon vanilla extract
You will also need:
- fine mesh sieve
- clean bowl
- crème brûlée ramekins or mini baking dishes
- crème brûlée torch (optional, you can use your oven’s broiler)
The entire recipe and instructions can also be found in the recipe card at the bottom of this post. You can also print the recipe from the card, if needed.
Prep!
Preheat your oven to 325°F.
Make sure that you have your ingredients, strainer and a clean bowl ready.
Create!
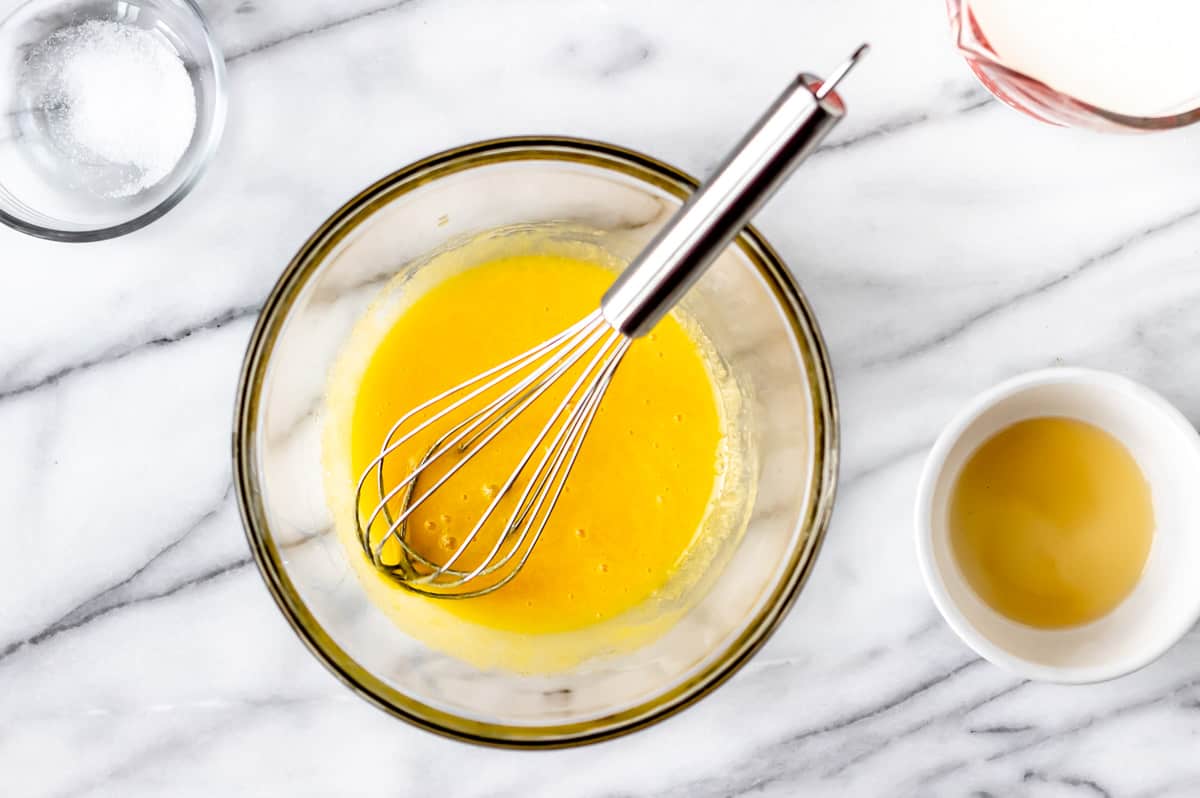
Whisk together the egg yolks and sugar in a medium bowl. Set aside.
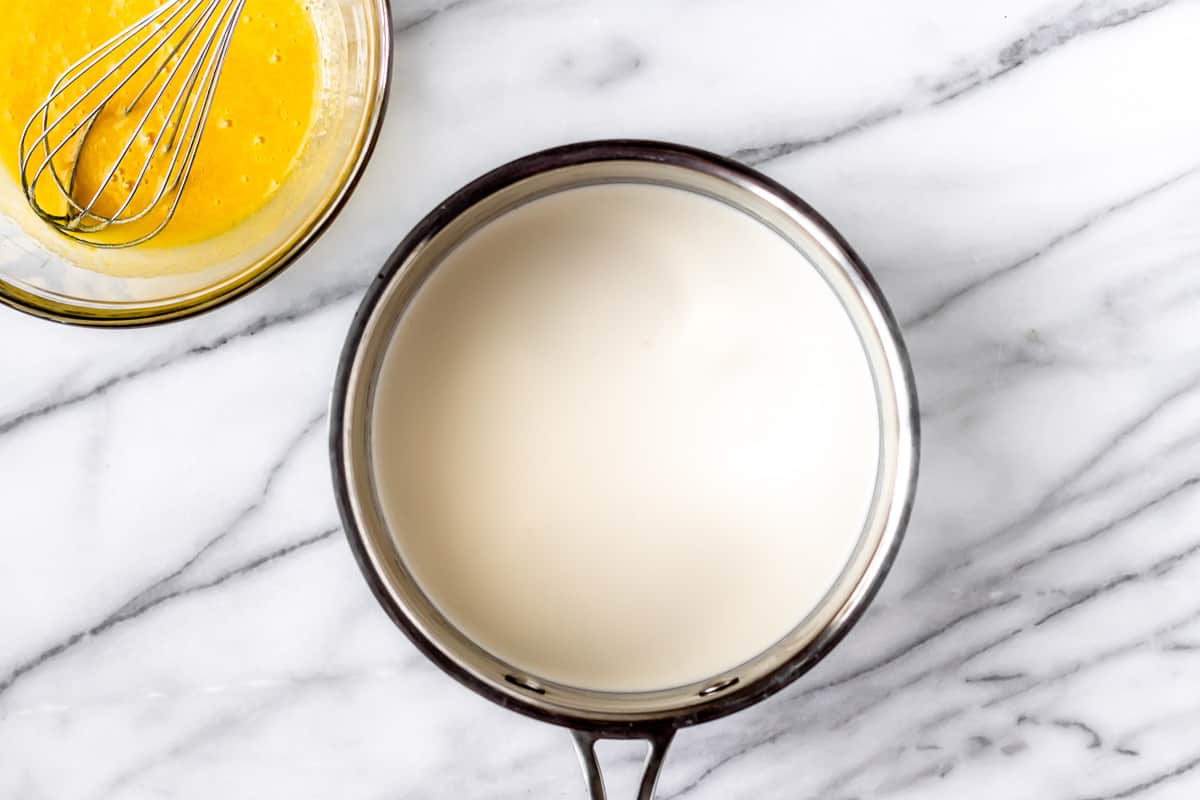
Heat the heavy cream, salt and vanilla extract in a saucepan over medium heat, gently stirring frequently. If you are using a gas stove, be sure the flame does not come up the sides of the pot or the cream may get scorched.
Once the cream starts to simmer, with just small bubbles around the edges, remove it from the heat.
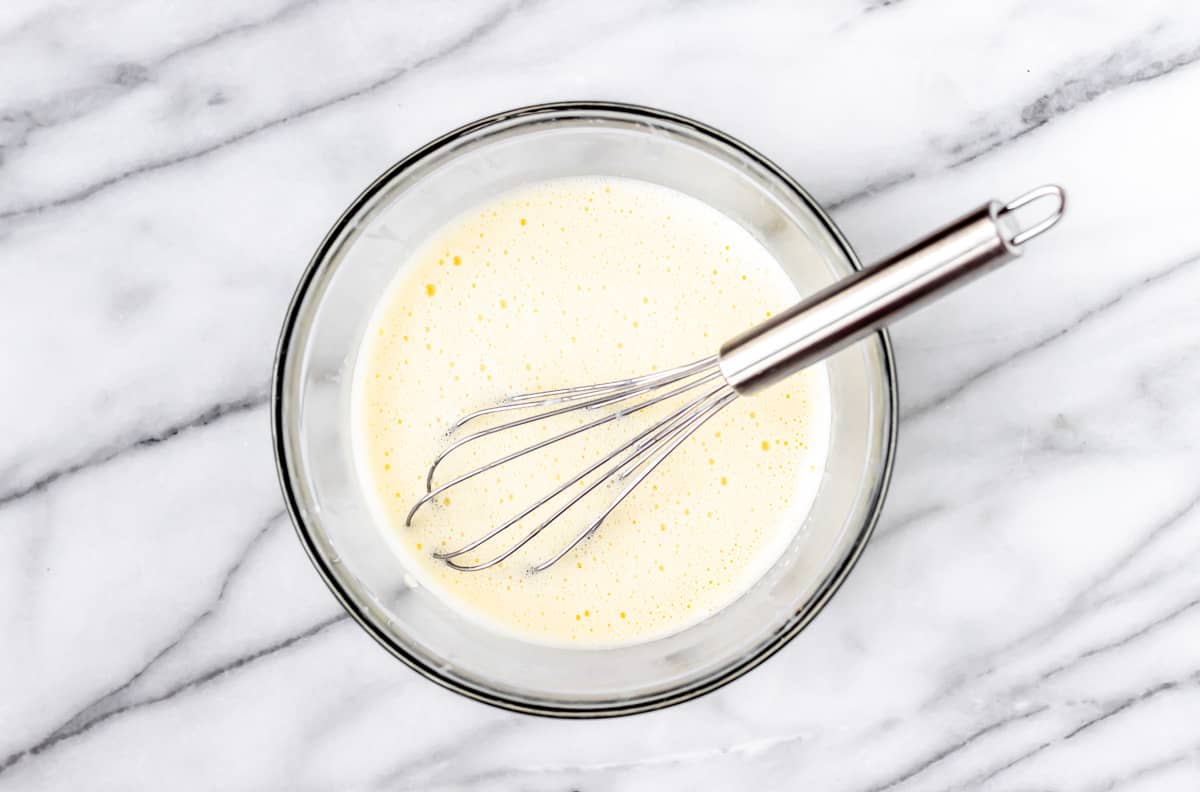
Temper the egg mixture by adding just a few drops of the hot cream(about a teaspoon to start) while whisking. Continue to gradually add the cream, slowly increasing each addition until all of the cream is incorporated into the eggs.
Chef’s Tip: tempering the eggs by slowly adding the hot cream helps prevent, or reduce, any pieces of cooked egg within the mixture.
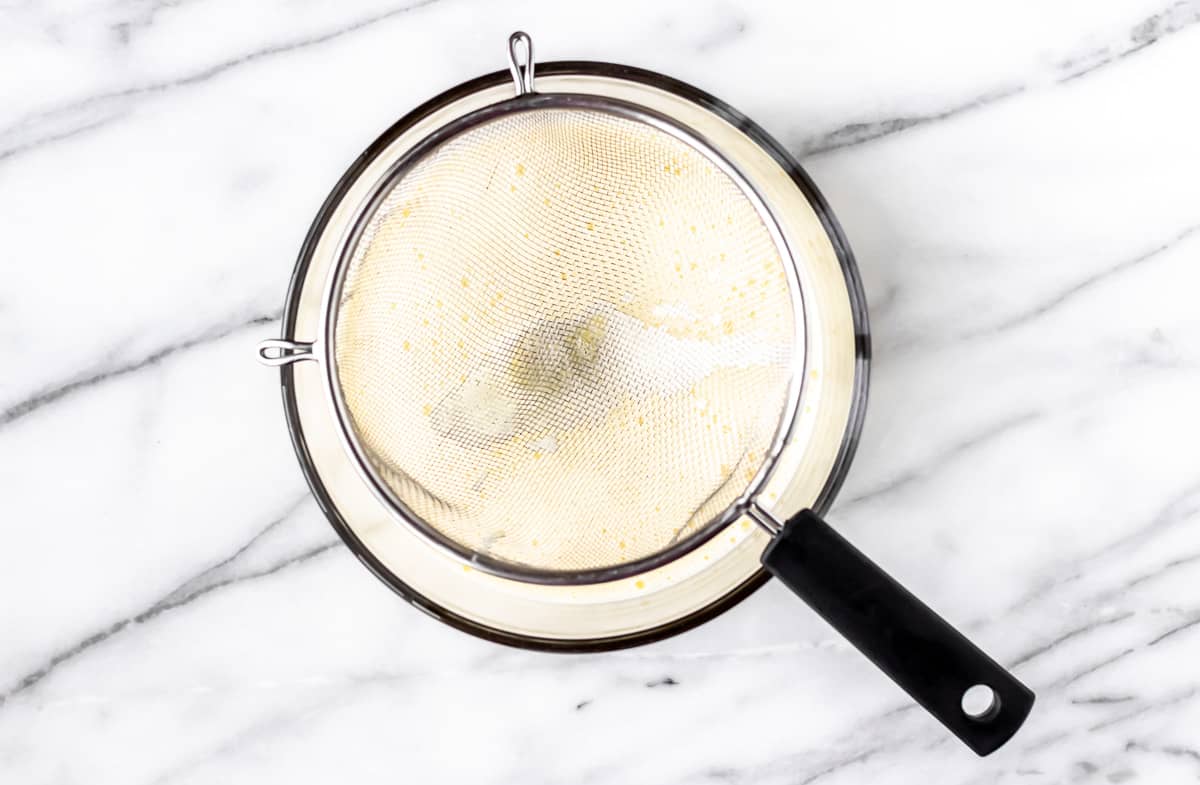
Strain the mixture through a fine sieve to remove any small bits of cooked egg.
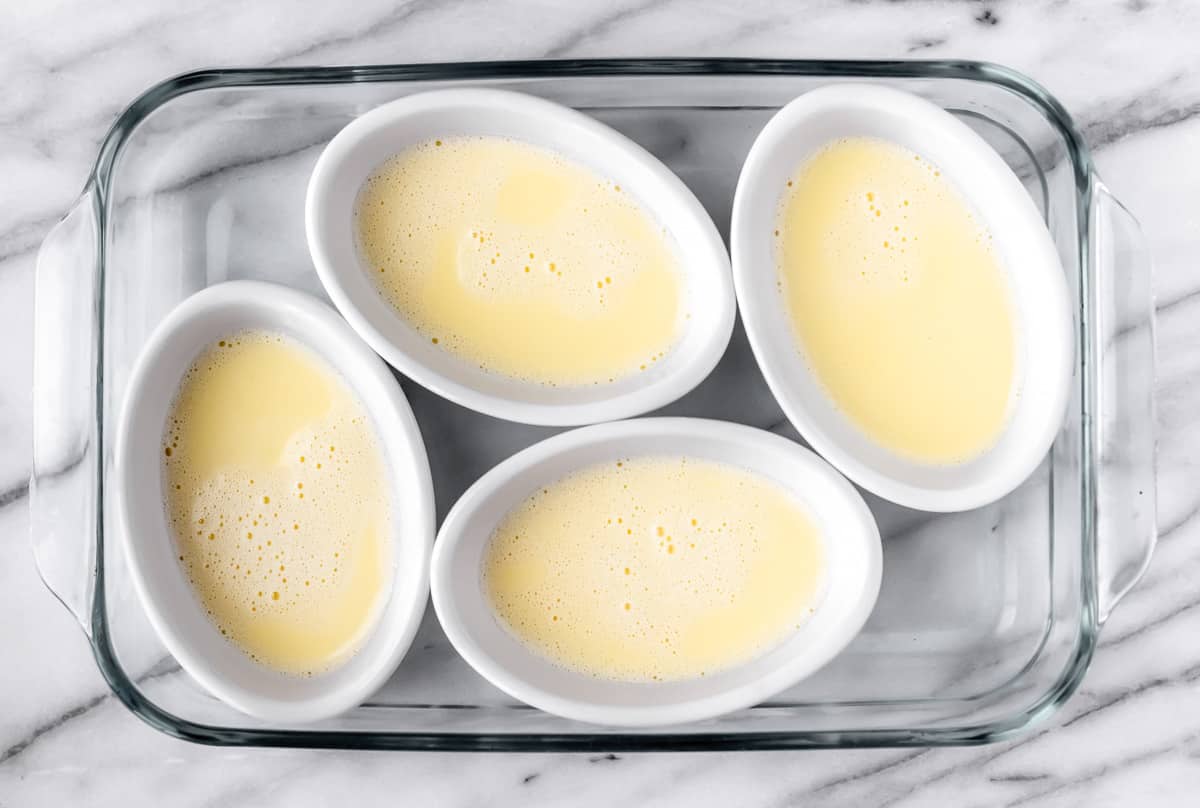
Divide the custard between the 4 ramekins or baking dishes.
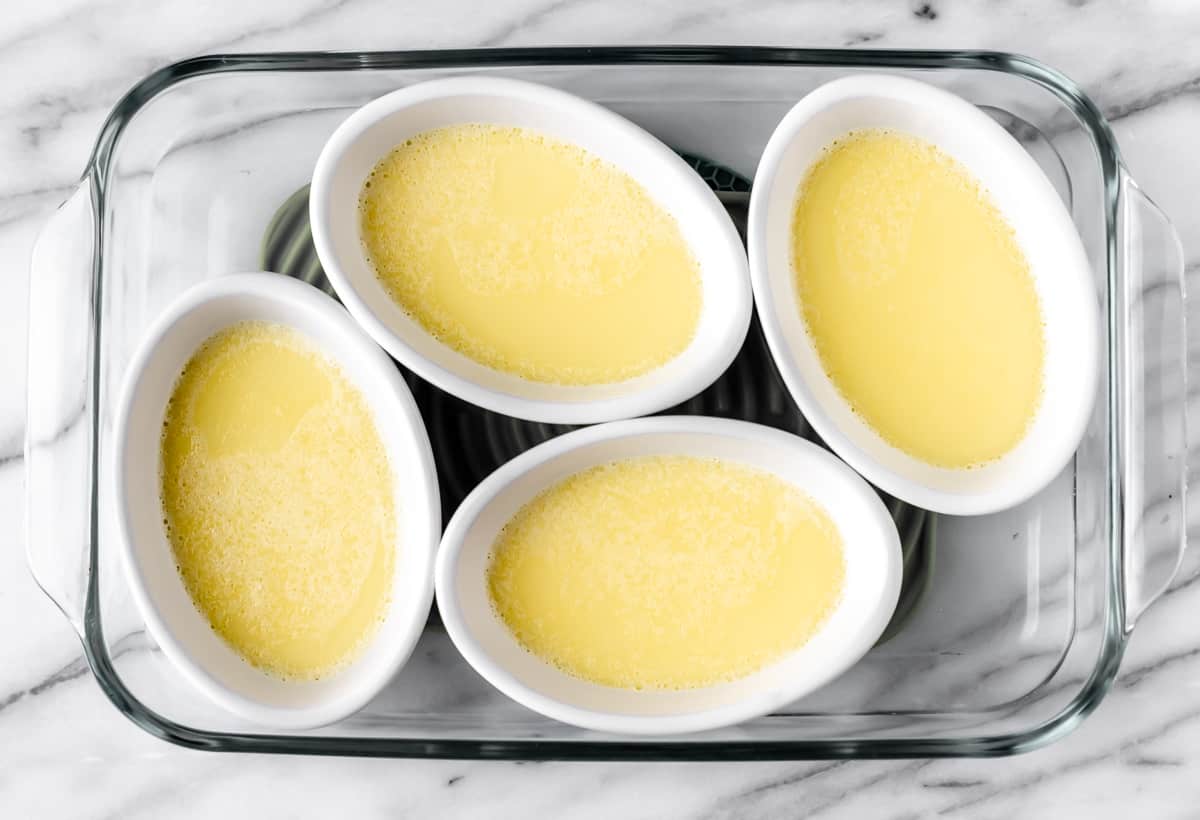
Place the ramekins in a large baking dish filled with water so that the water comes halfway up the sides of the ramekins.
Bake for 25-30 minutes or until the custard is set.
Cool, then cover with plastic wrap. Refrigerator until chilled.
Present!
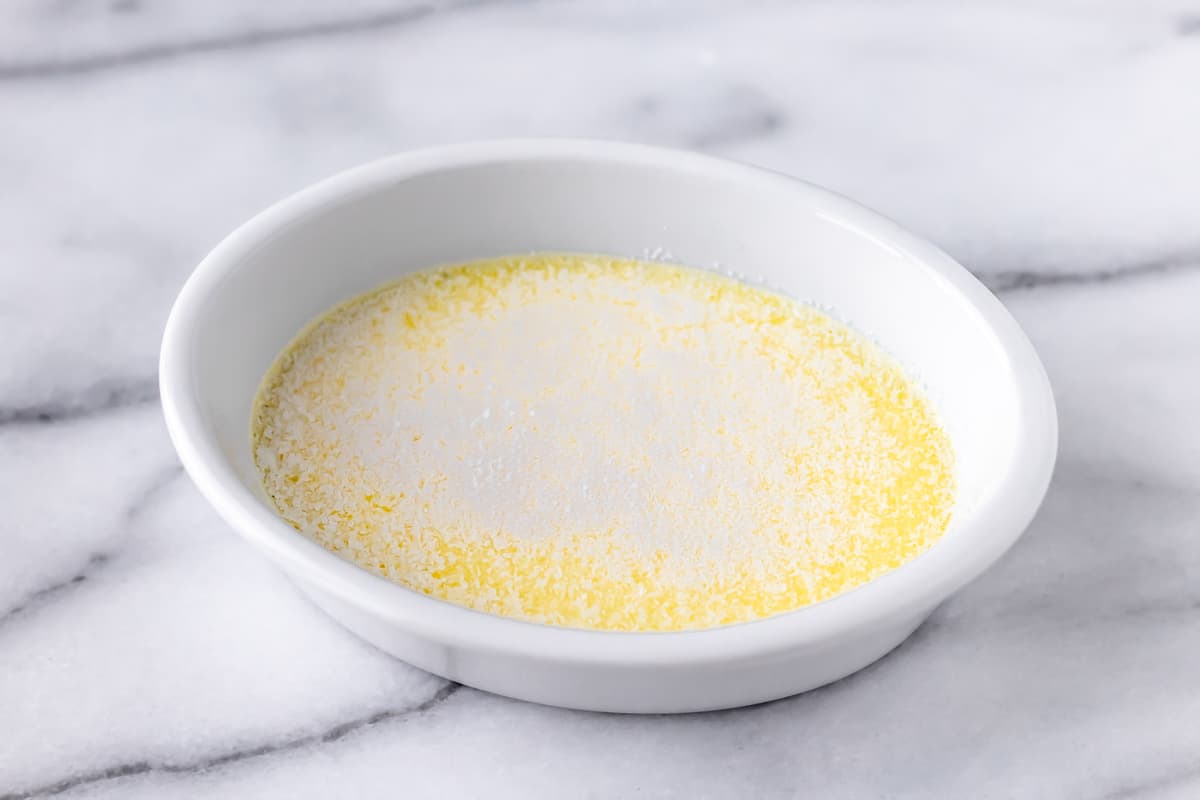
When you are ready to serve, sprinkle a thin layer of sugar over top of the custard. Using a kitchen torch, caramelize the sugar until just golden brown.
Allow to cool some. Serve warm.
Chef’s Tip: you can also caramelize the sugar by placing the ramekins under the broiler in your oven for a minute or two, watching closely. I find that this doesn’t give you the prettiest results, but the dessert still tastes great.
Tips and Techniques
- Be careful not to scorch the cream while heating it. The cream should only come to a simmer, not a full boil.
- You can also caramelize the sugar by placing the ramekins under the broiler in your oven for a minute or two, watching closely until golden.
- Store leftover crème brûlée in the refrigerator for up to 2-4 days. It is best to not add the sugar topping until immediately before serving.
FAQ’s
What Does Crème Brûlée Taste Like?
The custard portion of crème brûlée tastes very much like a rich, vanilla pudding. The topping has a nutty, caramel flavor.
Is Crème Brûlée Gluten Free?
Crème Brûlée is traditionally gluten free, however, with many different flavors and adaptations of the classic recipe now available, it is always best to check the ingredients or ask the chef to be safe.
More Dessert Recipes



Love this Vanilla Crème Brûlée recipe? Follow me on Pinterest, Instagram, and Facebook for more!
If you try this recipe, I would really appreciate it if you would please leave a comment and star rating. Thanks!

Vanilla Crème Brûlée
Ingredients
- 3 egg yolks
- 1/4 cup granulated sugar
- 1 1/2 cups heavy whipping cream
- 1/4 teaspoon salt
- 1 teaspoon vanilla extract
Instructions
- Preheat your oven to 325°F.
- Whisk together the egg yolks and sugar in a medium bowl. Set aside.3 egg yolks, 1/4 cup granulated sugar
- Heat the heavy cream, salt and vanilla extract in a saucepan over medium heat, gently stirring frequently. If you are using a gas stove, be sure the flame does not come up the sides of the pot or the milk may get scorched.1 1/2 cups heavy whipping cream, 1/4 teaspoon salt, 1 teaspoon vanilla extract
- Once the heavy cream starts to simmer, with just small bubbles around the edges, remove it from the heat.
- Temper the egg mixture by adding just a few drops of the hot cream (about a teaspoon to start) while whisking. Continue to gradually add the cream, slowly increasing each addition until all of the cream is incorporated into the eggs.
- Strain the custard through a fine sieve to remove any small bits of cooked egg.
- Divide the custard between the 4 ramekins or baking dishes.
- Place the ramekins in a large baking dish filled with water so that the water comes halfway up the sides of the ramekins.
- Bake for 25-30 minutes or until the custard is set.
- Cool, then cover with plastic wrap. Refrigerator until chilled, at least 1 hour.
- When you are ready to serve, sprinkle a thin layer of sugar over top of the custard. Using a kitchen torch, caramelize the sugar until just golden brown. Allow to cool some. Serve warm.
Notes
Tips and Techniques
- Be careful not to scorch the cream while heating it. The cream should only come to a simmer, not a full boil.
- You can also caramelize the sugar by placing the ramekins under the broiler in your oven for a minute or two, watching closely until golden.
- Store leftover crème brûlée in the refrigerator for up to 2-4 days. It is best to not add the sugar topping until immediately before serving.

