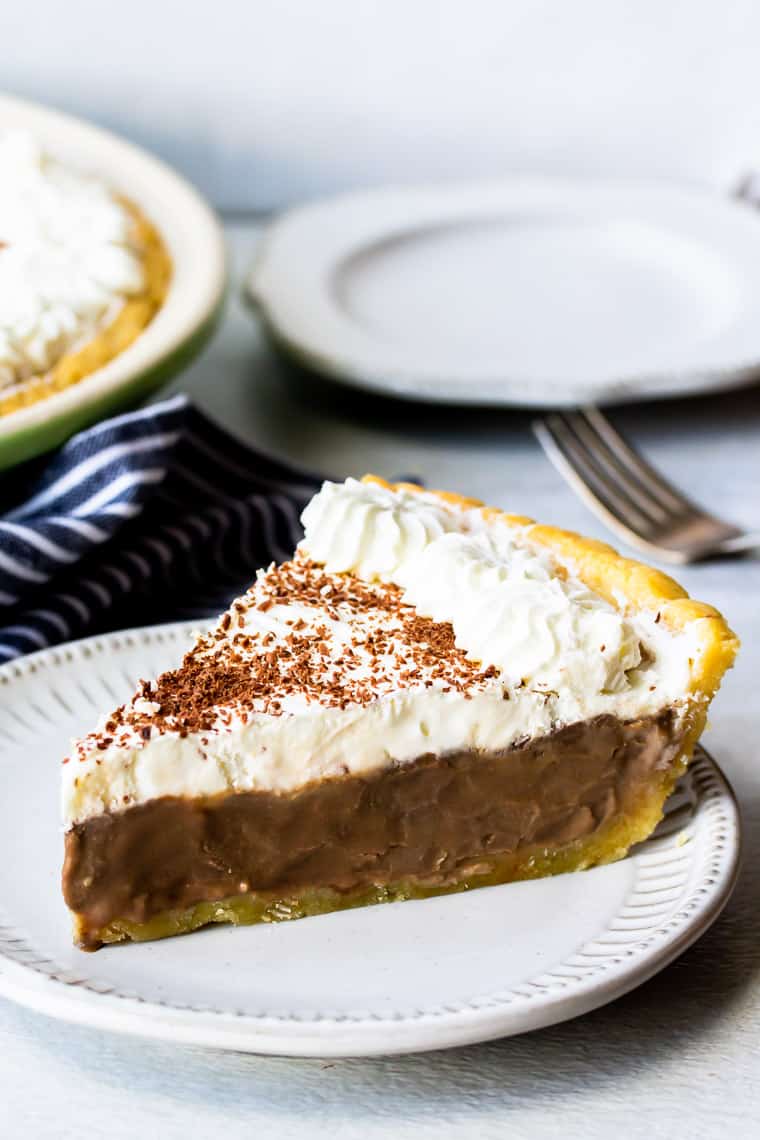
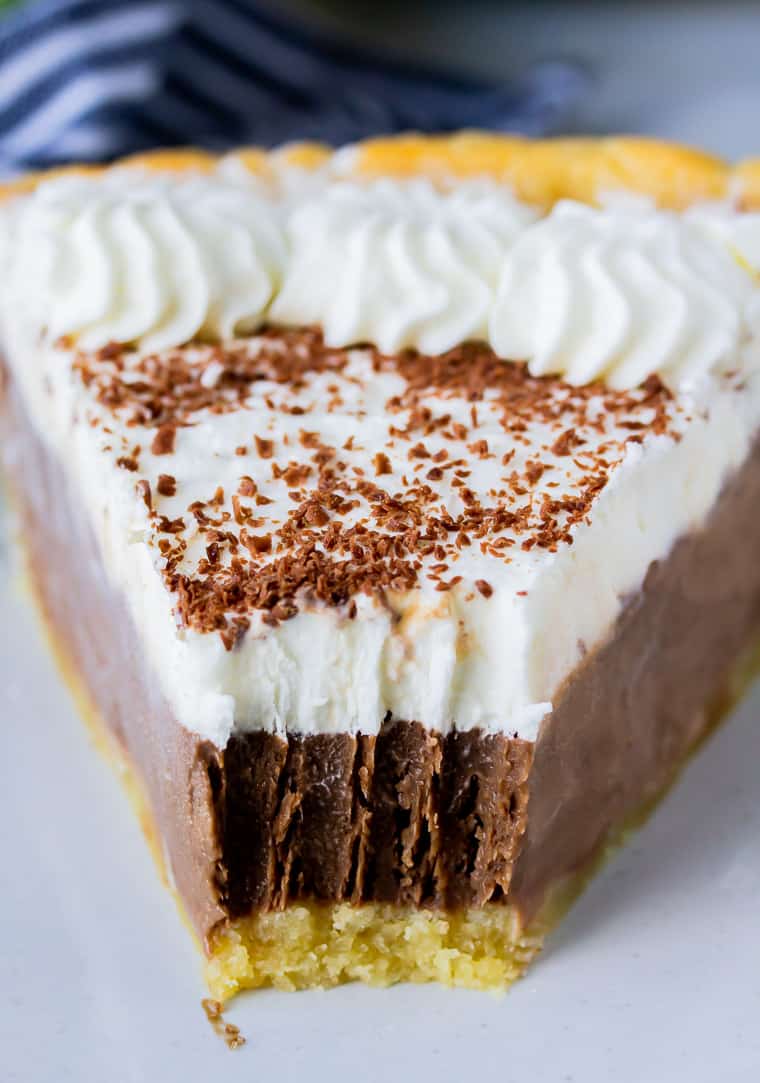
This Chocolate Cream Pie recipe sandwiches a rich, creamy chocolate filling between an almond crust and homemade whipped cream! This delicious pie is perfect for the holidays and naturally gluten free.
This post contains affiliate links. See our Disclosure Statement for more information.
If I am remembering correctly, traditional Chocolate Cream Pie was the first pie my mom taught me how to make. A lot of the ingredients came out of boxes, though. We used chocolate pudding mix and even a powdered whipped cream that I’m not even sure still exists. No one ever complained though – that pie was delicious!
With this recipe for Chocolate Cream Pie, there are no powdery mixes from a box. Everything is homemade and it’s almost just as easy – even the almond crust. You can also opt to use a pre-made pie shell, but it really is the combination of chocolate and almond that makes this pie really special. It’s not the same old chocolate cream pie – it’s amazing!
Why This Recipe Works
- It’s a fun spin on classic chocolate cream pie featuring a delicious combination of chocolate and almonds.
- Pie is always a welcomed dessert during holidays and when entertaining.
- This recipe is naturally gluten free, as the pie crust does not contain wheat flour.
How to Make Chocolate Cream Pie
Prep!
Preheat your oven to 350°F.
Create!
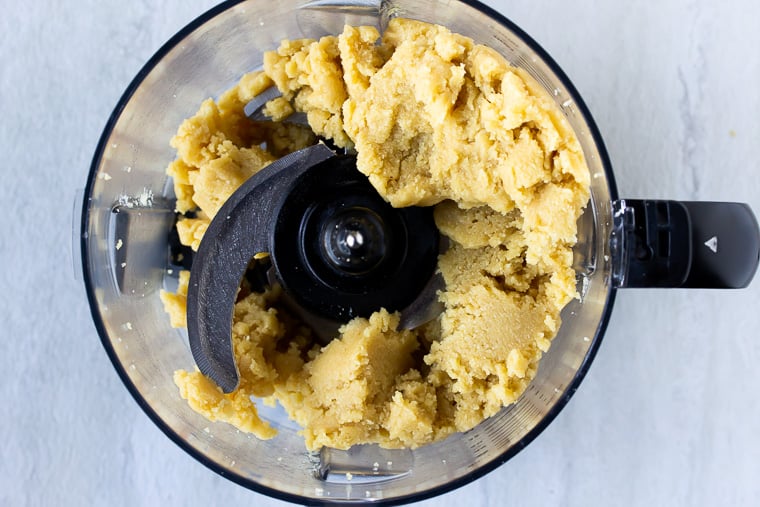
Add the almond flour melted butter, sugar, and egg to a food processor and pulse until a ball forms.
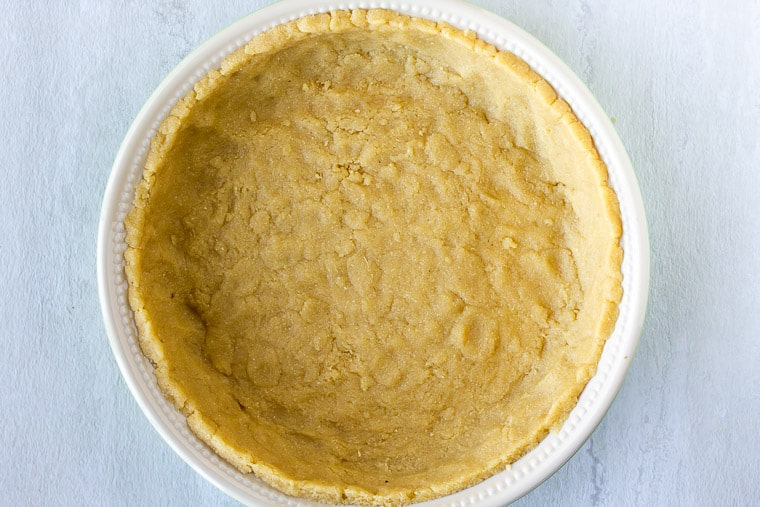
Place the dough in a 8-inch pie pan and press it even around the pan until the bottom and sides are covered.
Bake for 10-12 minutes, or until the edges are just golden.
Tip: If you are using a pre-made pie shell, you can skip this part.
To make the filling, combine the sugar, cocoa powder, corn starch, and salt in a large saucepan. Do not turn the stove top on just yet.
Whisk in the milk and heavy cream until well combined.
Turn the heat on to medium and whisk in the egg yolks. Cook until bubbling and thickened to the consistency of pudding, about 10 minutes. Mix in the butter and vanilla extract.
Chef’s Tip: if your mixture is still runny after about 10 minutes, you can add an additional egg yolk and continue cooking.
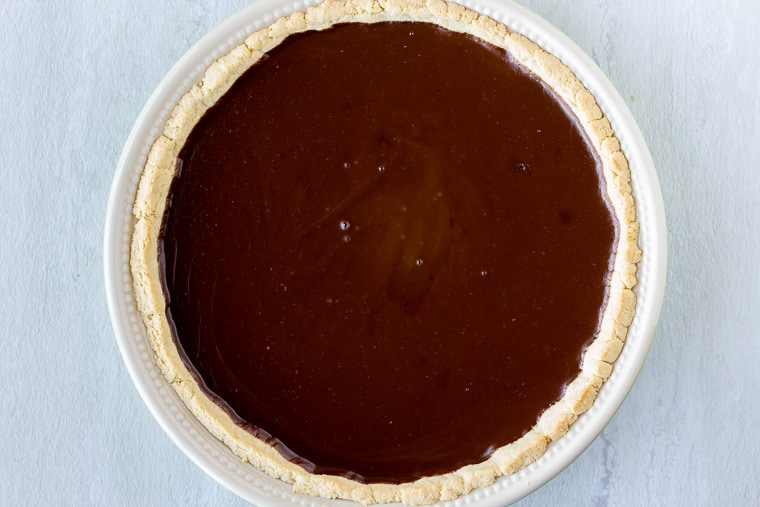
Pour the chocolate filling into the prepared pie crust, and cover with plastic wrap. Be sure the plastic wrap is touching the filling to prevent a “skin” from forming. Chill for 8 or more hours.
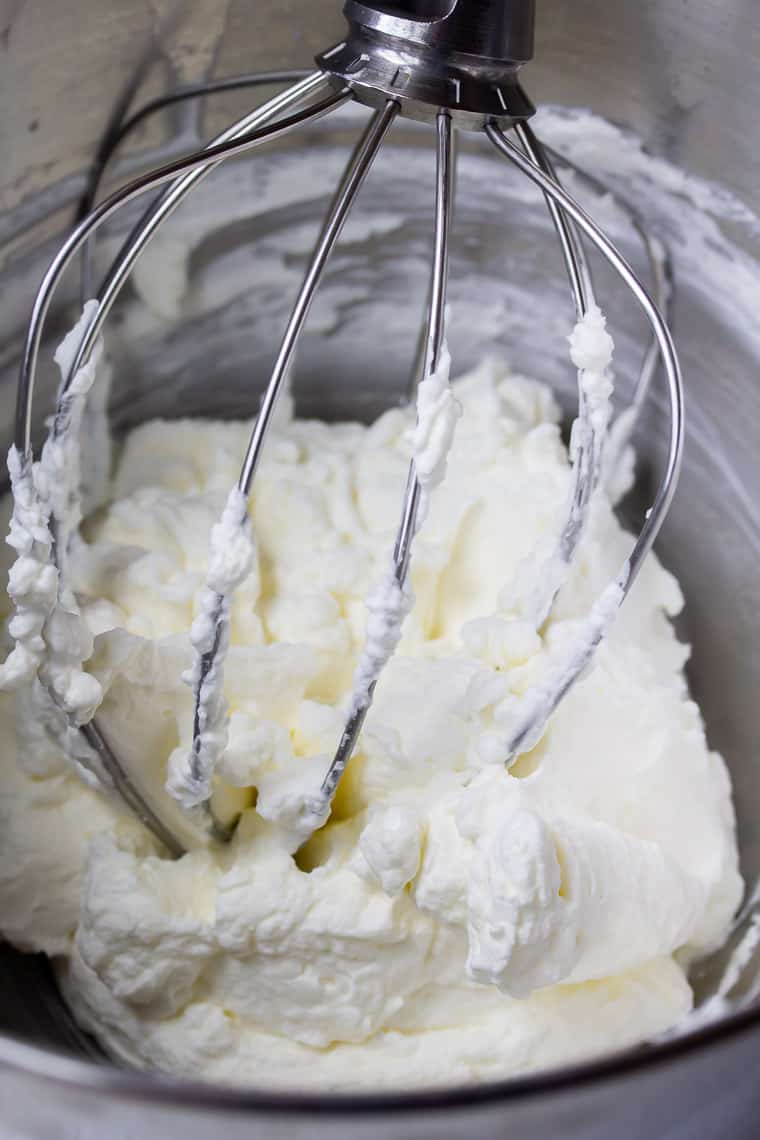
After the pie is chilled, prepare the whipped cream. Add the heavy cream and sugar to a mixing bowl and using a whisk attachment, whip until soft peaks form.
Present!
Spread the whipped topping over the pie and top with additional almonds, if desired. You can also leave the whipped topping on the side for everyone to help themselves or add chocolate shavings!
Tips and Techniques for the Best Chocolate Cream Pie
- Use blanched, fine almond flour for the best results.
- Ensure that the plastic wrap is fully touching the top of the chocolate filling to prevent a “skin” from forming on top of the pie as it chills.
- Double the whipped cream part of the recipe if more than just a layer of whipped cream is desired.
- Store leftover Chocolate Cream Pie tightly covered in the refrigerator. Use within 3-4 days.
FAQ’s
- Does Chocolate Cream Pie need to be refrigerated? Yes. Chocolate Cream Pie should be kept in the refrigerator until you are ready to serve it. It will keep for 3-4 days covered in the refrigerator.
- Can you freeze Chocolate Cream Pie? Yes. You can freeze a baked Chocolate Cream Pie, however the texture may change. They are best consumed freshly made.
- How do you thicken chocolate pie filling? Corn starch is used to thicken the chocolate filling in this recipe to keep this Chocolate Cream Pie gluten free.
Other Recipes to Try
- Coconut Cheesecake Bars with Chocolate & Salted Caramel
- Layered Coconut Chocolate Cheesecake with Almond Crust
- Dark Chocolate Mint Cupcakes with Chocolate Ganache Icing
Love this Chocolate Cream Pie on Almond Crust recipe? Follow me on Pinterest, Instagram, and Facebook for more!

Chocolate Cream Pie on Almond Crust
Ingredients
Almond Crust
- 2 cups blanched almond flour * fine
- 2 tablespoons butter * melted
- 3 tablespoons granulated sugar
- 1 egg
Chocolate Filling
- 1 cup granulated sugar
- 1/2 cup unsweetened cocoa powder
- 1 tablespoon cornstarch
- pinch salt
- 2 cups milk
- 1 cup heavy cream
- 3 egg yolks
- 2 tablespoons butter
- 1 teaspoon vanilla extract
Homemade Whipped Cream
- 1 cup heavy cream
- 2 tablespoons granulated sugar
Instructions
Almond Pie Crust
- Preheat your oven to 350°F.
- Add the almond flour, melted butter, sugar, and egg to a food processor and pulse until a ball forms.
- Place the dough in a 8″ pie pan and press it even around the pan until the bottom and sides are covered.
- Bake for 14-16 minutes, until the edges are just golden.
Chocolate Filling
- Combine the sugar, cocoa powder, corn starch, and salt in a large saucepan (do not turn on the stove top just yet).
- Whisk in the milk and heavy cream until well combined.
- Turn the heat on to medium and whisk in the egg yolks.
- Cook until bubbling and thickened, about 10 minutes then mix in the butter and vanilla extract.
- Pour the chocolate filling into the prepared pie crust, and cover with plastic wrap. Be sure the plastic wrap is touching the filling to prevent a “skin” from forming.
- Chill for 8 or more hours.
Homemade Whipped Cream
- After the pie is chilled, prepare the whipped cream.
- Add the heavy cream and sugar to a mixing bowl and using a whisk attachment, whip until soft peaks form.
- Spread the whipped topping over the pie and top with chocolate shavings, if desired.
Notes
Tips and Techniques for the Best Chocolate Cream Pie
- Use blanched, fine almond flour for the best results.
- Ensure that the plastic wrap is fully touching the top of the chocolate filling to prevent a “skin” from forming on top of the pie as it chills.
- Double the whipped cream part of the recipe if more than just a layer of whipped cream is desired.
- Store leftover Chocolate Cream Pie tightly covered in the refrigerator. Use within 3-4 days.
Nutrition
This recipe was originally published November 27, 2019. It was updated with new images, more thorough instructions, tip, techniques, and FAQ’s in December 2019.
